Author:
Florence Bailey
Date Of Creation:
24 March 2021
Update Date:
1 July 2024

Content
Zentangle is an abstract design created with repeating patterns following the patented zentangle technique. Real zentangles are always drawn on a 3.5-inch (8.9 cm) square sheet of paper, and they are always drawn in black ink on white paper. The invention of the zentangle was intended to make drawing enjoyable, soothing, and accessible to everyone. Read the first paragraph to learn how to draw your own zentangle.
Steps
Part 1 of 2: Learning the Zentangle Method
 1 Learn the basic definition of a zentangle. A zentangle is an abstract, divided drawing drawn using the principles of the zentangle method. Using a standard 3.5-inch square sheet format, the artist creates a structured model of his or her own whim, following basic instructions. You don't need any technology, special materials or education to become a zentangle artist. Here are some of the basics of zentangle:
 - The leaf should have neither top nor bottom - it does not oriented in space.
- It must not represent any recognizable object; ideally, it should be abstract.
- The drawing should be done black ink on white paper.
- The zentangle is designed to be small and fast, so it can be created anytime inspiration strikes.
 2 See how zentangle differs from other fine arts. The zentangle method is very different from conventional pencil drawing, paints, and other forms of visual arts. It is conceived as a form of artistic meditation that anyone can embody. The process of creating a zentangle is just as important as the final result, which is prized for its unique beauty. The creation of a zentangle must adhere to the following philosophical principles:
 - Its creation impulsively... When you start creating a zentangle, try not to keep the ultimate goal in mind. Ideally, let the shapes emerge on their own as you draw.
- Its creation leisurely and, moreover, unexpectedly. Each stroke must be executed accurately, but without hesitation. Instead of erasing lines that have come out of the system, the artist should use them as a basis for new, unexpected patterns.
- Its creation festively... Like meditation, the zentangle technique should give you a sense of freedom and wellness. This is a way to enjoy the beauty of life.
- Zentangle timeless... No technology or special tools needed. Zentangles should connect those who embody them with the timeless human efforts of touching pen to paper.
 3 Understand the difference between a zentangle and a doodle. Many people create doodles - sometimes beautiful ones - in the margin of notebooks and on pieces of paper. Doodles are usually created while a person is busy with something, but pays little attention to it, for example, talking on the phone or sitting in a lecture. While the best doodles may look like zentangles, they actually vary a lot. Here's how:
 - The zentangle method requires utmost concentration. Unlike a doodle, a person, creating a zentangle, gives it all his attention undividedly. The zentangle cannot be drawn while on the phone or listening to a lecture, because concentration is an integral part of its art form.
- The zentangle method is a ceremony. Since the zentangle deserves all the attention of the artist, it should be created in a quiet place where you can focus and spiritually adjust yourself. The paper and pens must be of the highest quality, as the zentangle is an artistic endeavor that can be enjoyed for quite some time.
 4 Learn about the early artists. The zentangle method was invented by Rick Roberts and Maria Thomas when they discovered that drawing abstract shapes within a few basic rules was extremely reassuring.
 - To teach the Zentangle Method, you must be a Certified Zentangle Teacher.
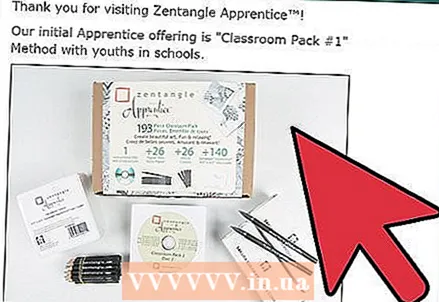
- There are over a hundred official zentangles. If you want to recreate one of the originals, there are online tutorials, books and kits available for purchase. Works that resemble zentangles, but do not adhere to the official rules for their creation, are positioned as works based on zentangles.
Part 2 of 2: Creating Your Own Zentangle
 1 Start with the right materials. The zentangle method requires the use of good paper for the backing of the zentangle. It should be flat white paper with no lines. Cut a 3.5-inch (8.9 cm) square from the sheet.
 - Handcrafted or textured paper will work if there are no patterns on it.
- You can also use colored paper if you like, but this will not be considered a true zentangle that corresponds to the zentangle method.
 2 Draw the borders. Use your pencil to draw a square border near the edges of the paper. Do not use a ruler or similar object with a straight edge to draw it. Just sketch it lightly near the edges of the sheet.
 - It's okay if your hand is shaking when drawing the borders. It will be a unique, original frame, inside which the pattern will fit. If it has uneven edges or an unusual look, then the finished zentangle will be even more original.
- Don't press too hard on the pencil while drawing the border. It will not be visible after you finish drawing the zentangle with a pen.
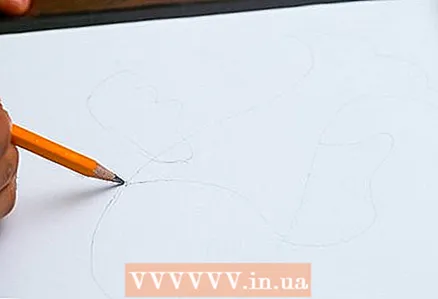
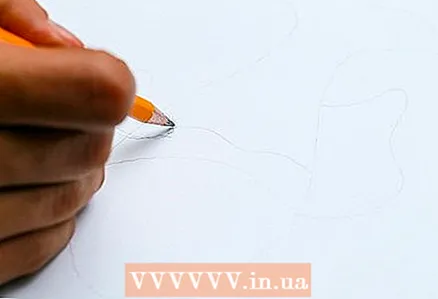 3 Draw the thread. Take a pencil and draw a "thread" inside the border. According to the zentangle method, a thread is a curved line or curve that will shape the structure of a design. The pattern you are creating will be within the outline of the thread. It should be lightly sketched, simple, abstract in shape, elegantly dividing the area within the border into sections.
 - Again, don't press hard on the pencil while drawing the thread. It will not remain visible when the zentangle is complete. It should serve as a guide for the pattern.
- Some people find it difficult to determine how to draw a thread. Remember that the philosophy behind the zentangle is pleasure, awe and naturalness. Draw what comes to mind when you touch the paper with a pencil - you can't go wrong.
- If you need ideas for creating thread, there are thread patterns available online.
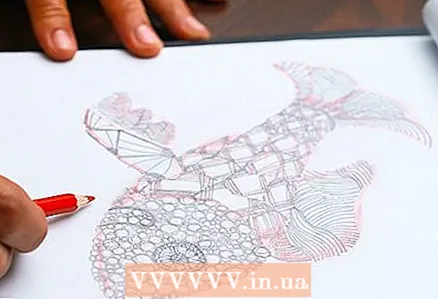
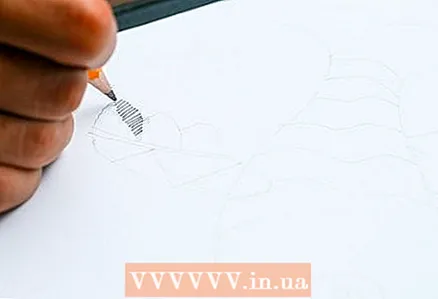 4 Start creating the plexus. A "plexus" is a pattern drawn with a pen along the contours of the thread. One zentangle can have either only one plexus, or a combination of several different ones. Start drawing with a pen the pattern that came to your mind, again - there is no right or wrong step when drawing a zentangle. Keep the following in mind as you work:
 - Plexuses should be made up of the simplest shapes. A line, point, circle, squiggle or oval all apply.
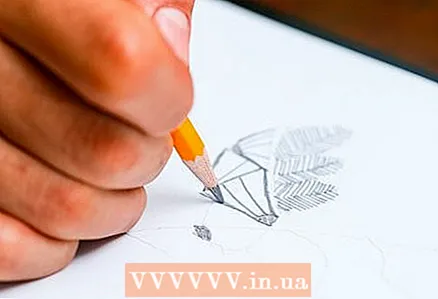
- You can add pencil shadows to the plexus to create more depth and visual interest. This is not necessary, but you can do it however you like.
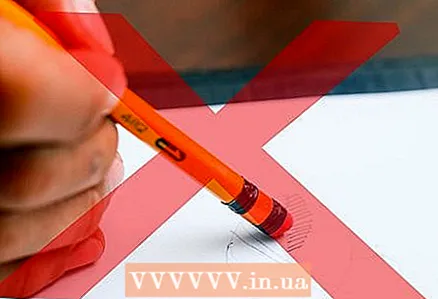 5 Don't erase mistakes. Pen mistakes cannot be erased. Partly because of this, the plexuses are drawn with a pen rather than a pencil, as opposed to shading, which you might want to add. There is no way back.
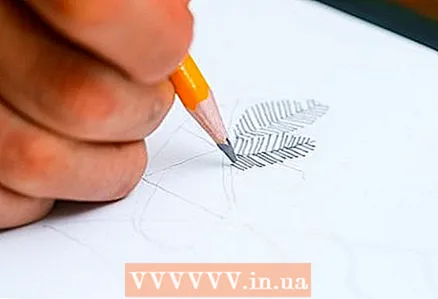
 - Each plexus is created stroke by stroke. Pay attention to every stroke you apply, and give the pattern its intended look.
- Concentrate fully on this work.Just as you would during meditation, clear your mind of worries and problems. Remember that the process of making a zentangle should feel like something ceremonial.
 6 Continue until the end. You will know when it is time to put down the pen. Keep the zentangle in a safe place or frame it to admire it longer.
 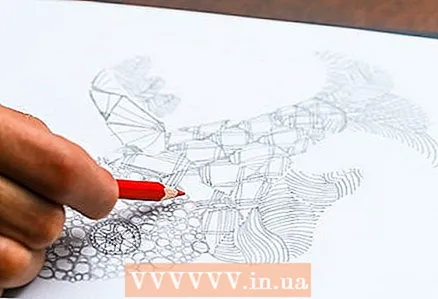 7 Not necessary: Once your sheet is complete, you can add color to your art. Note, however, this is not an official zentangle instruction.


