Author:
Mark Sanchez
Date Of Creation:
8 January 2021
Update Date:
1 July 2024
Content
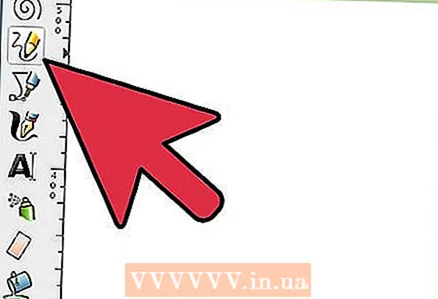
- Steps
- Method 1 of 3: Paint the Gears - Gold
- Method 2 of 3: Paint the Gears - Steel
- Method 3 of 3: Paint the Gears - Paper Drawing
Smooth, symmetrical gears can be difficult to draw by hand or even on a computer. However, the Inkscape application can make your life much easier in this matter.
Steps
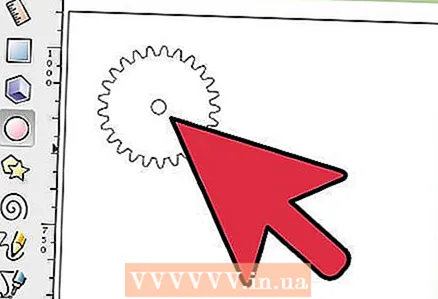
 1 First, create a gear using the "gears" action. In the current version 0.46 it is located in "Effects> Render> Gears". In version 0.47, the same action can be found in "Extensions> Render> Gears" .br>
 - Enter the parameters you want to get the cogwheel. With Live Preview turned on, changes are immediately applied to the image.>
 2 Create a circle in the inside of the gear.
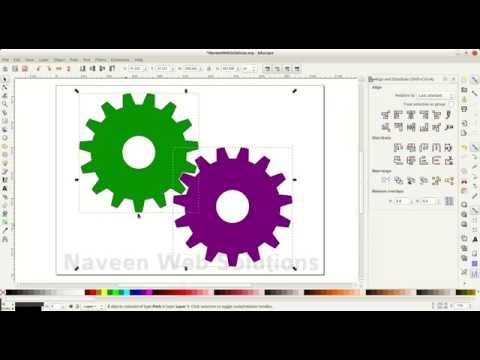
 3 Using the Align and Distribute Window Feature Set align the circles to the center. In the example, it is recommended to set the "Relative to:" function to the "Biggest Item" mode, so you get the alignment to the largest object.
 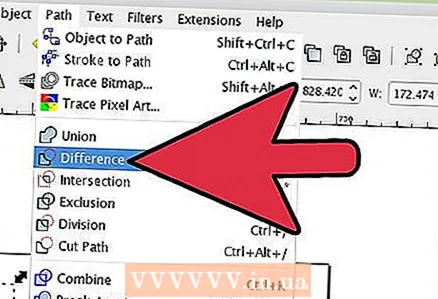 4 Now subtract the circumference from the wheel. To do this, you need to ungroup these two objects, as the application has combined them into one group by default.
  5 Let's move on to creating spokes.
 6 Create a rectangle and center align.
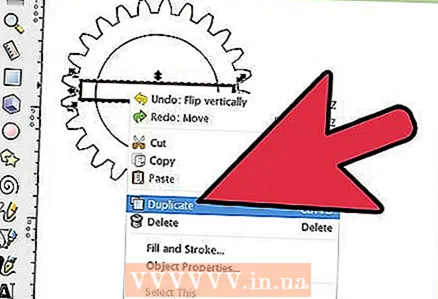 7 Copy the rectangle and set it perpendicular to the first one.
 8 Select both rectangles and rotate them in an arbitrary direction.
 9 Select all objects and combine them using the "union" function.
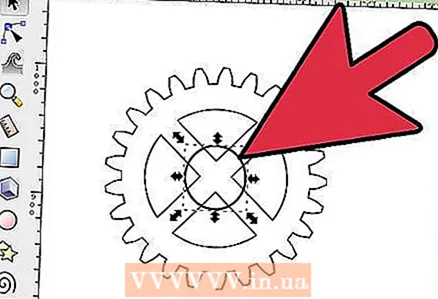 10 Create a smaller circle, place it in the center of the gear, center align and merge all the objects again.
- To create a hole for the axle we create another circle, center align it and subtract from the wheel.

- The first gear is ready!

- The teeth must be the same in all paired gears, so use the Gear window to create new gears, changing only the number of teeth:

- Create a more complex mechanism:

- To create a hole for the axle we create another circle, center align it and subtract from the wheel.
 11 You can create even more complex mechanisms by adding parallel gears with other parameters. The parameters may vary as the parallel gears will not interact with the ones you created in the beginning.
Method 1 of 3: Paint the Gears - Gold
 1 Now give the gears a more "real look" by simulating a metal surface, for example gold or bronze, both actions are quite similar.
 2 Choose a color. Metallic is not a color, it is an effect made to simulate the reflection of light from objects. In this article we will be using a multi-stop gradient with two or more colors.
 - To simulate gold, the gradient should contain some orange and a mixture of light and dark shades of yellow.
- To imitate bronze, yellow with a tint of green is suitable (oxidized copper becomes green),
- To simulate iron, shades of gray are suitable.
- For chrome, shades of gray are also suitable, but its surface is more shiny. This effect can be achieved by increasing the contrast, in the range from almost black to almost white. For silver, use less contrasting shades of gray, etc.
 3 Apply the resulting gradient to one of the gears.
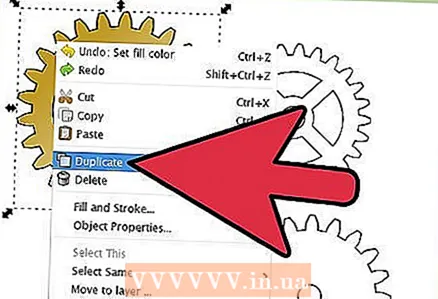 4 To make objects look three-dimensional, add shadows. To do this, create a copy of the object, paint it black, move it a couple of pixels down and to the right, place it under the gear, add blur and transparency.
 - To keep the gears from hanging in the air, add a background, color it using the same golden gradient (if you follow the example). For simplicity, you can use a different, possibly darker color.
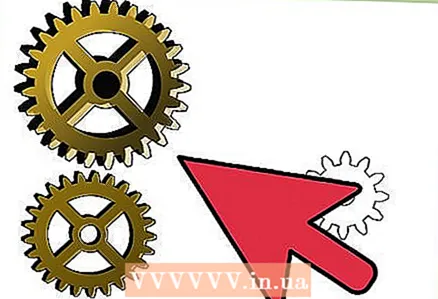 5 Add more gears.
- Notice the useful shadow effect, without them it would have been difficult for us to separate the gears from the background, but now they are quite clearly separated.
- Notice the useful shadow effect, without them it would have been difficult for us to separate the gears from the background, but now they are quite clearly separated.
Method 2 of 3: Paint the Gears - Steel
 1 To add liveliness to the picture, try adding a couple of steel gears.
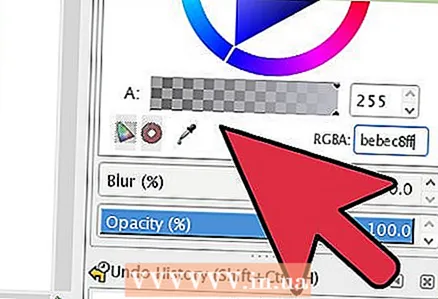 2 First, select the colors of the "multi-stop" gradient - gray with a tint of blue.
 3 Paint a couple of gears with the resulting gradient.
- Here's one way to bring a picture to life. Add grooves: create two circles, align them to the center of the object, paint with the same gradient as the background. Paint the larger circle with a gradient in the opposite direction, the smaller one in the same direction as the rest of the gear.
 4 Place the steel gears in the mechanism. Steel gears must interact with steel, gold ¬with gold.
 - Let's move on to creating the axes. Create small circles colored like gold, steel, ruby or sapphire. Add shadows and a white candle to simulate a highlight.
 5Install the axles into the holes in the gears.
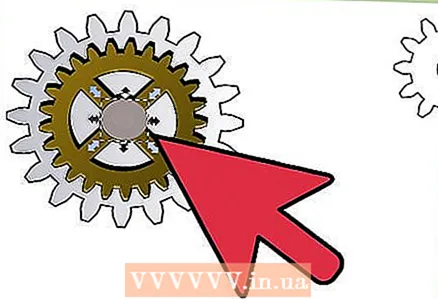
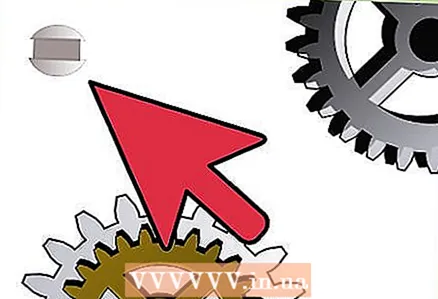 6 Add a couple of mounting screws,. Making them is quite simple: create a steel circle, subtract a rectangle for the groove from it, add a darker steel rectangle that will simulate the inner part of the groove, turn the screws in different directions. It will look unnatural if all the screws are turned in the same direction. Rebuild the gradient and add shadows. You can also draw a chamfer for the screw: a circle with a slightly larger diameter, painted with the same gradient as our background, only with the direction of the color in the opposite direction. This image is zoomed in for clarity.
  7 Distribute screws evenly or randomlyas you wish!
Method 3 of 3: Paint the Gears - Paper Drawing
 1 Give the gears a worn look. Try a different design approach: give your mechanism the look of an old drawing or illustration on old paper.
 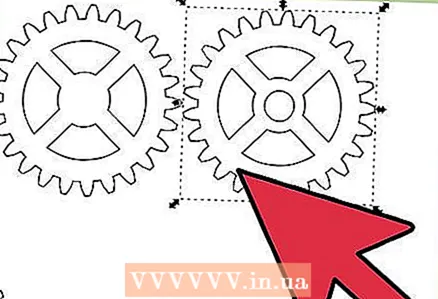 2 Go back to black and white.
 3 ’Set the line color and reset the fill. You will get something like this, with intersecting contours, which we will now fix.
  4 so select a gear or gears if you have a lot of them that have intersecting paths and think of it as a "Path" object.
 5 Now go to another gear that overlaps it, make a copy, select it along with the original, then perform the difference operation.
 6 Repeat these steps for all gears.overlapping the selected until you get something like this.
 7 Convert all lines to "Path".
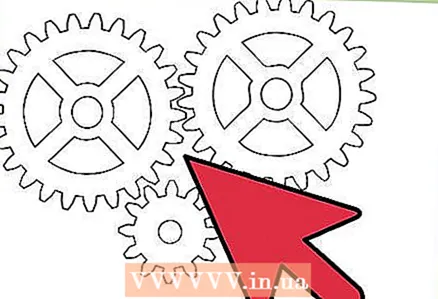 8 Now make the drawing look rougher. But our drawing has a huge number of teeth and intersections, so it would take quite a long time to process them individually before we would achieve the desired look. Here is an automatic simplification operation shown at an enlarged scale.
 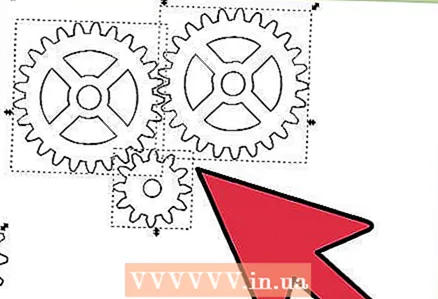 9 Repeat with all your gears.
 10 Now choose a "multi-stop" gradient for the paper - light brown / yellow for old paper or dark blue if you want to simulate blue paper for projects (I haven't decided how to do it myself yet).
- The “multi-stop” gradient will also be useful for simulating ink (not shown) and should have suitable colors that contrast well with the paper eg brown for old paper, light blue for blue. Apply gradients to the gears.
 11 Add texture to the paper: draw a freehand shape with the freehand tool, fill it with a color slightly darker or lighter than the background, make the line invisible, and reduce the sharpness a lot:
  12 Add a couple more spots to the paper until you are happy with the texture..
 13 Focus softening. Select all the gears, copy, make them black, reduce sharpness and add transparency:


