Author:
Janice Evans
Date Of Creation:
26 July 2021
Update Date:
22 June 2024
Content
- Steps
- Method 1 of 4: Traditional Lion
- Method 2 of 4: Cartoon Lion
- Method 3 of 4: Side Lion
- Method 4 of 4: Sketching a lion
- Tips
Lions have always symbolized ferocity and strength, here the main characters of one of the best Disney cartoons of all time are immediately remembered. Learn to draw Africa's largest cat using these steps. Let's start!
Steps
Method 1 of 4: Traditional Lion
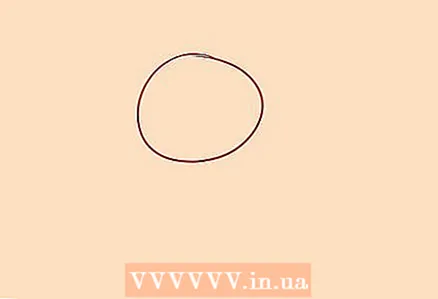
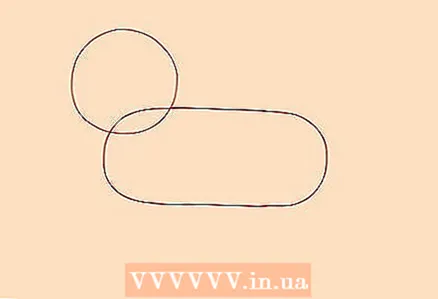 1 Draw a small circle that will later become the lion's head. Also draw a rectangular shape with rounded corners, which will later become his body.
 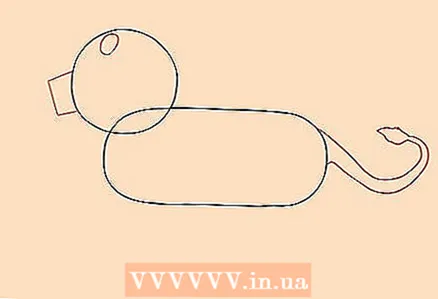 2 Draw the eyes using small circles. Draw the face using a trapezoid connected to a circle. Draw the tail using wavy lines.
 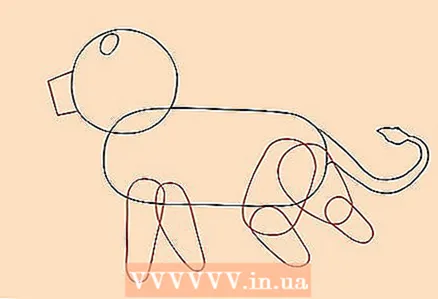 3 Draw the limbs - four legs using ovals or rounded rectangles.
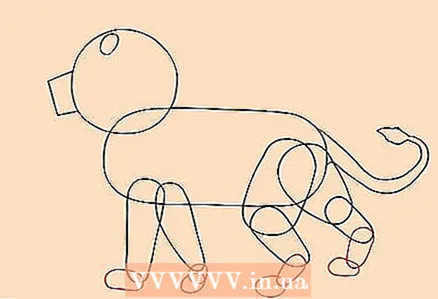 4 Draw the paws using small ovals and circles connected at the ends.
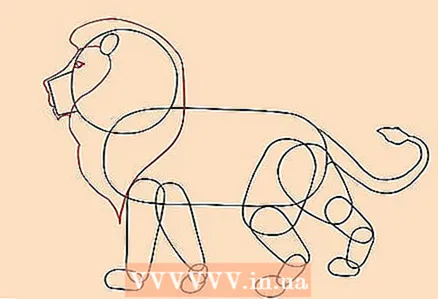 5 Draw the details of the lion's face and mane.
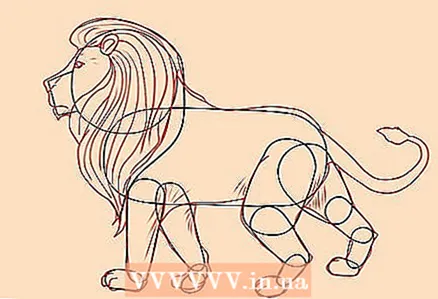 6 Draw the pattern using wavy lines to make it look like a real lion.
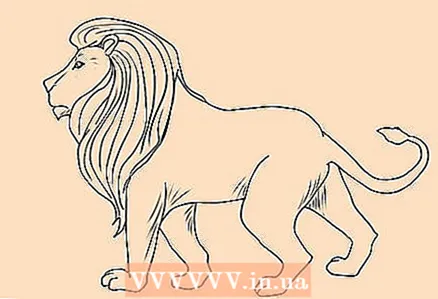 7 Circle it with a pen and erase everything unnecessary.
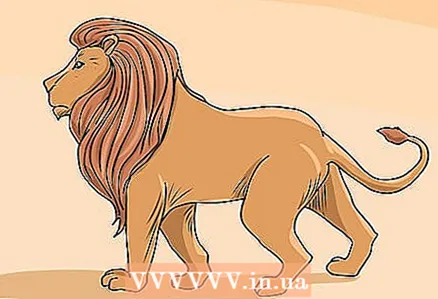 8 Color in your drawing.
Method 2 of 4: Cartoon Lion
 1 Draw a small circle that will later become the lion's head.
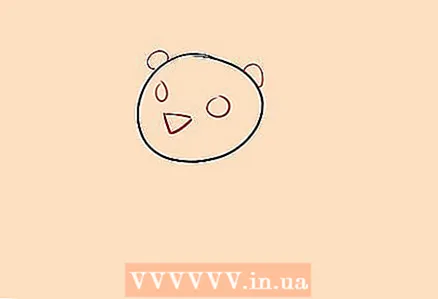 2 Draw the ears, nose and eyes using small circles and triangles.
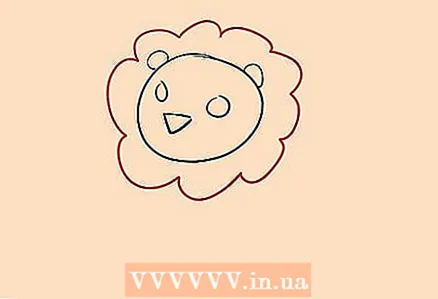 3 Draw wavy lines around the lion's head for its mane.
 4 Draw an oval connected to the head that will become his body.
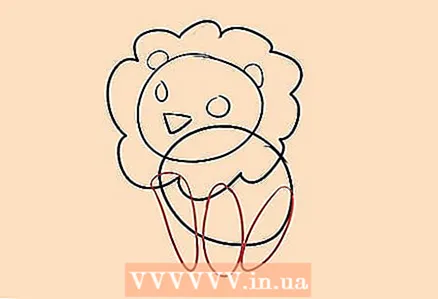 5 Draw vertical, elongated ovals connected to the body, which will become its limbs.
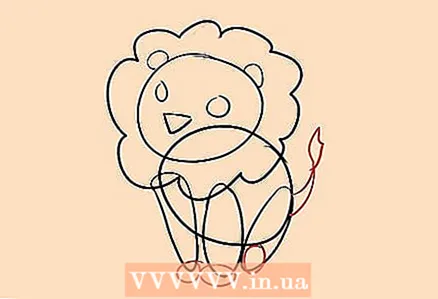 6 Draw small circles for paws and draw a tail.
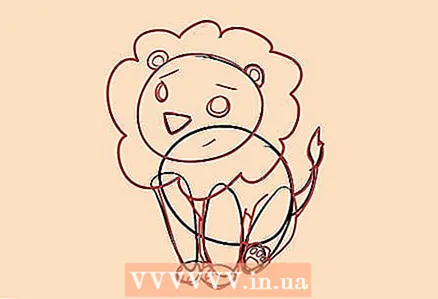 7 Draw in the drawing, adding details and wavy lines.
 8 Circle it with a pen and erase everything unnecessary.
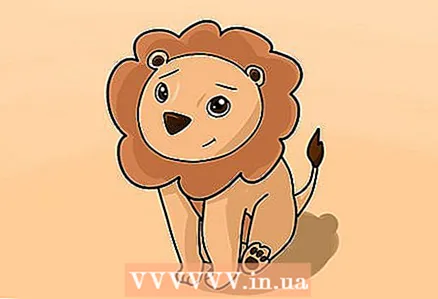 9 Color the lion!
Method 3 of 4: Side Lion
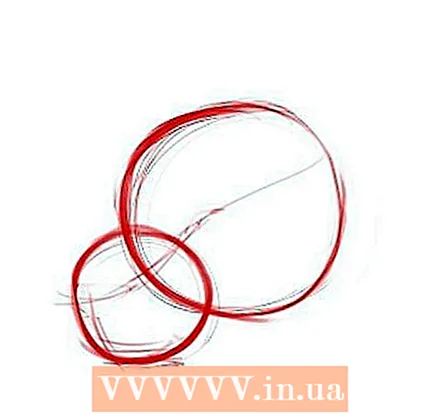 1 Draw the head. Draw a circle connected to another smaller one. Draw roughly his face.
 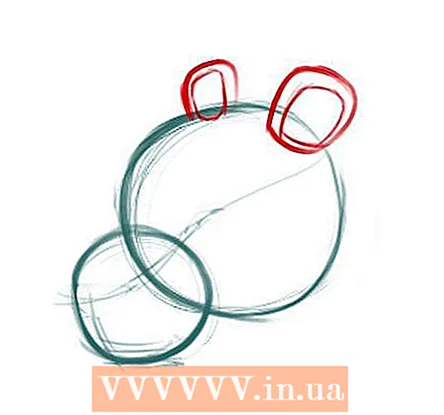 2 Draw two rounded squares for his ears. Draw one more inside them.
 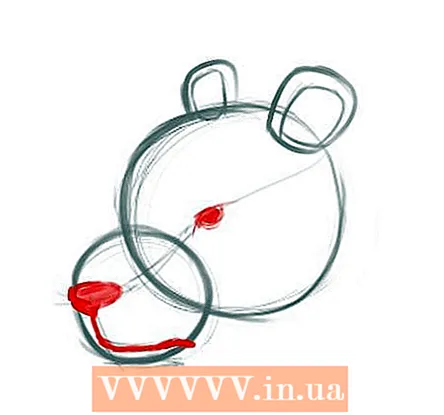 3 Draw the eyes, nose and mouth. The mouth should be on the right side of the muzzle for your lion to look like a bear.
 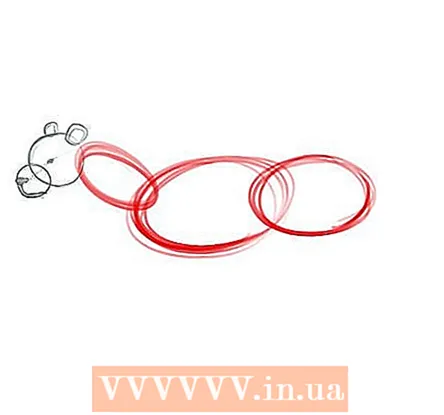 4 Draw three ovals as a base for the body. Draw a small oval for the neck and two large ones for the body.
 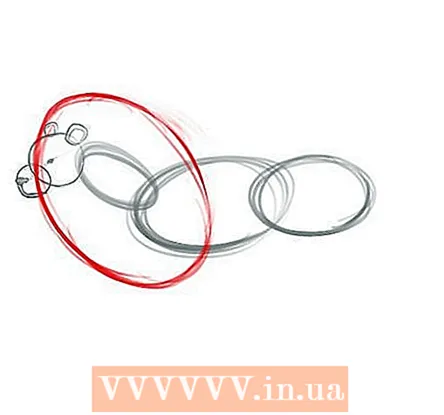 5 Draw a large enough oval that covers both the head and body. This will be the base of his mane. The male lion is determined by his mane as it makes it bigger, so pay close attention to this point!
 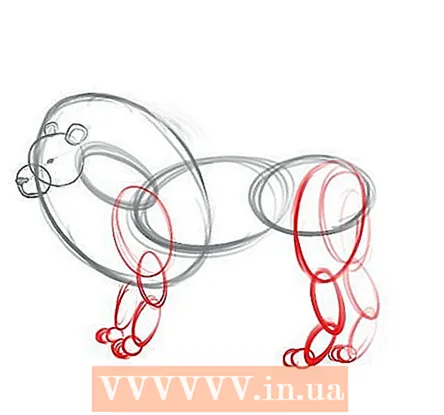 6 Add three large ovals for each leg. Draw a small circle for each limb, with small ovals for each leg.
 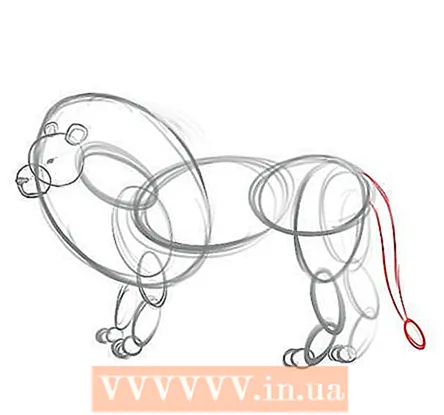 7 Add two thin lines each for the tail, and an oval for the fur.
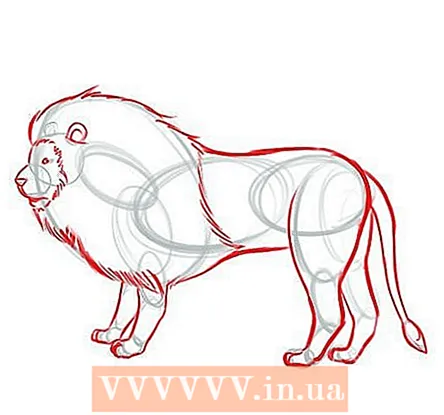 8 Now sketch out the details, add wool if you want. Don't forget the mane!
 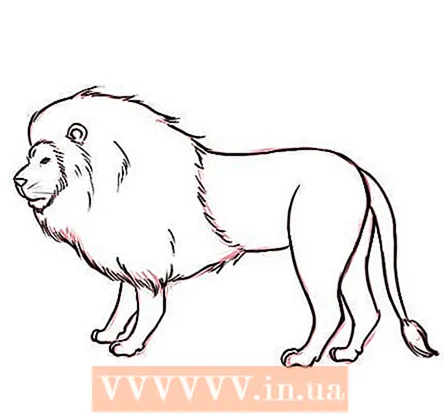 9 Draw the entire drawing. Remove all unnecessary.
 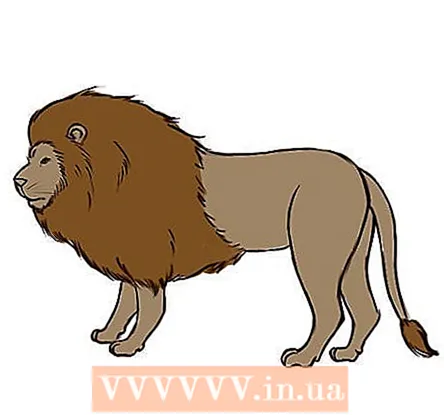 10 Color it in! Use mostly gold and brown colors, unless, of course, this is some kind of fictional lion.
Method 4 of 4: Sketching a lion
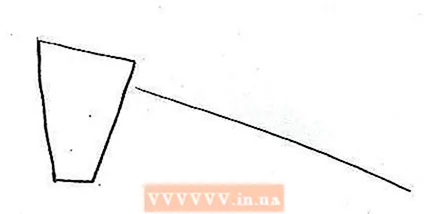 1 Draw a trapezoid. Draw a diagonal line to the right of it.
 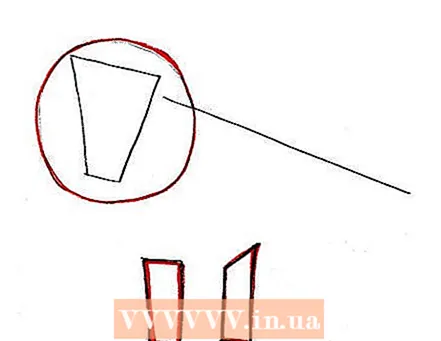 2 Draw a circle around the trapezoid. Then add two rectangles to the bottom of the drawing.
 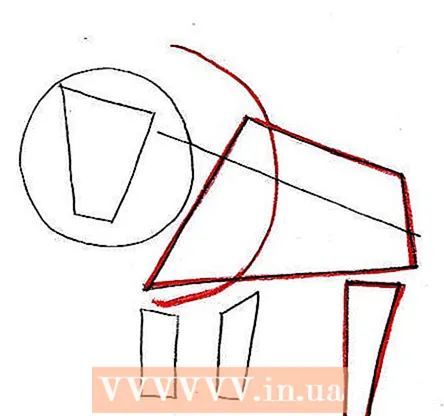 3 Draw a large trapezoid around the diagonal line. Add a half circle around the right side of the circle from step 2. Finally, add a rectangle under the right side of the large trapezoid.
 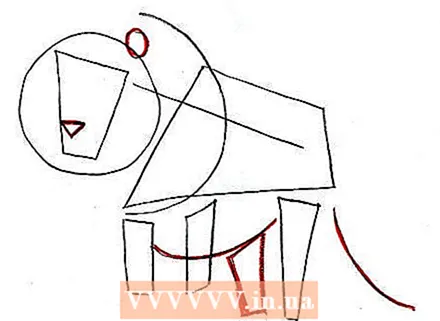 4 Add a small rectangle and a small oval. This will become the nose and ears, respectively.Then draw two wavy lines for the belly and tail and add a fourth rectangle.
 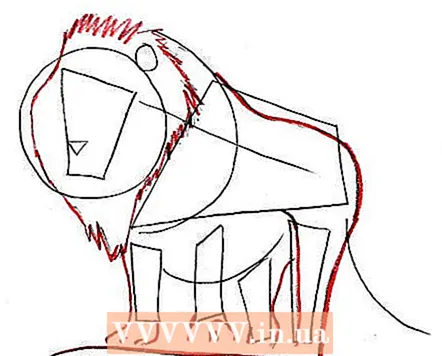 5 Start tracing the drawing. Don't forget to draw the mane!
 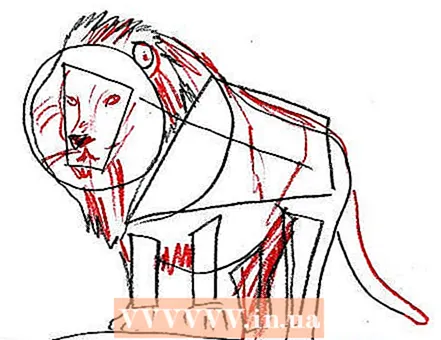 6 Add details.
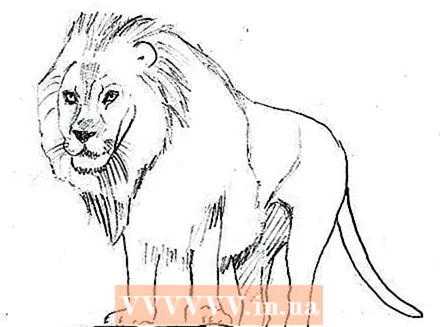 7 Erase all unnecessary.
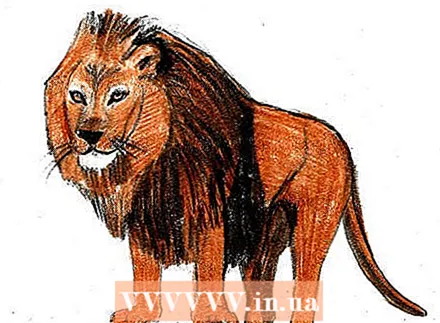 8 Color in the drawing.
Tips
- If you want to draw with markers / felt-tip pens to color your drawing, then you need to take thick enough paper and paint over with a more saturated color.
- Do not press hard on the pencil so that you can easily erase any mistakes.


