Author:
Helen Garcia
Date Of Creation:
15 April 2021
Update Date:
1 July 2024

Content
- Steps
- Method 1 of 4: Method One: Cartoon Peacock
- Method 2 of 4: Method Two: Peacock, Side View
- Method 3 of 4: Method Three: Peacock
- Method 4 of 4: Method Four: Female Peacock
- What do you need
Have you ever tried to draw a peacock? Do you know how to do this? Here is a step by step guide on how to draw a peacock.
Steps
Method 1 of 4: Method One: Cartoon Peacock
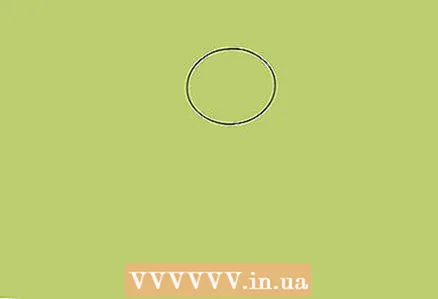
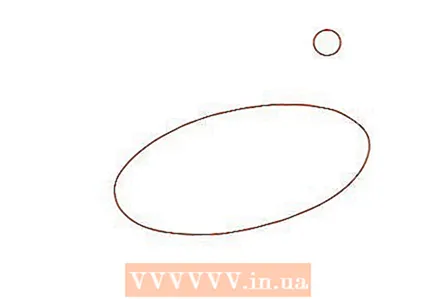
 1 Draw a small oval.
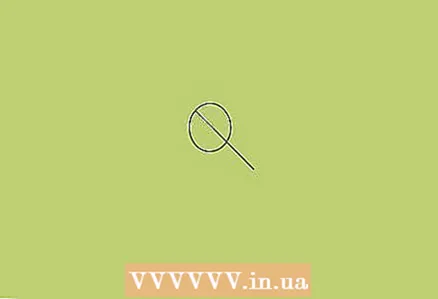 2 Divide it in half with an angled straight line.
 3 Based on the top line, draw a triangle for the beak.
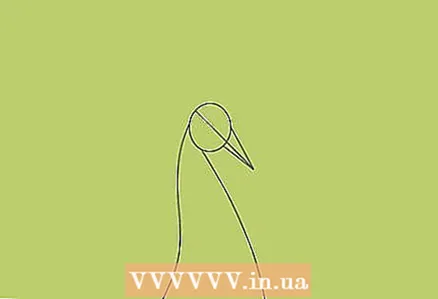 4 Draw curved lines for the upper body.
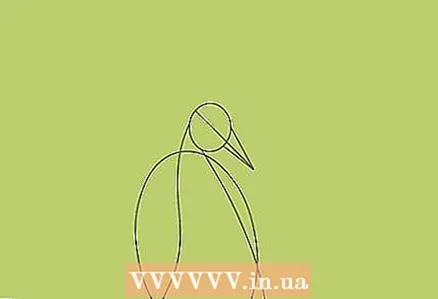 5 Cover the body with a large, vertical oval.
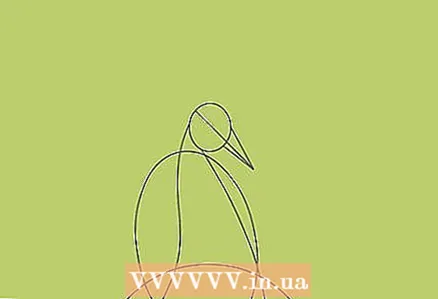 6 Cover it again with a semi-circle at the bottom.
 7 Draw three small antenna-like lines on the bird's head.
 8 On the top of the antenna lines, draw 5 circles of the same size.
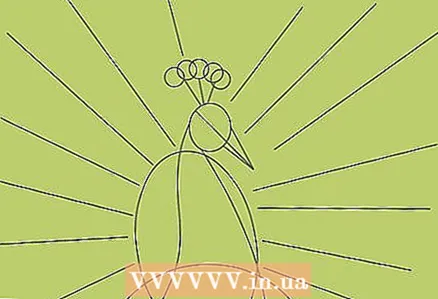 9 Draw ray-like lines around the bird.
 10 Draw droplet-like shapes on the axes of the rays, similar to the drawing of feathers.
 11 Draw details of feathers, colors and details of other parts of the body.
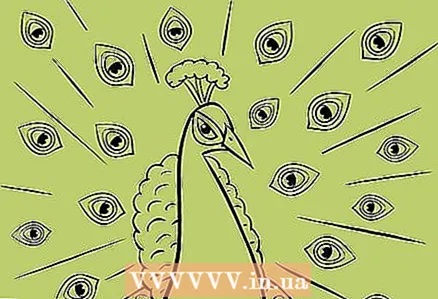 12 Erase all the guide lines and add other details to the drawing.
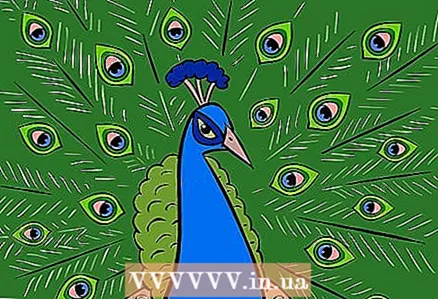 13 Color the adorable peacock!
Method 2 of 4: Method Two: Peacock, Side View
 1 Draw a medium sized oval.
 2 Draw a small line overlapping the oval.
 3 Draw a beak on the guide line.
 4 Draw another oval inside the previously drawn oval for the eye.
 5 Draw a small circle for the eye.
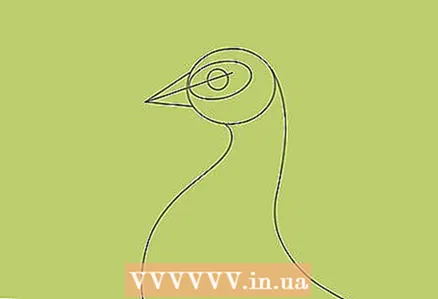 6 Draw a couple of curved lines for the neck and throat.
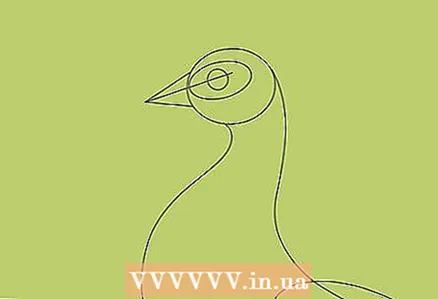 7 Draw an unfinished, angular oval for the peacock's wing.
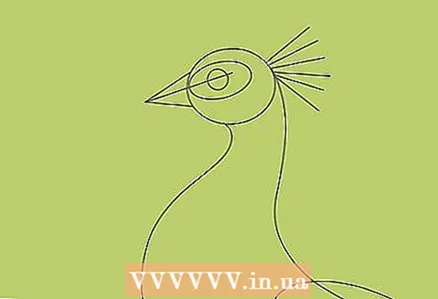 8 Draw 6 radial lines from the back of the head.
 9 Draw arches, leaving a small distance between the radial lines.
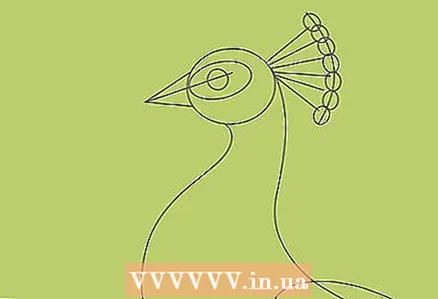 10 Draw ovals of the same size on the arch, overlapping each other.
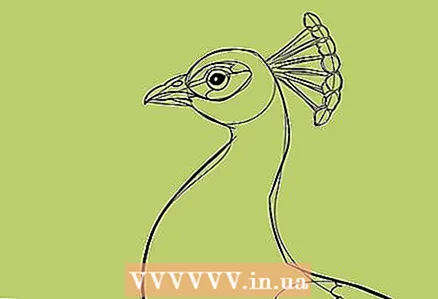 11 Draw clean lines on the sketch with matching details.
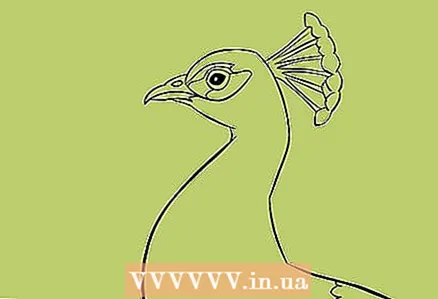 12 Erase all unnecessary lines.
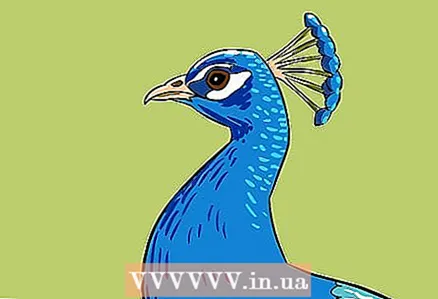 13 Color the peacock with shading and details.
Method 3 of 4: Method Three: Peacock
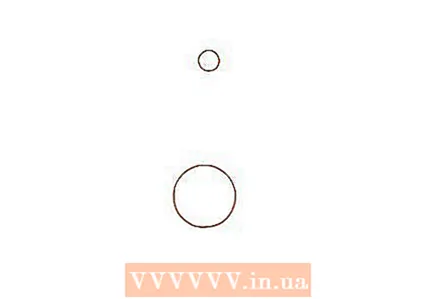 1 Draw two small circles. The smaller circle is above the larger one. This will be the diagram.
 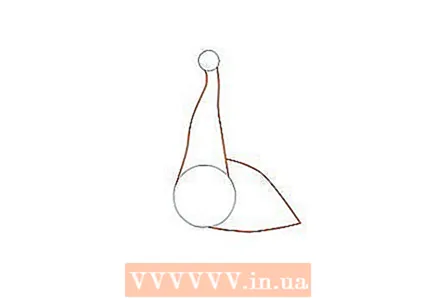 2 Draw the body using curved lines that connect the circles.
 3 Draw the beak using straight lines on a small circle.
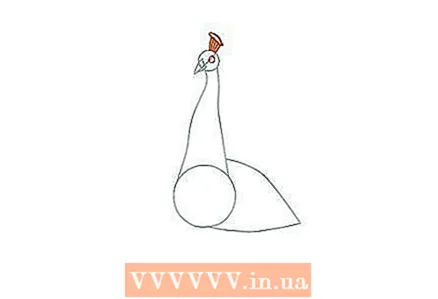 4 Draw a comb on the head. Draw a small circle for the eye.
 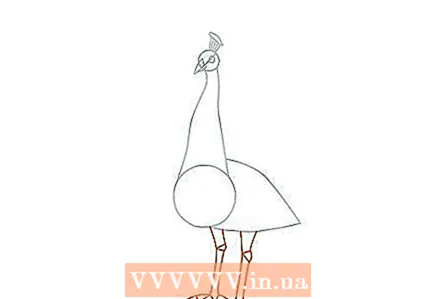 5 Draw the legs and feet using straight lines under the body.
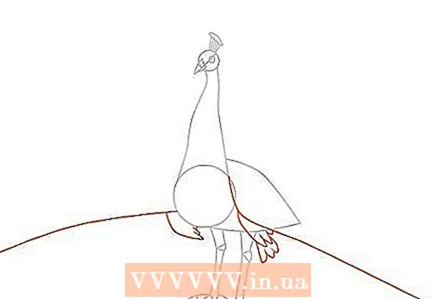 6 Draw a sweeping tail with feather details next to the body.
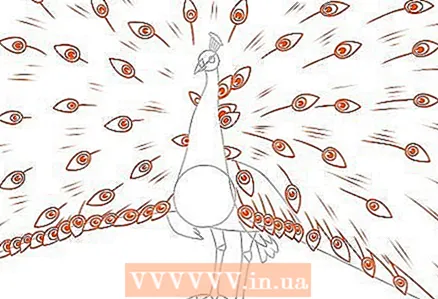 7 Draw the details of the feathers using eye spots and straight lines.
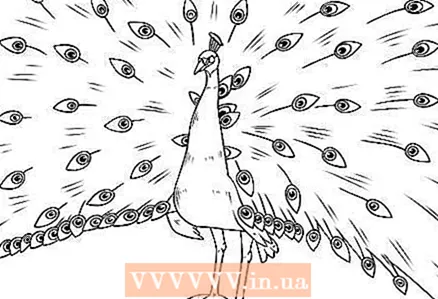 8 Circle with a pen and erase unnecessary lines. Add details.
 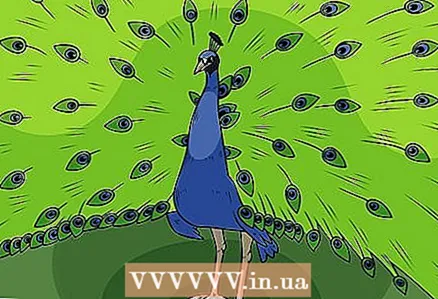 9 Color as you like!
Method 4 of 4: Method Four: Female Peacock
 1 Draw a circle and a large oval. A circle is drawn on the upper left side of the sheet. This will be the diagram.
 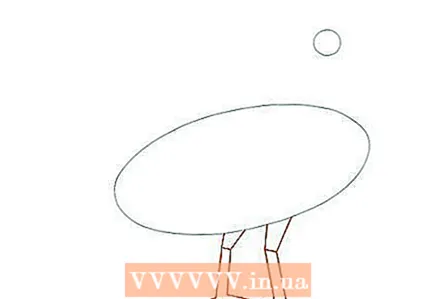 2 Draw details for the legs and feet using straight lines.
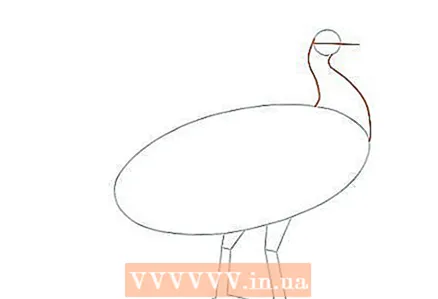 3 Draw curved lines connecting the circle and the oval.... This is for the neck. Also draw a horizontal line in the center of the circle that extends slightly outside the circle.
 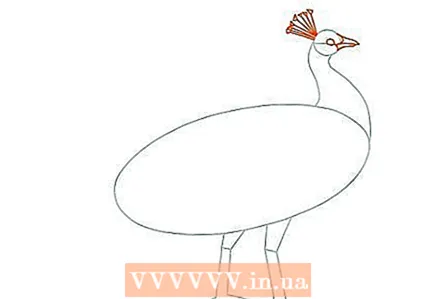 4 Draw details for the beak and the ridge above the head.
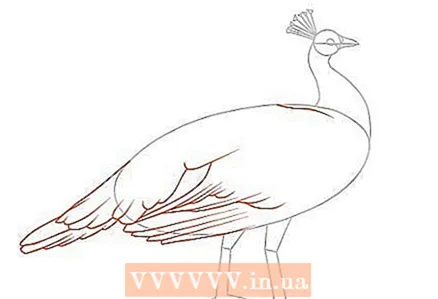 5 Draw the details of the feathers that are on the body and extend towards the tail.
 6 Refine the legs using curved lines.
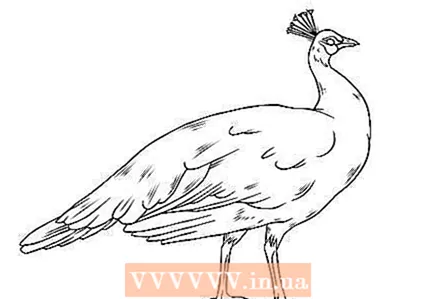 7 Circle with a pen and erase unnecessary lines.
 8 Color as you like!
What do you need
- Paper
- Pencil
- Pencil sharpener
- Rubber
- Colored pencils, crayons, markers or paints


