Author:
Ellen Moore
Date Of Creation:
17 January 2021
Update Date:
2 July 2024
Content
- Steps
- Part 1 of 3: Prepare the surface
- Part 2 of 3: Apply Contact Adhesive
- Part 3 of 3: The Bonding Process
- Tips
- Warnings
- What do you need
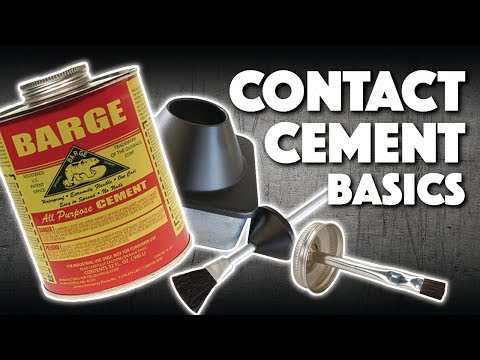
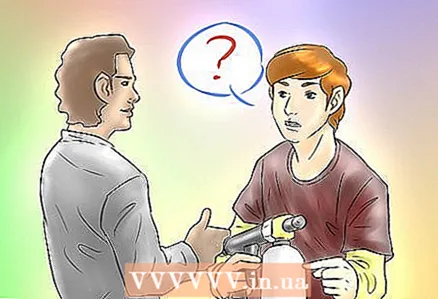
Contact adhesive is great for gluing large pieces of plastic, laminate, wood, plywood, and more. They can glue almost any broken household item. Contact adhesives are now very common and there are many different types. Choose the most suitable one.
Steps
Part 1 of 3: Prepare the surface
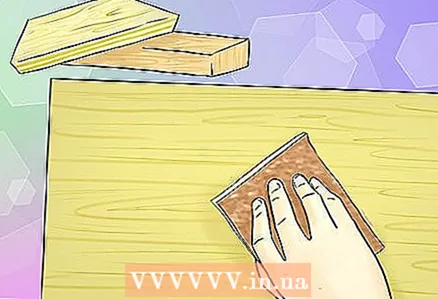 1 Sand the surfaces to be bonded. This can be done with sandpaper or other rough surfaces. Wipe off dust and clean the surface.
 - It is best to wear a face mask to prevent dust from entering the respiratory tract.
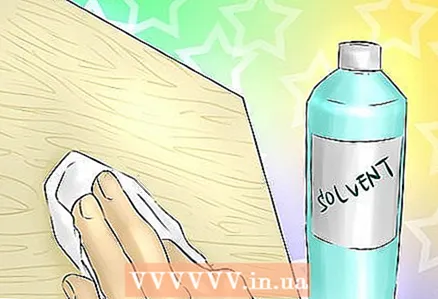 2 Use a solvent to get rid of dirt and grease from surfaces. After that, the surface should dry.
 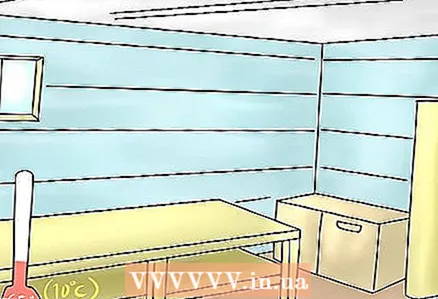 3 The temperature in the room where you are going to work must be at least 18 degrees Celsius. Carefully read the other requirements on the adhesive packaging.
Part 2 of 3: Apply Contact Adhesive
 1 Hand spray applicators can be used to apply the adhesive. They are ideal for large surface areas.
 - Automatic applicators are ideal for wide surfaces, but require more air pressure.
- Pressurized cylinders and compressors require special care during storage and use.
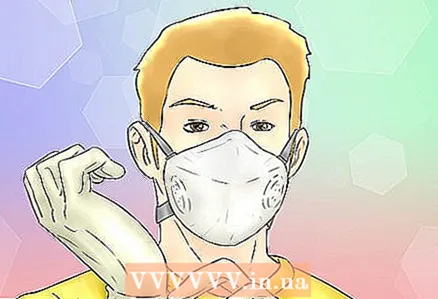 2 A mask and gloves should be worn when working with glue, as some of the components can be toxic.
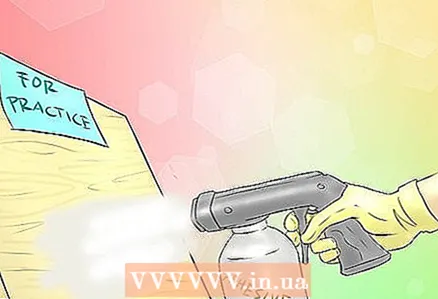 3 First, spray some glue onto the probe (test surface). Apply one layer and see how long and in what condition the surfaces begin to set.
 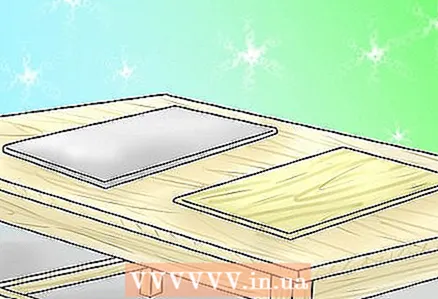 4 The surface you are applying the glue to must be supported on something. This can be a stand, stool, work table, and so on.
 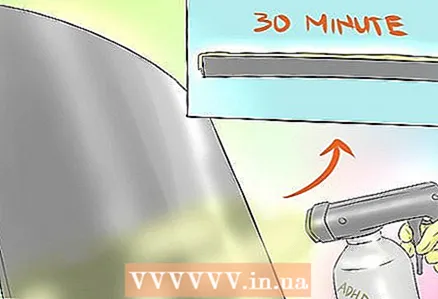 5 Apply glue to the prepared surface. Leave the surface for 30 minutes for the first layer of glue to dry. On such surfaces, two layers of glue must be applied.
 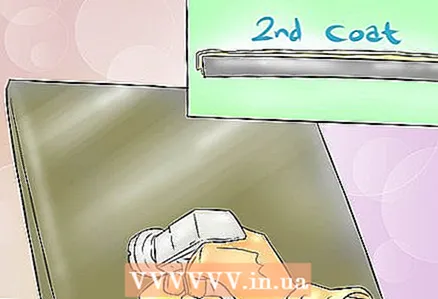 6 After 30 minutes, apply another layer of glue evenly, leave for 10-30 minutes. The instructions for use may indicate a different time. The adhesive must dry before being ready for use.
 - Some types of glue require a wait of 4 to 24 hours. Then you need to glue the surfaces, while smoothing the emerging air bubbles.
Part 3 of 3: The Bonding Process
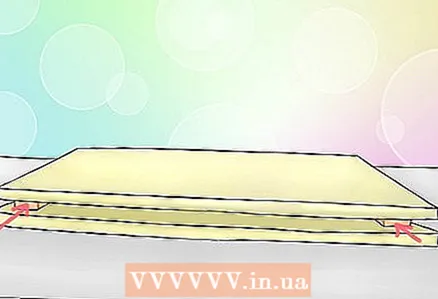 1 Spacers or pins can be placed on the reference surface for stronger and more accurate adhesion. To do this, you can place notches on one surface, and grooves for them on the other. The notches should fit exactly into the grooves.
 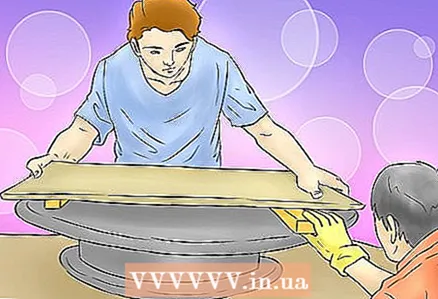 2 You may need an assistant to hold the surfaces together. It is important to correctly align the top and bottom surfaces.
 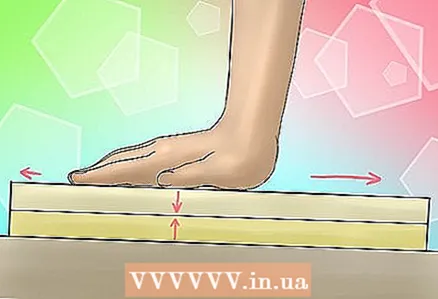 3 Press the surfaces together. Start pressing in the center and then evenly work out to the edges.
 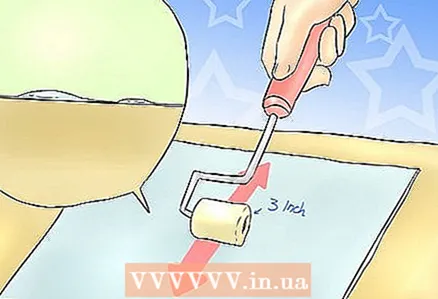 4 Use a roller (7.5 cm) to smooth out any air bubbles that appear. You can use a brush.
  5 After the surfaces have adhered, wait for a while and then remove any glue and other possible dirt from the edges of the surfaces. The surfaces themselves can be leveled using a power saw or other tools.
Tips
- Remember that each type of contact adhesive has several bonding steps. Test the adhesive on a test surface before gluing the surfaces.
- You can remove the glue from the surface with water and detergent, but this should be done while the glue is still wet. Once the glue dries, it will be almost impossible to remove it.
Warnings
- Low pressure pumps and compressors are not suitable for contact adhesive.
- Do not allow dust or dirt to get on the not yet dry adhesive layer. This will greatly affect the strength.
What do you need
- Spraying equipment
- Shop
- Protective clothing
- Breathing mask
- Gloves
- Protective glasses
- Small roller (7.5 cm)
- Water
- Detergent
- Solvent
- Spacers
- Timer


