Author:
Florence Bailey
Date Of Creation:
23 March 2021
Update Date:
1 July 2024
Content
TeamViewer is a software application that is used to connect to any computer or server around the world in a matter of seconds. This program has many features such as remote control, desktop sharing, and file transfer between computers. You can even access your TeamViewer computer from your web browser! TeamViewer is compatible with Microsoft Windows, Mac OS X, Linux, iOS and Android. This quick guide will walk you through the installation of TeamViewer and help you set up a basic desktop sharing session with a partner.
Steps
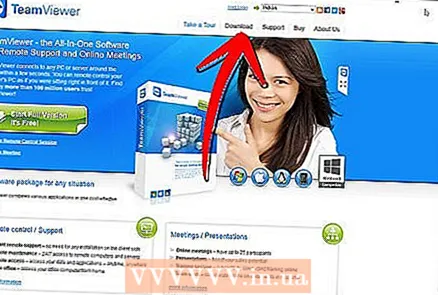 1 Go to http://www.teamviewer.com.
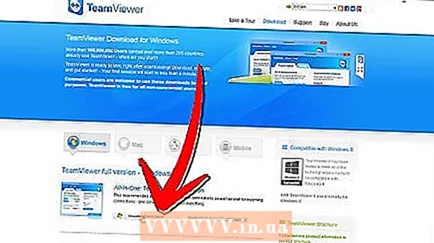 2 Click on the "Download" button. There are many versions for download: full installation, portable, or archived (.zip).
 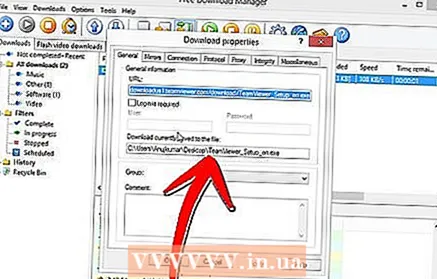 3 Save the file to the desired location on your computer.
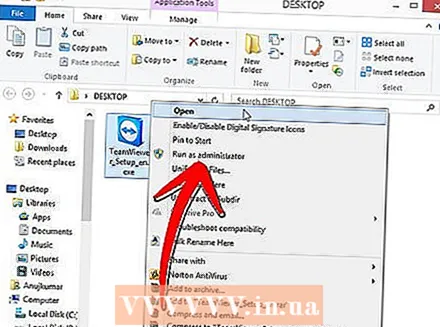 4 After the file has finished downloading, open the file to complete the installation.
 5 Select run or install.
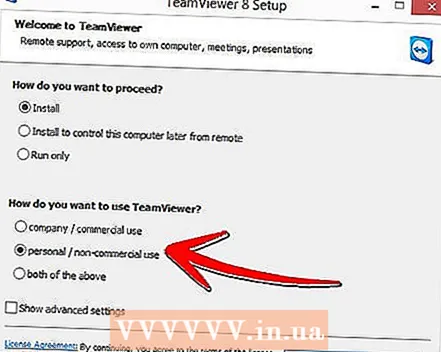 6 Select Personal / Non-commercial for personal use OR select a commercial license if you have a license.
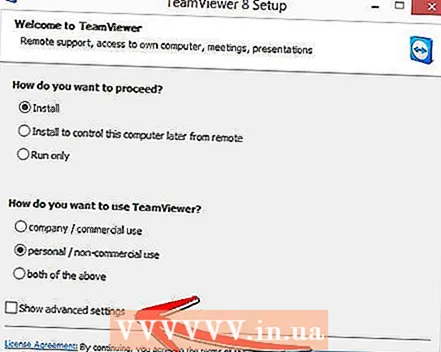 7 Select "Show Advance Settings" in case you want to change the installation path.
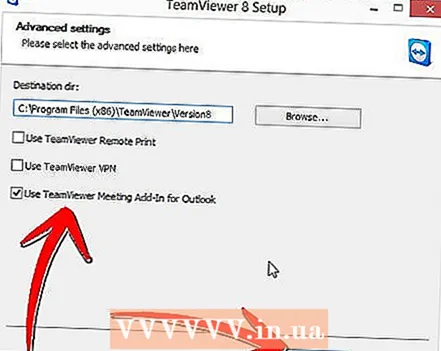 8 You can select the VPN enabled or add-in options for Outlook from the advanced settings. Click the Finish button after choosing your settings.
 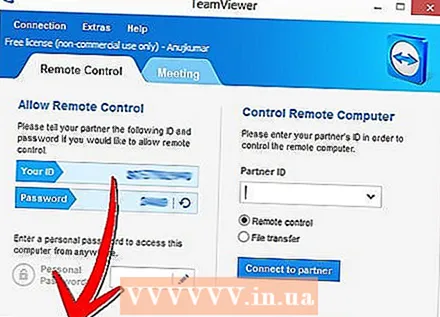 9 You are now ready to start a desktop sharing session with a partner who also has TeamViewer installed on their computer.
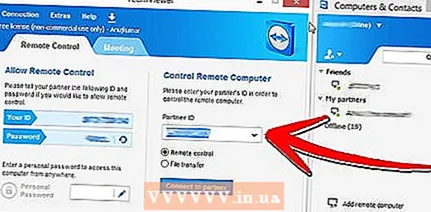 10 Enter your partner's ID number in the field below "Create Session".
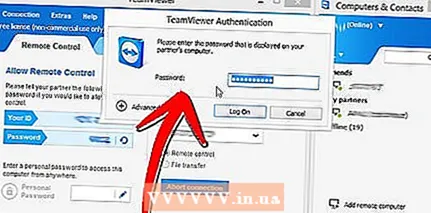 11 When prompted, enter the password provided by your session partner.
- You will now have full remote access to your partner's computer.
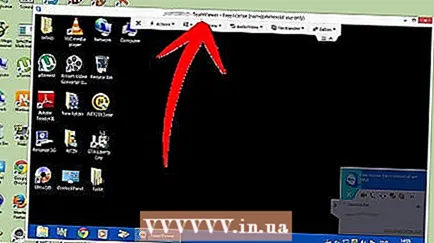
- You will now have full remote access to your partner's computer.
Tips
- Feel free to explore TeamViewer's robust feature set, such as video and voice sharing, to enhance your desktop sharing experience.


