Author:
Mark Sanchez
Date Of Creation:
28 January 2021
Update Date:
2 July 2024
Content
Make sure you can always meet in person by storing contact information in your contacts list in the Contacts app on your iPad.
Steps
 1 Tap the Contacts icon on your iPad's Home screen to launch the Contacts app.
 2 Click the plus (+) button at the top of the interface.
 3 Enter the first and last name of the contact in the first two fields by clicking on them in turn and using the virtual keyboard.
 4 Enter the company name in the Company field if required.
 5 Click the Phone and Email fields in turn and enter the appropriate information. You can also add additional phone numbers and email address below the primary information you add.
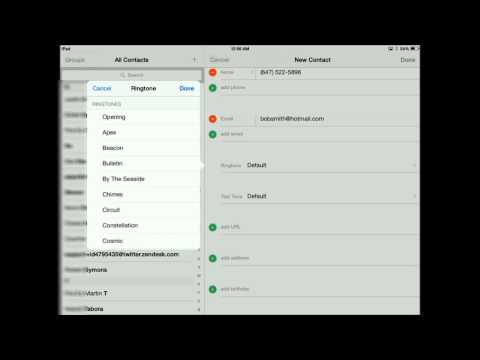
  6 Tap the Ringtone or Text tone fields to select a special ringtone or text tone for this contact. Click the Save button when done.
  7 Click the Home page field and enter the website for the contact.
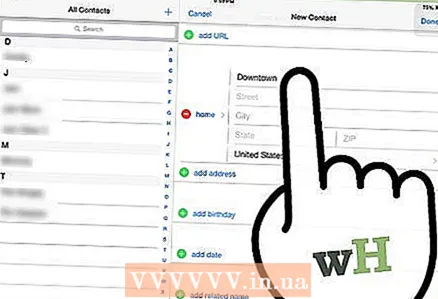 8 Tap the green circle with the plus (+) sign in it to enter the address for the contact.
 9 Click the Notes section to add any additional details for the contact. When done, click the Done button.
 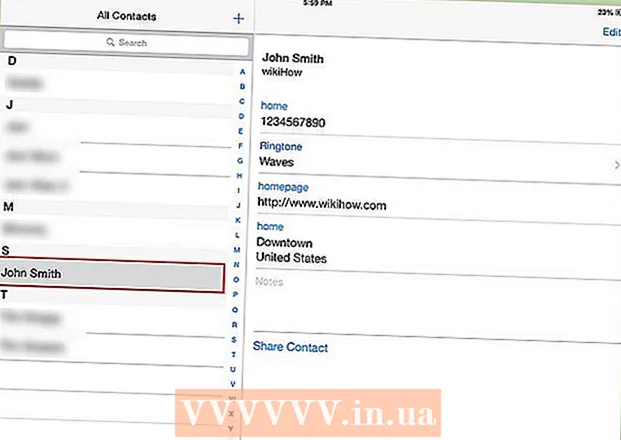 10finished>
Tips
- You can click on the Add Field section when creating or editing a contact to add another item to the contact information as needed.
- You can select and save phone numbers and email addresses in email messages and web pages on your iPad, and select Add to Contacts to quickly create a new contact.
- You can add a photo for your contact by clicking on the Add photo field and choosing To take a photo with your iPad’s camera or by selecting one of the photo library on your iPad.
Warnings
- If you use iCloud to sync your contacts, new contacts added to your iPad will be sent to the connected devices. Be sure to check that you are not adding duplicate contact information before adding a new contact.


