Author:
Joan Hall
Date Of Creation:
25 July 2021
Update Date:
1 July 2024

Content
Tired of manually signing your emails all the time? Want your emails to look more professional, with links to your sites and company logos? Why not, in Gmail it's easy and simple. You can make any signature you want - with links, images, special looking text. This article will tell you everything you need to know about this.
Steps
Method 1 of 2: Simple signature
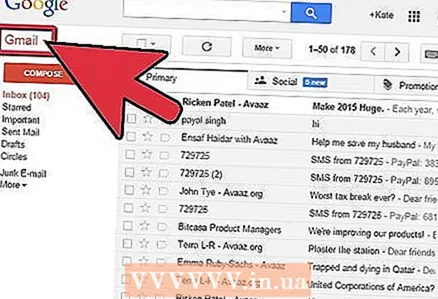 1 Open Gmail. Make sure you are logged in.
 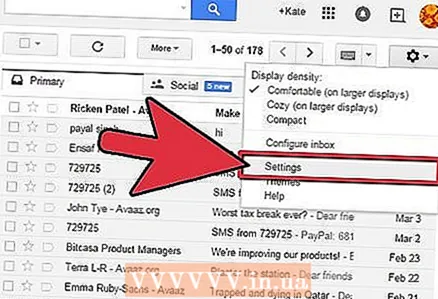 2 Open the settings (Settings menu). Click on the gear-shaped icon in the upper right corner, select the appropriate line from the list that appears.
 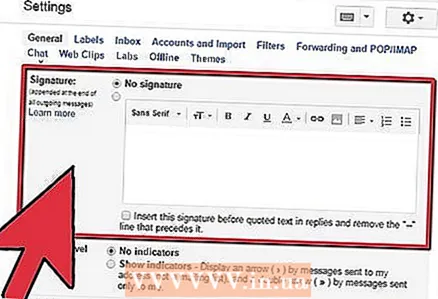 3 Find the Signature section. We'll have to scroll a little through the settings menu. The relevant section is a simple text box with a drop-down menu.
 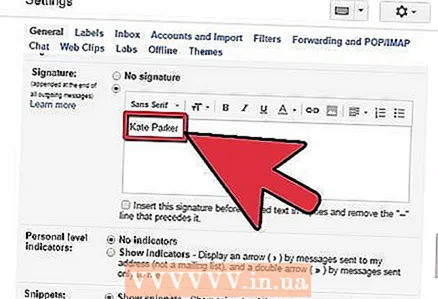 4 Enter your signature text. You can write anything you want. The formatting menu, in turn, will help you make it all look the way you like it. The standard signature includes name, place of work, job title, and contact information.
 - Font, text color, style - this is not a complete list of all that can be changed in the design of your signature. Remember, however, that the signature should look professional and simple, without distracting the reader from, in fact, the letter.
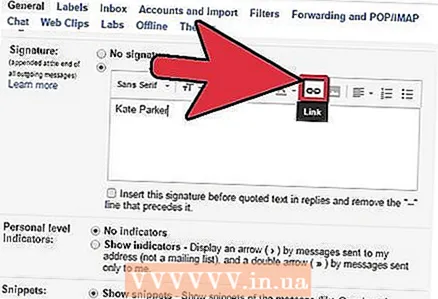 5 Add links to your signature. If you have websites, why not link to them in your emails? The “Link” button (icon-shaped button) located in the formatting menu is responsible for exactly this.
 - After clicking on this button, a new window will appear in which you can specify the link address and its name (the text that will look like a link). You can even link to a different email address.
 6 Add different signatures for different email addresses. If you have several email addresses associated with one Gmail account, then you can create a separate signature for each of them. To do this, simply in the menu of the "Signature" section, select with which e-mail address to associate this particular signature.
 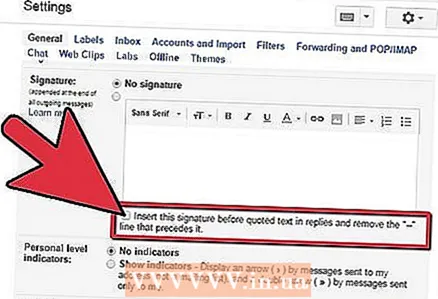 7 Specify where the signature should be displayed. Below the text field for editing the signature, you can check the box next to the item “Add this signature before the quoted text in response messages and delete the line“ - ”before it”. Actually, the name of the item speaks for itself.
Method 2 of 2: Signature with images
 1 Upload the image you want to use in your signature to an image hosting service. For an image to be inserted into a signature, it must be online. You won't be able to use a file on your computer's hard drive.
 - Here you have a huge selection: Photobucket, Blogger, Google Sites, Google+ or any other similar service.
 2 Copy the address of the image. After uploading the image, copy its address (URL). However, everything is not so simple here: some hosting services immediately give you the address of the picture, some do not. If your case is the second, then just right-click on the image and select “Copy Image URL”.
 - The image address must end with the file extension (.gif, .webp. .Png).
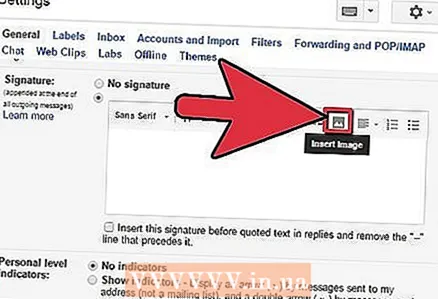 3 Add an image. Click on the "Insert Image" button above the text field in the "Signature" section, then a new window will appear. Paste the address of the picture into the corresponding field. If you did everything correctly, a preview of the image will appear. If the preview does not appear, then somewhere you made a mistake.
 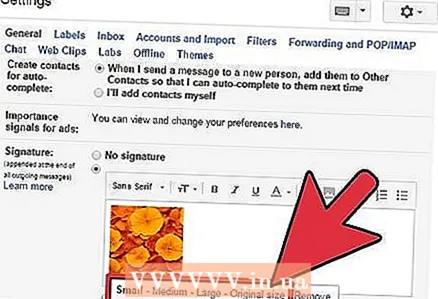 4 Resize the image. A caption that is too large is likely to be slightly out of place. After adding an image, you should click on it directly in the text field with the caption to open the image resizing menu. At the bottom of the image, you will see 4 available options: “small”, “medium”, “large” and “original size”. Choose the one that will allow you to see the image, and it won't take up much space in the signature.
 - Since the image is being linked to and not actually included in the email, you don’t have to worry about uploading it every time you send an email.
 5 Save your signature. So, the signature is ready, you like it. What need to do? Save all changes, which will help you with the button “Save changes” located at the very end of the settings menu. After that, all your letters will contain a signature.


