Author:
Peter Berry
Date Of Creation:
13 February 2021
Update Date:
28 June 2024

Content
Most cats are capable of cleaning their own ears. Their grooming habits are so meticulous that it is possible to clean the entire hind ear and earlobe. However, cats sometimes still need assistance in cleaning this part. This is also your chance to regularly check the cat's ears for potential problems inside the ears to prevent them from becoming more serious.
Steps
Part 1 of 2: Examining Cat's Ears
Examine your cat's ears. Note that you can only see the outer part of the ear; you cannot see the inside of the ear canal or eardrum because they rotate horizontally at the position where the ear canal meets the head.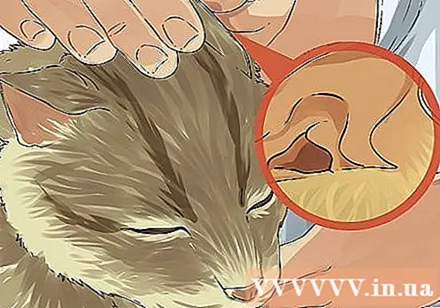
- Grooming during a time when your cat is in need of attention or sleep is easiest and least annoying. And when they are in a state of energy or like to play, there is the risk that they will resist and scratch when touched by you.
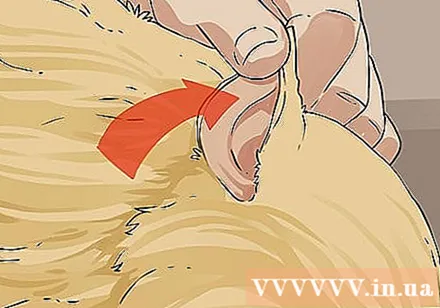
Gently grasp the tip of the ear. Gently rotate the earlobe from the inside out until you can see the inside clearly. Look into the cat's ear canal as deeply as you can. Do this with both ears.- Test your ears in well-lit areas, such as near a window or under bright indoor lights.
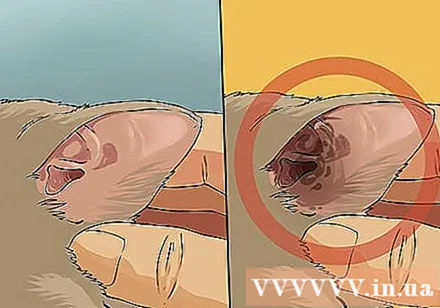
Determine if your ears need cleaning. You can tell that your cat's ears are completely clean with a pale pink color, very little wax and dirt, and no debris or odor.- If your cat has clean ears, this is a sign that she is able to clean herself. Note that you do not need to clean them when the ears are completely clean.

Take your cat to the vet if you notice any abnormalities. It is normal for a cat to have earwax and dirt on, in and near the ears. However, any discharge in and around the ear is abnormal.- Green or yellow and red pus, and dark red or black discharge are all unusual. Unusual discharge from the cat's ear is a sign of a bacterial or fungal infection, or a tick infection. Then you need to get your cat to see a veterinarian right away.
- Consult your veterinarian if you notice unusual smells coming from your cat's ears and surrounding redness or swelling.
- If you only notice dirt or wax, you can clean your cat's ears at home.
Part 2 of 2: Ear Cleaning
Make sure your cat is comfortable. Some cats do not like others to clean their ears and they may resist. Move the cat into a quiet room with no other pets. You need a second person to help you hold the cat while you clean her ears.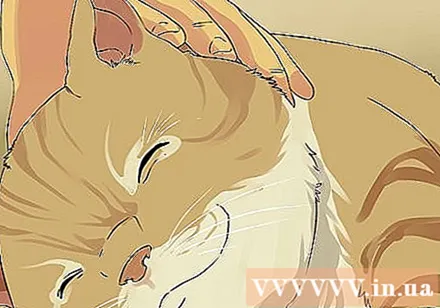
- The cat holder should only use mild force. If the force is too strong, the cat will not cooperate well and try to escape.
- If the cat refuses to cooperate, you can “wrap” the cat by covering its body (including its limbs) with a thick towel.
- If your cat becomes too agitated during the cleaning process, stop. You won't want them to scratch or bite your skin.
Buy an ear sanitizer. A good solution is usually mild astringent and dries up quickly. You can purchase an ear sanitizer at a veterinarian's office or a reputable pet supply store.
- You can make your own cleaning solution if you need it urgently. A mixture of one part white vinegar and one part rubbing alcohol will be effective if used sparingly. Be aware that if your cat gets scratched or gets infected, this solution can irritate her.
- Do not use water for cleaning as it can remain in your cat's ears and allow yeast to grow.
- You can use a cotton swab moistened with hydrogen peroxide or olive oil to clean the outer surface of the ear.
Store the ear cleaning solution at room temperature before use. This step will help your cat feel comfortable. We humans do not want to put a cold cleaning solution into the ear. And so are cats!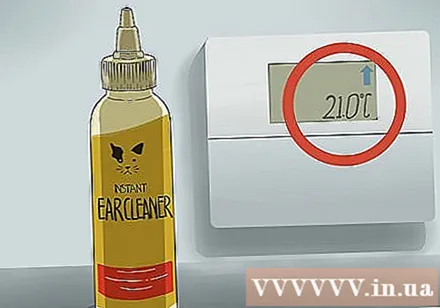
Put a few drops of the cleaning solution in the cat's ear. Use the appropriate dosage as recommended on the directions printed on the label. Only one ear should be cleaned at a time. Massage the ear roots for 20-45 seconds for complete cleansing.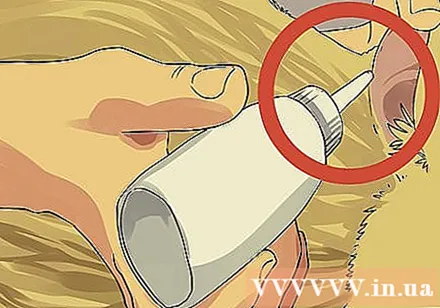
- Use firm but gentle force while rubbing the base of the ear. Do not scrub vigorously, as this can damage the eardrum. A rule of thumb while cleaning your cat's ears is to get rid of dirt and wax, instead of getting it in the ear.
- Give the full dose as directed by your veterinarian or instructions with cleaning solution. Otherwise, the cat's ears will not be cleaned properly.
Leave the cat alone for a minute or two. Have them shake their heads to remove any ear wax or dirt that has accumulated inside.
Wet the cotton pad or gauze and gently wipe the cat's ear. You should not insert cotton or gauze too deep into the horizontal part of the ear canal; otherwise, it will cause ear wax and internal dirt that cannot fall out.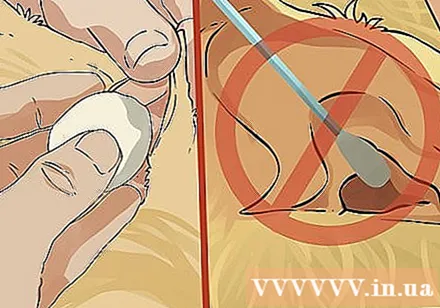
- Do not use a cotton swab to clean your cat's ears unless recommended by your veterinarian.
- Do not clean too deeply into the cat's ear canal. Doing so can damage the ear canal tissue and even puncture the cat's eardrum. If the eardrum is punctured, your cat will experience pain (scratching his ears, meowing, etc.), loss of balance, or sitting tilted his head to the side. If you notice one of these symptoms, take them to your veterinarian to have them checked.
After you have cleaned your ears, praise, petting, and rewarding your cat. This will calm them down and will cooperate the next time they clean.advertisement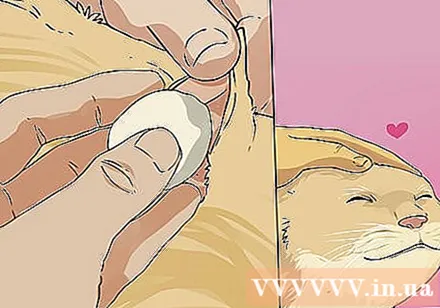
Warning
- Certain diseases and conditions can cause diseases in your cat's ears. Plague diseases include ear mites, ticks, fleas, infections, yeast infections, foreign bodies (such as plant antennae), and, very rarely, tumors. The most common ear-related problems in cats are ear infections, an infection of the outside of the ear in front of the eardrum. If you are concerned about the condition of your cat's ears, consult your veterinarian.
- Bleeding after cleaning is not normal. If you notice bleeding around your cat's ears after cleaning, you should see your veterinarian right away.


