Author:
Peter Berry
Date Of Creation:
20 February 2021
Update Date:
20 May 2024
Content
This article shows you how to create a new Apple ID to do a number of things like downloading apps, buying and selling on iTunes, and connecting to iCloud.
Steps
Open Settings. This is a gears-shaped () app that's usually located on the home screen.

ClickSign in to your iPhone (Sign in to iPhone). The button is at the top of the menu.- If you have another Apple ID that's signed in and want to create another ID, click the user's Apple ID and then click Sign Out at the bottom of the Apple ID menu. Follow the request to log out.
- If your device is running an older version of iOS, you need to click on iCloud and then Create a new Apple ID.

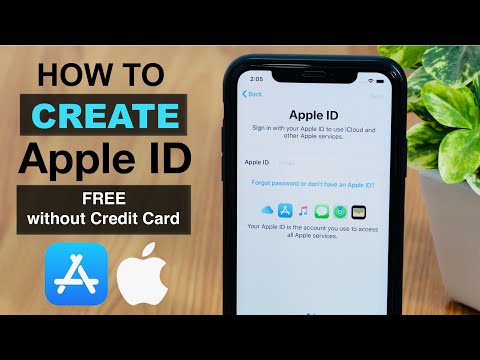
Click Don't have an Apple ID or forgot it? (Don't have an Apple ID or forgot it?). The entry is below the password box.
Click Create Apple ID.

Enter your date of birth. Slide the boxes for the month, day, and year at the bottom of the screen to enter the date of birth.
Click next (Next). The button is in the upper right corner of the screen.
Enter your full name. Type your full name in the corresponding box.
Click next. The button is in the upper right corner of the screen.
Select an email address to use.
- If you want to use an existing email address, click Use your current email address (Use your current email address).
- To create a new iCloud address, click Get a free iCloud email address (Set up a free iCloud email address) and follow the on-screen instructions.
Enter your email address. This will be your Apple ID.
Click next. The button is in the upper right corner of the screen.
Enter and confirm a password. Enter a password in the specified box.
- Password must have a minimum of 8 characters (including numbers and upper and lower case letters) with no spaces.Also, the password does not contain three consecutive characters (ggg), not the Apple ID or the password used in the past year.
Click next. The button is in the upper right corner of the screen.
Choose your country. If the field isn't automatically filled out, you'll need to click in the box next to "Country" and click the country name associated with the phone number.
Enter your phone number. If the entry isn't automatically filled out, click the box next to "Number" and enter your phone number.
Choose a verification method. ClickText Message (Text message) or Phone Call (Calling) to choose how Apple validates your phone number.
Click next. The button is in the upper right corner of the screen.
- A confirmation code will be sent by text message or via phone call.
Enter your confirmation code. Enter the six-digit confirmation code you received and click next.
- If you received the code via text, the iPhone can recognize it and autofill it.
See terms and conditions. If you want to send by email, click Send by Email at the top of the screen.
Click Agree (Agree). The button is in the bottom right corner of the screen.
Click Agree. If you don't automatically log into iCloud, you can enter the email used to create your Apple ID and password in the box specified.
Click Sign In (Log in). The button is in the upper right corner of the screen.
- The screen will occasionally show the message "Signing into iCloud" when accessing data during the login process.
Enter your iPhone passcode. This is the unlock code that you set up for your device when installing.
Combine data. If you want to combine your calendar, reminders, notes, or other data available in your iPhone with your iCloud account, click Merge (Combined); if not, click Don and Merge (Not combined).
- Now you have created your Apple ID and logged into your iPhone.
Advice
- You can set up an Apple ID on a desktop computer.
- You need an Apple ID for a variety of reasons such as installing new apps on iPhone, including an iCloud account, to wirelessly switch apps from one place to another to update apps (on old iPhone with session old iOS version). You should consider this!
- During the initial setup, the device will ask you to install your Apple ID. You will not be able to complete this step without following the request.
- While choosing an email address and password for your Apple ID, you can enter an email address that you can use to access your account if something goes wrong or you forget your password.
Warning
- Without a credit card, Apple won't let you create an account. You must have an active credit card account (a debit card with a credit card icon is also valid) stored on your iPhone for proper use. So, if you don't have a credit card, you won't be able to sign up for an account.
What you need
- iPhone / iPod Touch / iPad
- Internet connection
- Available email address
- Valid debit card, iTunes gift card, or gift certificate


