Author:
Peter Berry
Date Of Creation:
19 February 2021
Update Date:
2 July 2024
Content
This wikiHow teaches you how to remove the MacBook key and reattach it. The MacBook keys are easy to disassemble, but you should exercise extreme caution to minimize the risk of damaging the keyboard. Removing the keys on your MacBook doesn't necessarily mean Apple disclaims the warranty, but if there are any problems then it's better to bring your Mac to the Apple Store instead of working on it yourself.
Steps
Part 1 of 2: Remove the key
, choose Shut Down ... then click on Shut Down when prompted. This ensures that you won't get an electric shock, and your Mac won't be affected when you remove the key.
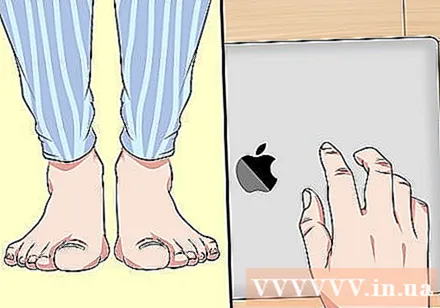
Self-grounding. Even if you do not touch the electrical circuit or similar sensitive components inside the machine, self-grounding takes only a few seconds and will help eliminate the (albeit small) risk of damaging the key's electronic components.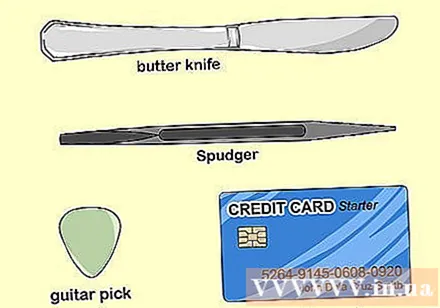
Find a tool to pry the key up. You need something that is relatively large, thin, and hard. Here are a few pointers:- Guitar plucking keys
- Credit card / ATM
- Praying plastic components
- A plastic butter knife
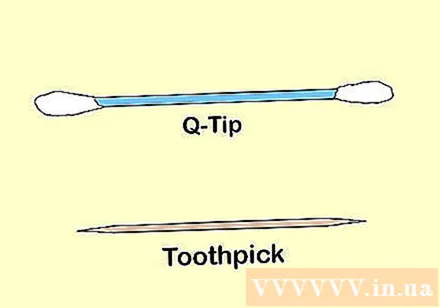
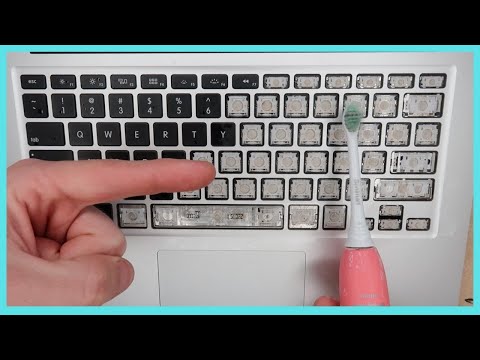
Gather your tools. You will need a cotton swab (to clear the space between the keys) and a toothpick or similar thin, malleable object (to scrape off dirt around the keys).
Clean under the key. Use a toothpick (or similar object) to scrape the bottom around the key. This will remove debris, dirt, and so on from the key.
- As always, you need to do it gently so you don't get the toothpick stuck under the key.
- Just insert the toothpick about 3 mm below the key.
Clean the area around the key. Soak a cotton swab in some warm, clean water, then wring out the water (as we only need the cotton tip to be slightly damp) and sweep the area around the key.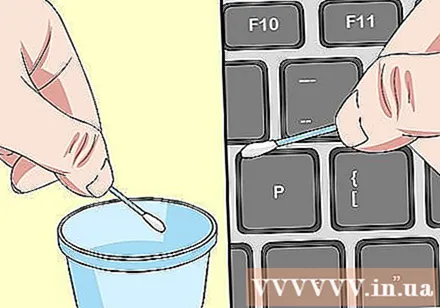
- This removes any sticky or greasy buildup around the keys, making it easier to remove the button.
- This step also helps to remove any remaining dirt after shaving with a toothpick.
- You can use isopropyl alcohol instead of water if the dirt around the keys is a bit stubborn.
Insert the pry tool in the space below the key. This is where the key is most easily detached.
Gently pry the key up. You may need to push the tool back and forth while prying; When a few soft "click" sounds were heard, the key cap popped out.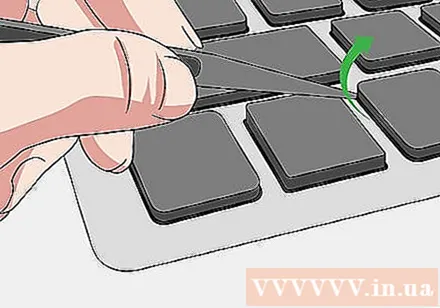
- After inserting the pry tool into the space below the key, you can press the tip of the stick a little deeper to increase the drag.
Rotate the key and drag straight up. The top of the key will face you while dragging, so the key hook won't get stuck.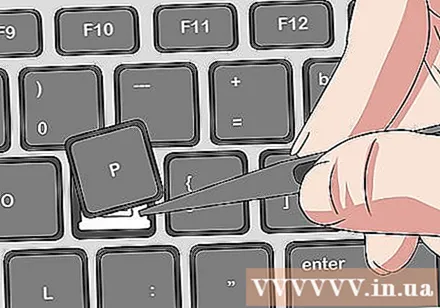
Carry out repairs if necessary. After doing the to-do, you can reinsert the key. advertisement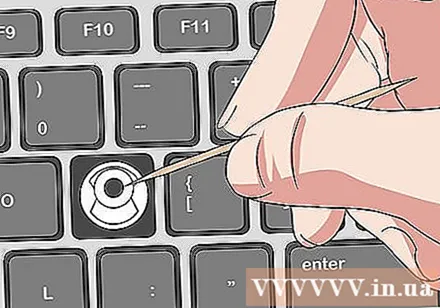
Part 2 of 2: Key assembly
Reinsert or replace key components if necessary. Below the keys are white frames and smaller plastic pads; This structure makes the Mac's key caps pop in and out of position with ease. To reattach the keycap, simply insert the smaller plastic pad into the bracket, then reattach the bracket back into place vertically so that the small square hole is to the right of the space.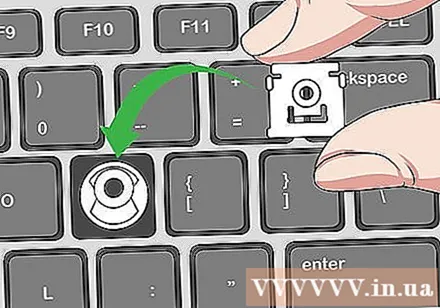
Fit the key into position at a 45 degree angle so that the white hook in the key compartment fits under the keycap.
- If the hook is not in the correct position, you need to pick up the key and try again.
Gently press the key into place. This key will be as flat as the rest.
Press down from above the key. The key will pop into the correct position.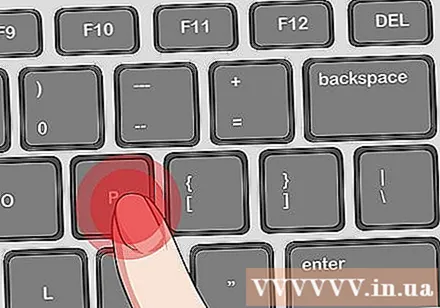
Press down around the key. You should hear a few soft "click" sounds, the key is attached.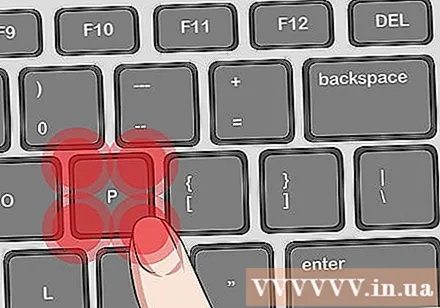
Test the key. Press the key to make sure that the key will pop back up. If the key is on, everything is working properly.
- If the key does not turn on, the plastic hooks are not correctly positioned.
- A key that does not pop up can also be an indication that the key is not inserted correctly.
Advice
- You should always be as light as possible because we are removing physical components from electronic equipment.
Warning
- In some cases, arbitrarily removing the keys may cause Apple to refuse product warranty.


