Author:
John Stephens
Date Of Creation:
28 January 2021
Update Date:
29 June 2024
Content
Google allows you to store and back up data on your mobile device in a variety of ways. Besides, there is Google Drive for users who want to store a backup of their files on the network. Now it's easy to back up your photos, videos, data, apps and settings on Google using your Android phone or tablet.
Steps
Method 1 of 4: Backup Android photos and videos to Google Photos
Download and install Google Photos. This is a free app on the Google Play store.

Open the Photos app on your Android device.
Touch the menu. This section is in the upper left of the screen.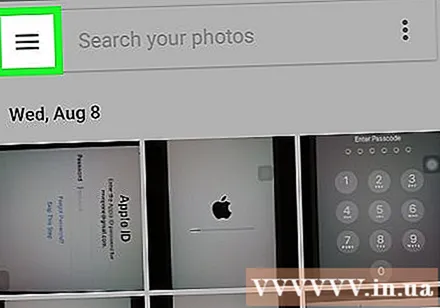

Select Settings. You will see options to upload and organize your photos.
Save photos to Google Drive. Toggle the switch next to Google Drive. This is the action to automatically save photos and videos on the device to the Google Photos library.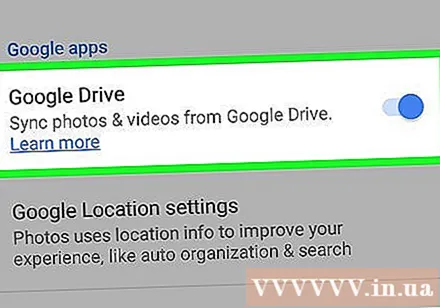

Check if the photos and videos have been backed up.- Open the Google Photos app.
- Tap Photos. You will see this app at the bottom.
- Photos and videos that are not backed up will have an icon that looks like a cloud, crossed out.
Method 2 of 4: Backup Android data on Google Drive
Set up an account on Google Drive. Drive is Google's cloud service that gives you 15 GB of free storage to back up your photos, videos, and other data. Before performing an Android data backup on Google Drive, you need to create an account on this platform.
- Download and install the Drive app on the Google Play store.
- Open Google Drive on your device.
- Sign in with your Google email address and password. You will be automatically connected to Drive.
Open the Google Drive app on your Android device. This app allows you to easily upload files to Google's cloud storage service.
Make sure that Wi-Fi or cellular connection on your phone is turned on.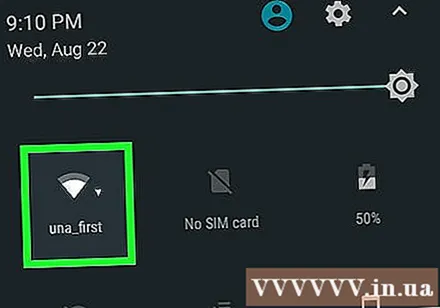
Tap the plus icon in the corner. A new window will be displayed.
Select Upload.
Tap the photos and videos you want to back up to Drive. This is the action to select what to upload.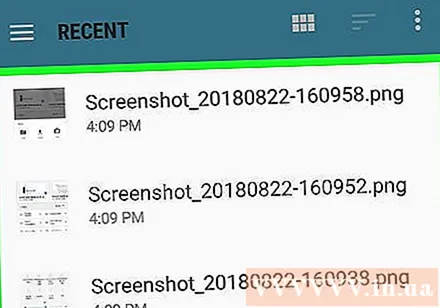
Tap Done. Selected items are automatically backed up to the cloud.
View uploaded files in My Drive. advertisement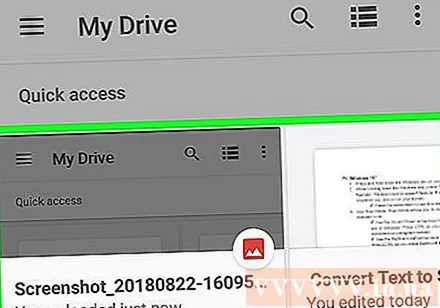
Method 3 of 4: Sync apps and Android settings using Google
Open Settings. This section has a gear image at the top of the screen. The Settings option allows you to easily sync Android apps using Google.
Go to Personal. This is the section that allows you to manage and view personal information, set privacy and set up account history.
Go to Accounts. This section allows you to manage and view your Google account preferences and individual Google services.
Tap on Google. You can view and manage the entire list of Google apps.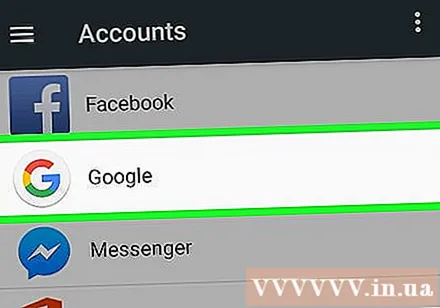
Select the account you want to sync. You can only do this if you have multiple accounts on Google.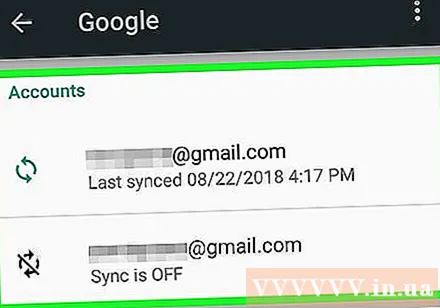
- You can see the list of Google apps synced and the last time they were synced.
- Thanks to the auto-sync feature, Google apps will automatically refresh the data on your Android device and notify you of updates.
- You are allowed to turn off auto-sync for each Google app.
Go to Settings. This gear-shaped icon is at the top of the screen. With many Settings options, you can sync Android settings with your Google account.
Go to Personal. Here, you can manage and view personal information, set privacy and set up account history.
Go to Accounts. This section helps you manage and view your Google account preferences and individual Google services.
Select both "Backup my data" and "Automatic restore". Not only does you back up your Google account, but you also restore all data and settings on your device. The Auto Restore feature is especially useful when you have lost data on your current device, or want to switch to a new device.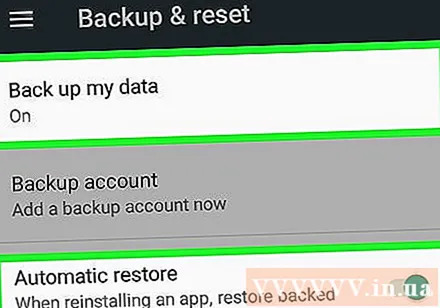
Select the account you want to sync. This step can only be done when you have multiple accounts on Google.
Check all of the boxes listed. This helps ensure that all of your data is synchronized.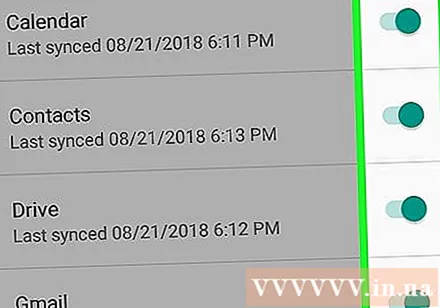
- Note that Android 5.0 and Android 6.0 have more advanced backup features, like save games, settings, app data, and more.
Method 4 of 4: Backup data with Android Backup service
Go to Settings. This is the gear-shaped section at the top of the screen. This section allows you to back up your apps using the Android Backup service. This feature is very useful when you need to replace the device or erase the data on the current device.
Go to Personal. This section helps you manage and view personal information, set privacy and set up account history.
Select “Backup & Reset”.
Tap “Backup my data”. Check the box to enable automatic backup.
Select a backup account. Data on the device will be backed up automatically. Needless to say, you already know that this feature can only be used when you have multiple accounts.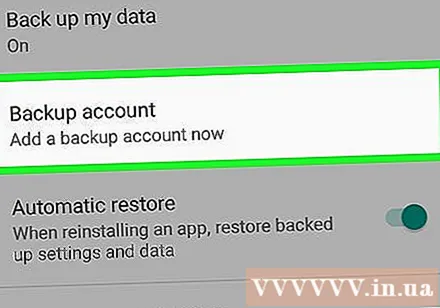
- Go to Settings.
- Go to Personal.
- Tap "Backup account".
- Tap "Add account".
- Confirm your device's PIN, pattern or password.
Sign in with the selected Google account. Your data will be backed up automatically.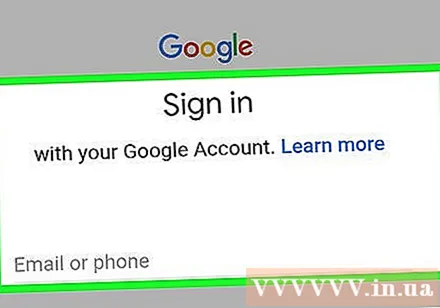
- This service backs up your calendar, network, password, Gmail, display, language, keyboard, Google apps and more.
Data recovery. You can restore data from the Google account that you chose to back up.
- Add your Google account to new or formatted devices. This is the step of automatically restoring backed up data through Android Backup service.
Restore application settings. When you reinstall an app on a new or formatted device, you can also restore previously backed up settings if you want.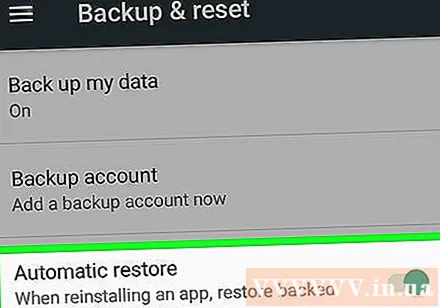
- Go to Settings.
- Go to Personal> Backup & Reset.
- Tap "Automatic restore". You will turn this feature on.
- Note that you cannot restore data of apps that don't use Android Backup service.
Warning
- Changing the backup settings may affect all applications that use the Backup & Sync feature.


