Author:
John Stephens
Date Of Creation:
24 January 2021
Update Date:
1 July 2024
Content
In this article, wikiHow will show you how to use Microsoft Paint in Windows. This is the classic Windows program that's still in use in Windows 10.
Steps
Part 1 of 8: Open Paint
Click the Windows logo in the lower left corner of the screen.
Type paint to find the Paint program on your computer.

Find the Paint application icon in the Start menu. This icon has a color palette image with some colors on it.
Click the item Paint is located next to the app icon to open a new Paint window. advertisement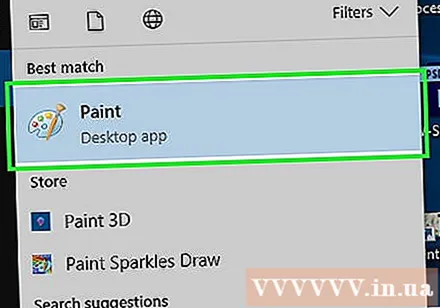
Part 2 of 8: Drawing and erasing

Take a look at the toolbar. The toolbar at the top of the Paint window contains all the options you will use to interact with the artboard.
Choose your primary color. Click any color on the palette located in the upper right of the Paint window to use it for the "Color 1" box. This will be the color you use when using the left mouse button on the artboard.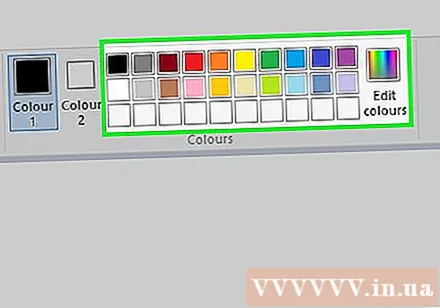
- You can create the color yourself by clicking on the option Edit colors (Color Adjustment) in the upper right corner of the window, select the colors and shades you want to use in the palette, and then press OK.
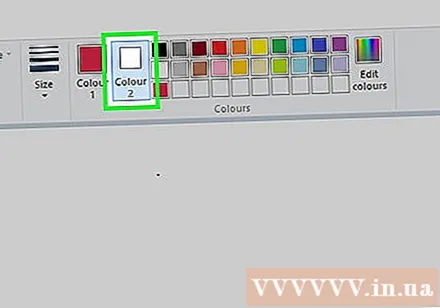
Choose a secondary color. Click the "Color 2" box to the left of the palette and select the color you want to use as your secondary color. This color is activated when you right click on the artboard.
Choose a brush type. Click an option Brushes (Brush) at the top of the Paint window then click on the type of brush tip you want to use. The brush will affect the size, shape and thickness of the brush stroke.
- If you just want to draw freehand using regular lines, click the "Pencil" icon in the form of a pencil in the "Tools" section.
Select a line density. Click an option Size (Size) is on the left side of the palette, then click the density you want to use when drawing.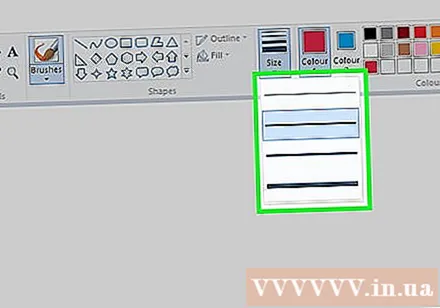
Hold and drag the mouse on the artboard to draw. When drawing, you need to hold down the left mouse button.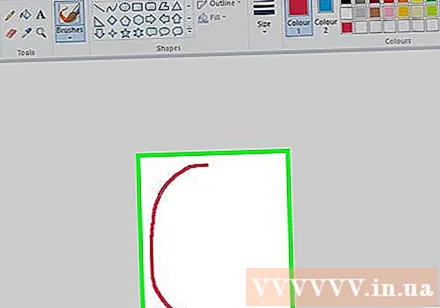
- You can hold and drag the right mouse button to use secondary colors.
Color the area. Click the "Fill with color" tool in the paint bucket shape in the "Tools" section. Next, click on the artboard to convert the entire area to the primary color (or you can also right-click for a secondary color).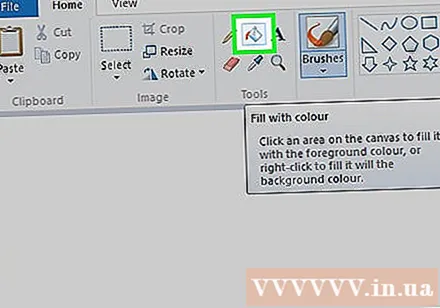
- If you have split the artboard area (for example, using a line to divide the artboard in two), when you click the mouse, only one of the areas will be colored.
- If the artboard is empty or contains only incomplete (non-enclosed) areas, the entire artboard will be colored when you use this tool.
Erase. You can use the eraser feature by clicking the pink "Eraser" icon in the "Tools" section then long-pressing and dragging over the part of the image you want to erase.
- Bleach will use the secondary color. Therefore, you may have to change the secondary color to white (or the background color of your painting, if it is a different color) before erasing.
Part 3 of 8: Shaping
Choose a color. Click on the color you want to use to draw the shape.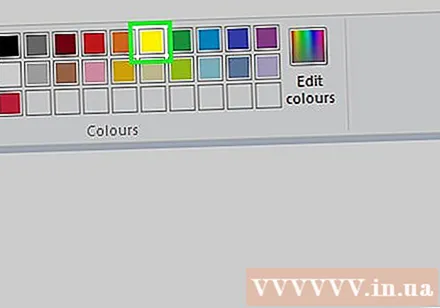
Select a "Fill" color if needed. If you want to fill the shape with color instead of just drawing the outline, click in the "Color 2" box and then click the color you want to use to paint.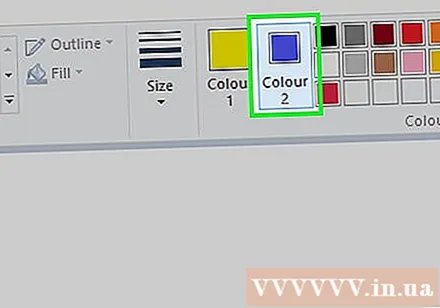
Find the image to use. In the "Shapes" section of the toolbar, you can scroll down or up to see all available frames.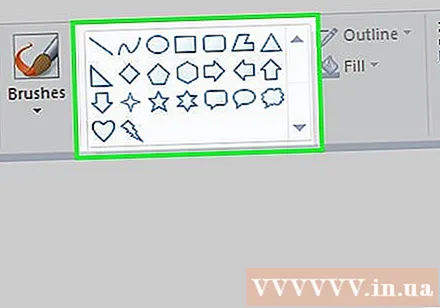
Click to select the image you want to use.
Select the thickness of the drawn line by clicking on the option Size then click the desired thickness in the drop-down menu.
Select the "Outline" option if necessary. By default, the outline of the shape will be the same color as the "Color 1" box. If you want to change the color consistency or remove the border entirely, click the drop-down box Outline and select the corresponding option (such as No outline - do not use border).
Select "Fill" if desired. When selecting the "Fill" color, you can add a "Fill" option to the shape: press Fill then press Solid color (Block color).
- You can choose another "Fill" option (eg crayon - wax color) for stylization when painting.
To draw a shape, hold and drag diagonally across the artboard.
Fixed shape. When the shape has reached the desired size and position, release the mouse button and click outside of the artboard. advertisement
Part 4 of 8: Adding text
Select the text color by clicking in the "Color 1" box and then choose the color you want to use.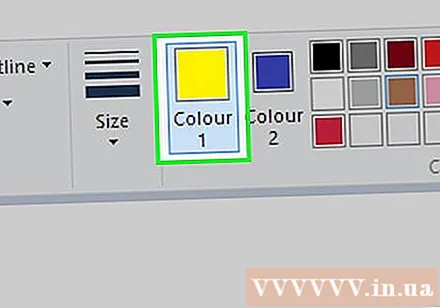
Press the button A at the top of the window.
Choose a location for your text. Specify where you want to write the text on the artboard and click on it. Text boxes indicated by dotted lines appear.
Change the font. In the "Font" section of the toolbar, click in the text box above and select the font you want to use from the drop-down menu.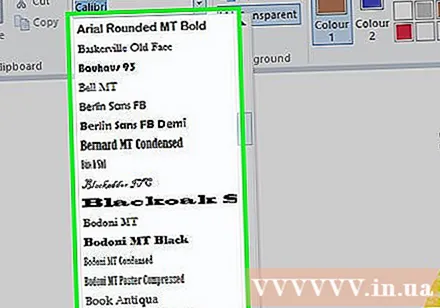
Change the font size. Click the number below the font name, then click the size you want to use.
Add formatting to your text. If you want to capitalize, italicize, and / or underline text, click the buttons B, I, and / or U in the "Font" section of the toolbar.
Increase the text box size if needed. Because you have adjusted the default font and size, you may have to increase the text box size by placing your mouse pointer over one corner of the text box and dragging diagonally outwards.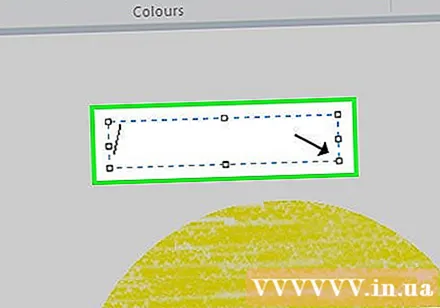
Enter text. In the text box, enter the text you want to display.
Add a background image for the text if desired. If you do not want to use the existing content on the artboard as the background for your text, you can click Opaque in the "Background" section of the toolbar.
- The text's background will be the secondary color in the "Color 2" box.
Fixed text. Once you're done editing, you can click anywhere on the artboard (or outside the artboard) to freeze the text.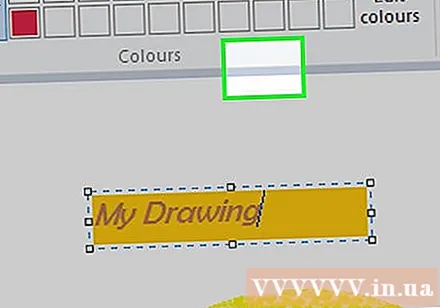
- Once fixed, you will no longer be able to move the text.
Part 5 of 8: Open Photos
Click File (File) in the upper-left corner of the Paint window. A menu will appear.
Click on the option Open (Open) in the middle of the menu to open a File Explorer window.
Choose an image. Locate the image file you want to open in Paint and click to select it.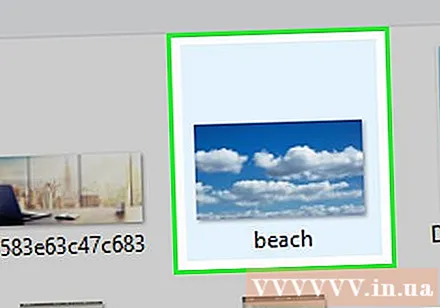
Press Open in the lower right corner of the window. Your photo will load into Paint and the paint panel in Paint will resize to fit this image.
Right-click to enter the menu that will help you open the image in Paint. If Paint is not already open, to open an image in Paint you can right-click on the image and select Open with (Open with) in the drop-down menu and click Paint in the menu that appears after that. advertisement
Part 6 of 8: Cropping and rotating pictures
Click an option Select (Select) at the top left side of the Paint toolbar. A drop-down menu will appear.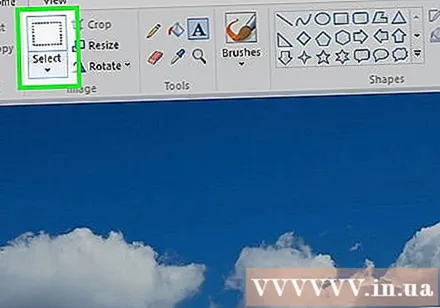
Click an option Rectangular selection (Select by rectangle) from the drop-down menu.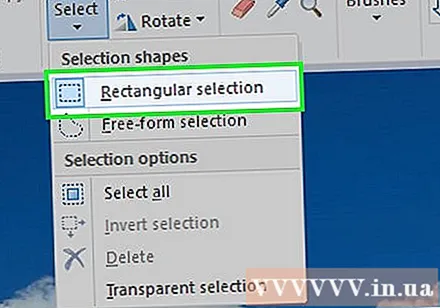
- If you want to draw the selection yourself, use the option Free-form selection (Choose freely).
Make a selection by holding and dragging from the upper left corner of the area you want to select diagonally to the lower right corner and then release the mouse button.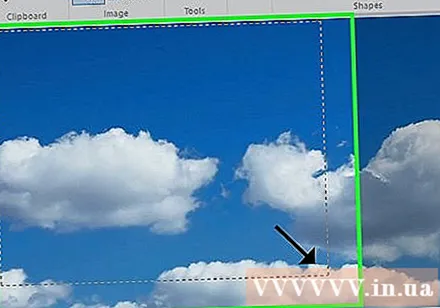
- With free selection, hold and drag around the item you want to crop and make sure the selection is covered before proceeding.
Click an option Crop (Cut) at the top of the Paint window to remove all out of the selection from the image. At this point, the image will only remain inside your selection.
- If you want to leave the selected area and keep the rest of the image, use the key Del.
Click an option Rotate (Rotate) at the top of the Paint window. A drop-down menu will appear.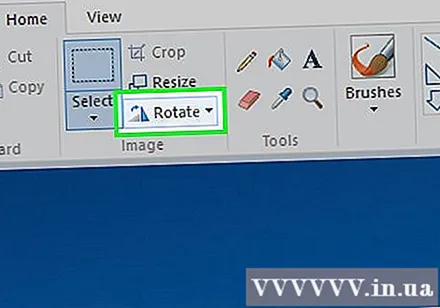
Select rotation option. Click on one of the rotation options in the drop-down menu to use it in the image.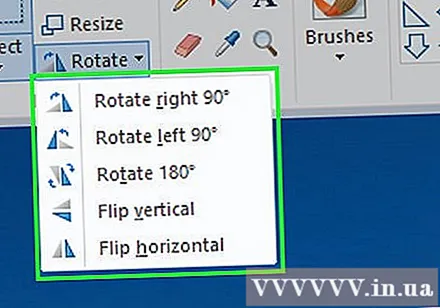
- Such as, Rotate right 90º will rotate the image so that the rightmost edge becomes the bottom edge.
Part 7 of 8: Resizing Pictures
Click an option Resize (Resize) on the Paint toolbar. A window will appear.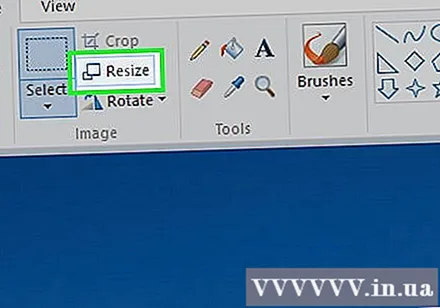
Check the box "Maintain aspect ratio" located in the center of the window. At this point, no matter the size adjustment you make, you will not distort the image.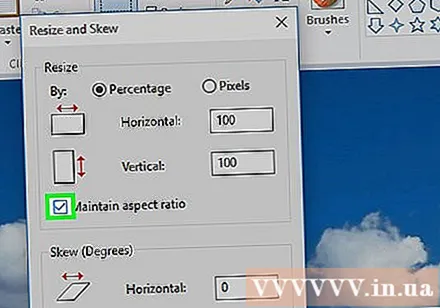
- If you just want to increase the height and still want to keep the image width (or vice versa), skip this step.
Check the "Percentage" box at the top of the window.
- If you want to resize an image to a specific pixel, check the "Pixels" box.
Change the "Horizontal" value. Type in the box "Horizontal" the number you want to use to resize the image (for example, to double the size, you will type 200).
- If using pixels instead of a percentage, here you will enter the number of pixels used in the box above.
- If the "Maintain aspect ratio" box is not checked, you will also have to change the value in the "Vertical" box.
Skew the image if desired. Skewing will cause the image to fall left or right. To skew the image, enter any number in the "Horizontal" and / or "Vertical" text field below the "Skew (Degrees)" heading.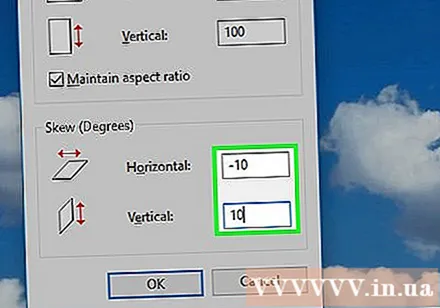
- To tilt in the opposite direction, enter a negative value (for example "-10" instead of "10").
Part 8 of 8: Saving files
Save changes on existing files. With the task already saved, you can press Ctrl+S (or click the floppy disk icon in the upper left corner of the screen) to save your changes.
- Note that doing so while editing an existing image will be replaced by the edited version. You should therefore create and modify the copy instead of adjusting the original image.
Click File in the upper left corner of the Paint window. A new menu will appear.
Choose an option Save as (Save As) is in the middle of the menu. Another menu will open on the right side.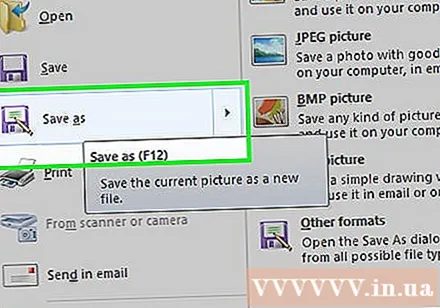
Click on the option JPEG picture (JPEG Image) in the right menu. The "Save As" window will appear.
- You can choose any picture format (such as PNG picture).
Enter a file name. Enter the name you want to give your project a name in the "File name" box.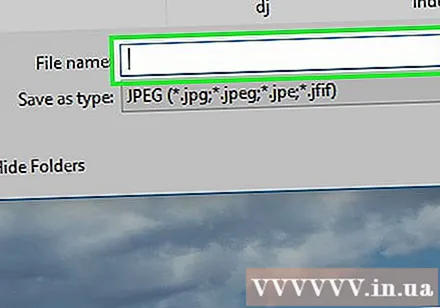
Select a save location. Click any folder on the left side of the window (for example Desktop - screen) to select it as the location to save your file.
Press Save (Save) in the lower right corner of the window. Your file will be saved under the name you selected in the location specified. advertisement
Advice
- Here are some keyboard shortcuts that might be helpful to you:
- Turn: Ctrl+R
- New drawing board: Ctrl+N
- Cut: Ctrl+X
- Paste: Ctrl+V
- Copy: Ctrl+C
- Save: Ctrl+S
- Erase: Del
- Print: Ctrl+P
- Undo: Ctrl+Z
- Full markup: Ctrl+A
- Open: Ctrl+O
- Rework, do it again: Ctrl+Y
- Hide the toolbar: Ctrl+T
- Open properties: Ctrl+E
- Stretch and tilt: Ctrl+W
- Hide the color bar: Ctrl+L (press again to reappear)
- You can add gridlines to a Paint project by going to a tab View (Display) then check the "Gridlines" box.
- To add the ruler view to the artboard, click the card View and check the "Ruler" box.
Warning
- Always make a copy before editing an image to avoid overwriting the picture with your changes.
- Paint is no longer supported by Microsoft. As a result, you'll probably have to download it from the Microsoft Store app store in upcoming versions of Windows.


