Author:
Robert Simon
Date Of Creation:
20 June 2021
Update Date:
1 July 2024
Content
Today's wikiHow teaches you how to record, edit, and post music videos with the free TikTok app for iPhone and Android.
Steps
Part 1 of 3: Select music
Open TikTok. Tap the TikTok app with the music note icon.The TikTok homepage will open if you are already logged in to your account.
- You must sign in (or create) a TikTok account to make videos.
- If your iPhone or Android doesn't have the TikTok app, you can download it from the App Store (iPhone) or Google Play Store (Android). Click here to go directly to the TikTok website, then choose "App Store" or "Google Play" depending on your device.

Click on the mark + is at the bottom of the TikTok homepage to start recording. The movie recording interface will appear.
Click Pick a Sound (Select Sound) at the top of the screen. The Music menu opens.
- The first time you use TikTok, you may need to allow the app to access the microphone and camera.

Select music. You can select music from the library available on TikTok, then tap Shoot with this sound.
Select the starting point of the track. By default, the music in the library starts from the beginning. You can change when you want the song to start by:
- Click the "Cut" button with the scissors icon on the right side of the screen.
- Scroll right until the moment you want the song to start. The app will say "Beginning shooting from (time in seconds)".
- Click the check mark to save your changes.
Part 2 of 3: Making videos

Point the camera towards the subject. Hold your phone towards the subject you want to film.- You can flip the camera by pressing the two rotating arrows in the top right of the screen.
Record clip. Hold down the circular video camera button at the bottom of the screen the entire time you shoot. Or just press this button if it's a circle.
- Release from this option or pressing the stop button will pause recording and add the cut to the final project.
Hands-free filming. Click the stopwatch icon on the right side of the screen, choose the time when you want the video to stop, then click Start Countdown. The camera will count down from 3 and then start recording until you get the sound you want. You will then be able to record a movie without holding down the circular video camera button.
- You can return to normal movie recording at any time by pressing the "Stop" button at the bottom of the screen.
Add effects to the video. You can improve your video with the following options:
- Beauty effects - Click the magic wand icon to apply the "beauty" beauty effect, this option will help smooth the skin and increase the image brightness.
- Color filters - Click the filter button located on the right of the video recording interface and choose the color filter you want. You can also swipe through to switch between filters.
- Lens - Click the button in the lower left corner of the screen and select the lens to use for the face in the frame. The lens uses facial recognition to apply a mask or theme to a person's face in the video.
- Speed control - Used to control the speed of the video. You can toggle the switches above the record button, but the final speed setting will be memorized.
Video recording time falls to 3 to 15 seconds. Videos must be at least 3 seconds in length and no more than 15 seconds with music.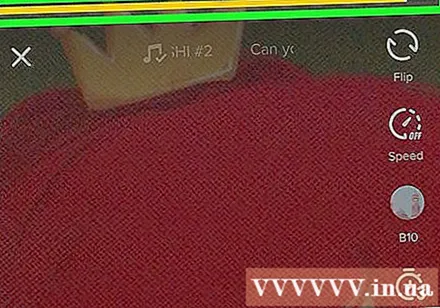
- If you choose music, the video will be cut automatically at the 15th second.
Delete the project if you want to do it again. If you want to go back to the project, you can click X in the top left corner of the screen and tap Reshoot, or delete the entire current project by pressing the mark X then click Exit is in the menu.
- You can also press the delete button in the lower right corner to delete the last recorded segment.
Proceed to video editing. Click the check mark in the lower right corner of the screen to save the video and open the editor page. advertisement
Part 3 of 3: Video editing
Choose another song for the video. If you want to change other music, you can click the record icon in the upper right of the screen and then choose the desired song from the Music menu.
- If you record a video first, just select music here to replace the original sound that you recorded during recording.
Adjust the sound of the video.
- Starting point - Click the scissors icon, scroll to the appropriate position in the song and press the check mark. This will change the starting point of the song.
- Volume - Click the slider icon to the right of the scissors, then drag the slider to the right to change the volume of the song.
Add color filters. If you want to change the color / visual appearance of the entire video with a filter, tap the three colored circles, then select the filter at the bottom of the screen.
- Tap the filter to preview changes to the video.
- Tap anywhere on the video screen to exit the filter menu and use the current filter.
Add special effects. Click the clock icon in the lower left corner, then start adding special effects.
- Click Save in the upper right to save the effect.
- Add a sticker. You can add text stickers or pictures by clicking "Text", "Stickers" or their pictograms.
- To add a text sticker, click "Text" and enter the text to add. You can customize the font and text color.
- To add photo stickers, you need to click on "Stickers" and then select the appropriate sticker from within "Stickers" or "Emoji".
- You can move and rotate most stickers throughout the video and customize their display time. Alternatively, we can delete the sticker by clicking the "X" or dragging the image towards the trash labeled "Delete".
Proceed to post the video. Click the red Next button in the lower right corner of the screen. You will go to the "Share" page.
Add captions / titles to the video. Click the "Title with #tag @friend" text box (Title with # tags @ friends) and enter a title for the video.
- You can add tags using a hash / hashtag (#), or type "@" along with someone's name to tag friends.
- Change cover / thumbnail image. Click "Select cover", then drag the slider to the desired position in the video. After selecting the appropriate picture, press the Done button.
- Change your video's privacy settings. You can enable / disable commenting, duet, drop reaction and choose video audience.
- Video in public mode (public) is visible to everyone and can be shared by anyone.
- Video friends-only mode (friends only) Only visible to those who follow you back.
- Video private mode (private) show only to you.
Click Post (To post). This red button is in the lower right corner of the screen. The video will be published on TikTok.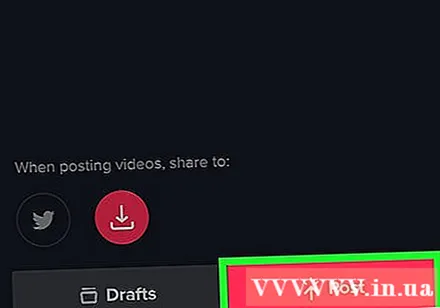
- If you'd like to share the video to Instagram, Facebook or scroll your camera, tap the buttons above the "Save to Drafts" option.
- You can also choose to save the video to your device by tapping on the option Save to Drafts in the lower left corner of the screen.
Advice
- You can only record up to 15 seconds of music videos with TikTok.
- The interface of TikTok differs from country to country, but in general it is similar.
- Music must be available in the TikTok library.
- You can create video "duet" and record video with other TikTok users no matter where they are. Just go to the profile of someone you follow and they follow you, choose a video, click the icon Share, choose Duet and follow the on-screen instructions to start recording segments next to the person's video screen.
Warning
- Restrict back by pressing the X in the upper left or exit the app until you've edited and saved the video. Otherwise, your records and adjustments may be lost. If the app is closed or frozen in error, you will be prompted to continue editing or saving the draft.


