Author:
Louise Ward
Date Of Creation:
12 February 2021
Update Date:
1 July 2024
Content
- Adults should take this step, as with all other steps, using a knife.
- Do not cut off the cover. Make sure the piece of cover sticks to the hood (third part in the front).

Fold and paste the windshield. Turn over the trimmed cover and fold it to the center of the car. Attach the upper fold to the bottom half to secure the windshield.

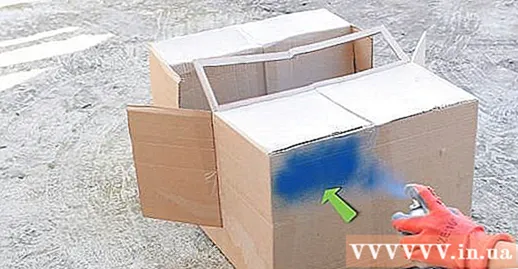
Paint the bodywork if you like.

- Find 2 paper cups, as paper cups are suitable for this.
- Cut the bottom of the cup. This part will be the car headlights.

- Attach a windshield split bar.
- Find some bottle caps for tail lights and turn signals.

Attach the paper plates to the wheels. Stick two paper plates on each side of the car to make a wheel.
- You can also cut circles with construction paper and stick to the front with glue or tape.


- This car can fit a toddler.
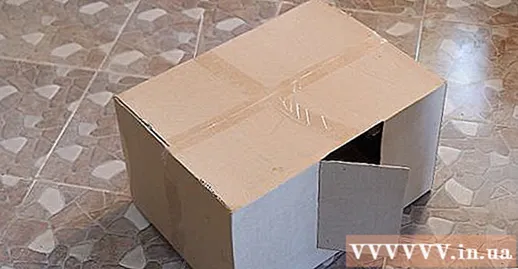
Method 2 of 2: Make a car with a small cardboard box
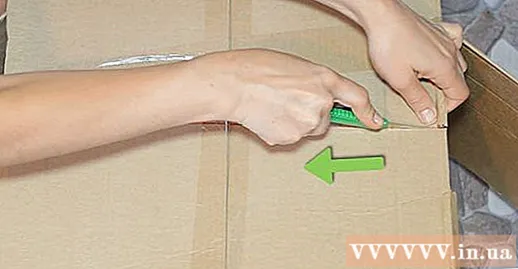
Make a loop from one side of the box across the top and down the other. Start at a point 10 cm from the top of the vehicle and 7.5 cm below the top of the box. Cut to the top side, across the top, and cut another 7.5 cm down the other side.
- Use a sharp scissors or a paper knife to do this.
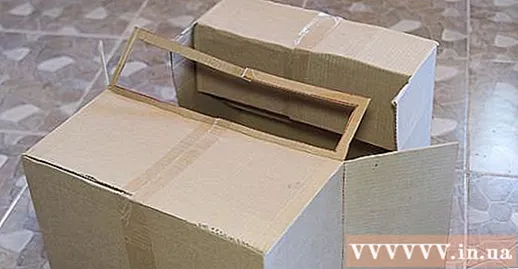
Fold down the front part.
- Now you have the top of the car.
Poke holes in the sides of the box where the wheels are intended to be mounted. You can use the scissors to do this. You may need to measure and mark the points in advance to be evenly spaced.
Pierce two wooden skewers to make axles. The two skewers must pass through the two holes with holes to mark the wheel position.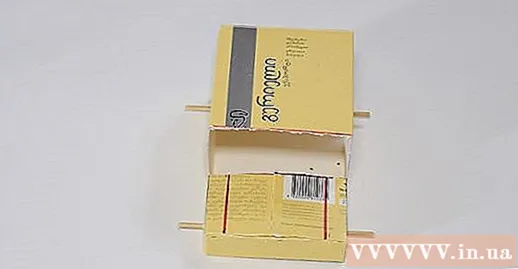
- You can also replace it with a plastic straw, pencil or ballpoint pen. Do not use the catheter because it can easily bend.
Make the wheel. Cut four wheels of equal diameter from one piece of paper to another.
- It's better to use cardboard than cereal or tissue boxes.
Attach the wheel to the axle. If you are using a skewer, you can use the sharp end of the stick to poke a hole in the wheel. Otherwise, you will need to poke a small hole in the wheel to be able to attach it to the axle. You can pull it with your nose, but don't make the hole too big, lest the wheel fall off!
Car decoration. You can use markers, crayons and stickers, or stick colored paper on the car. If inspired, you can paint with hand paint or tempera paint.
- You can keep the design of the box as you like. Novelty can be a very attractive part of a toy, and you can make a collection of cars out of different boxes.
Have fun with your car! advertisement
Advice
- When making a toy car, you may need to adjust the length of the cuts to match the size of the box.
What you need
- Cardboard box (large or small depending on your plan)
- Packaging tapes (for large trucks)
- Scissors and / or shovel
- Paper plates (to wheel big cars)
- Another piece of cardboard (to make the wheels for small cars)
- Sticks, straws, pencils or ballpoint pens (for small cars)
- Adhesive (for large cars)
- Highlight pen, wax color, tempera paint or hand paint (optional)
- Ruler (optional)


