Author:
Robert Simon
Date Of Creation:
16 June 2021
Update Date:
1 July 2024
Content
The operation of recording or burning music to an audio CD is very useful if you want to put all your favorite songs in one place instead of having to switch between different albums. A homemade audio CD is also fully functional and works like store-bought CDs, so you can listen to it on any audio system, CD player or computer. Note that an audio CD is different from a data CD (or MP3) because a data CD cannot be played on a regular stereo. If you have access to a CD-RW / DVD-RW player, music files, blank CDs, and a media player, then you can start burning CDs.
Steps
Method 1 of 3: Use Windows Media Player
Insert the CD into the disc player on the computer. Make sure it's a CD-RW or DVD-RW player. The word ‘W’ represents the word “writeable” and this new drive can write data to disk.
- The information is usually printed on the front of the player, but you can also see it at the link Control Panel> Device Manager> Disk Drives.
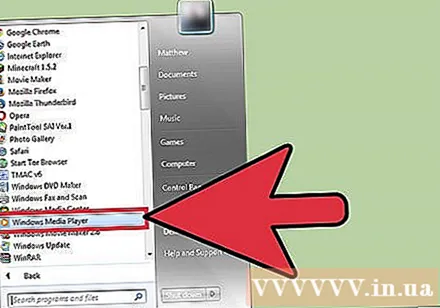
Open Windows Media Player (WMP) at the path Start> All Apps (or All Programs on Windows 7 and earlier)> Windows Media Player. This is the Windows backup media player.- The next steps in the tutorial are based on WMP 12. Other versions of the software are applicable, but the location of the action buttons may be different.
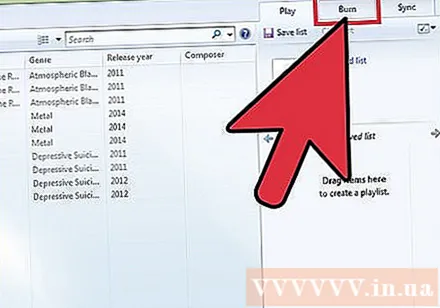
Click the Burn button on the right side. A box will open on the right for you to create a list to record.
Drag the audio files and drop them onto the list. Files must be in a format supported by WMP (.mp3, .mp4, .wav, .aac are the most common). When recording to CD, the software will convert the files into lossless format.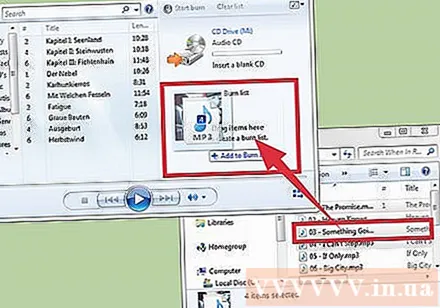
- Audio CDs have a playback time limit of 80 minutes. This industry standard is set by the manufacturer. This means that the number of songs that you can burn to CD will depend on the track length.
- 700MB may be mentioned on the packaging, but this applies to data CD creation. Data CDs work similarly to storage media and can only be read using a computer.

Click the menu in the Burn pane. A menu will open with different recording options. Select “Audio CD” (audio CD).
Click the “Start Burn” button. CD burning will begin. Once done, the disc is automatically ejected from the computer and ready for use.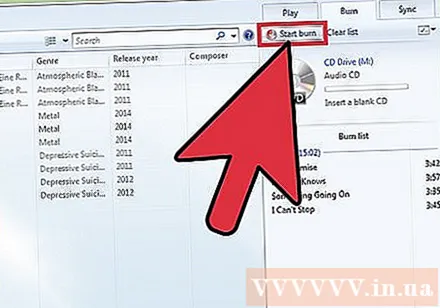
- If burning is canceled or interrupted, you will have to use a new CD and start again.
Method 2 of 3: Use iTunes
Open iTunes. You can access Applications> iTunes or open the app dock. On Windows, you can launch iTunes at the link Start> All Apps (or All Programs on Windows 7 and earlier)> iTunes. This is the OSX backup media player, but is also very popular on most platforms thanks to the popularity of Apple mobile devices.
- The next steps in the tutorial are based on iTunes 12. Other versions of the software are applicable as well, but the location of the action button may differ.
Create playlist. Go File> New> Playlist, enter a name for the playlist and drag the songs you want to listen to drop here.
- Make sure the checkbox to the left of each song has a check mark. Only songs that you marked in the playlist will be burned to disc.
You need to make sure that all songs in the playlist are authorized for this computer. The songs you have purchased on the iTunes store will be linked to your iTunes account. Double-click each song to make sure it plays. If there are songs that have not been authorized, a window will pop up asking for the username / password of the iTunes account you used to buy it. Once the information is entered, the song plays as usual and is ready to burn to CD.
- iTunes restricts a single song from being allowed to 5 different computers.
Insert a blank CD into the player. The computer will automatically recognize the blank disc.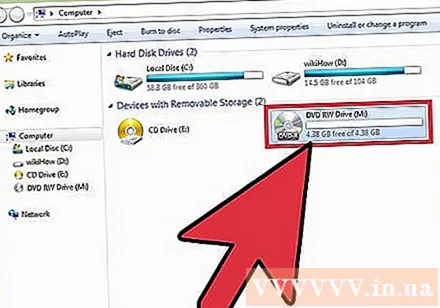
- You can check the drive compatibility in the “Burn Settings” menu. If you see the drive listed at the top under the heading “Disc Burner” means compatible.
Open the “File” menu and select “Burn Playlist to Disc”. The “Burn Settings” menu will open.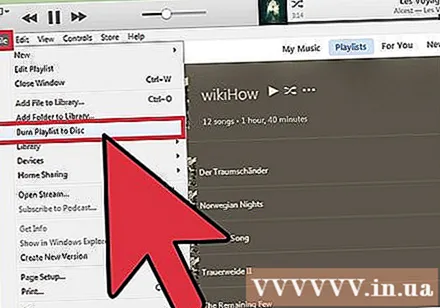
Select “Audio CD” from the list of formats. This is to ensure that the CD will play on any regular CD player.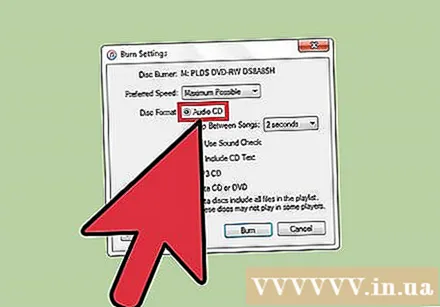
- If you select the “Data” format, the CD will be used as the file storage and can only be played on the computer.
- With the "MP3 CD" option, you will need a CD player that can read that format. You should not be confused as MP3 is a popular file, but Audio CD is the standard format supported by CD players in general.
Click the "Burn" button. CD burning will begin. Once the recording is done, the disc is automatically ejected and ready to be played.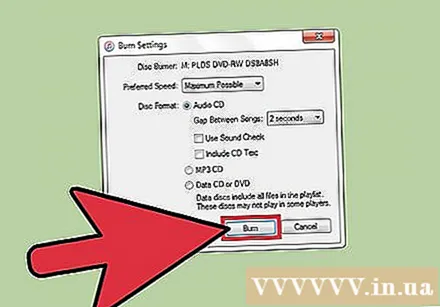
- If burning is canceled or interrupted, you will have to use a new CD and start again.
Method 3 of 3: Use other free audio CD burning software
Choose the software that's right for you. If you don't want to use iTunes or WMP, there are tons of third-party software out there for this. Maybe you're just using open source software or like some media player's feature set, maybe you don't even listen to music on your computer, so you don't need a media player.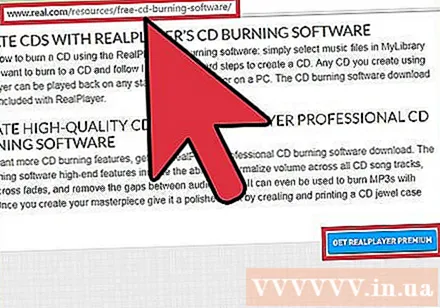
- When downloading any software you should visit the developer's main website. This will ensure that the installation program has not been tampered with or loaded with additional / malicious software. If a developer does not provide a download on their site, there are plenty of reliable mirrors to replace it.
Try another media player. VLC Media Player and Foobar2000 are two popular media players thanks to their speed, wide codec support and customizability. In essence, these programs are still media players so the process of burning audio CDs is similar to using WMP or iTunes.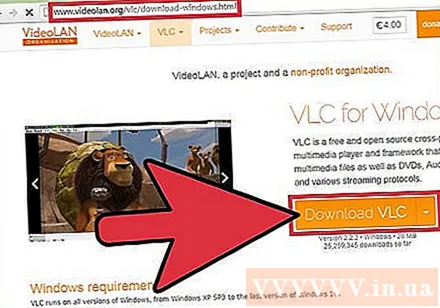
- Foobar2000 is Windows-only.
Try a dedicated burning program. InfraRecorder and IMGBurn are two free dedicated burning programs for those who don't need playback support. These programs are famous for their comprehensive range of disc burning options such as a hybrid mode that allows the user to create a hybrid audio CD (also called a hybrid CD) or a data disc.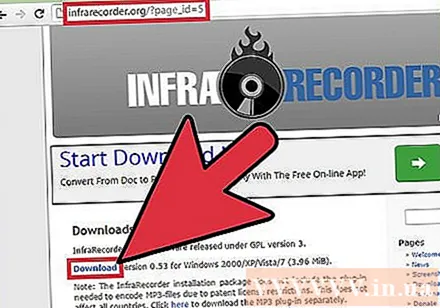
- Since the above programs support more complex burning features, this option is only recommended for advanced users or those who don't want the media player to take up too much of their storage space.
- Both InfraRecorder and IMGBurn are Windows-specific. "Burn" is a simple and powerful option for Mac users.
Advice
- You should pay attention to the blank CD you buy. Low quality CDs can be difficult to read on some CD players.
- You can erase music from a CD if you use a rewritable CD-RW. Launch Windows Explorer and click My Computer> DVD / CD-RW Drive, right-click and choose “Erase” to erase all the data. You can use this disc again for a new purpose later. Conventional CD-R discs have no rewritability.
- Performing slow recording will result in less errors. You can set the recording speed in the “Burn Settings” menu.
- If you plan to burn multiple CDs, use a highlighter and write on the disc to avoid confusion.
Warning
- You should clean the CD regularly to minimize technical errors.
What you need
- CD-RW or DVD-RW player (built-in or external).
- The CD-R is blank
- Digital music files
- Media player software (WMP, iTunes, WinAmp, VLC, etc.)


