Author:
Monica Porter
Date Of Creation:
21 March 2021
Update Date:
1 July 2024

Content
You need to install a DVD drive for the computer. You search the internet but have a few terms that confuse you? With the addition of a Blu-Ray drive, the choices are richer than ever. Fortunately, once you have chosen the desired drive, installation only takes a few minutes.
Steps
Method 1 of 3: Choose the Right Drive
Learn different formats. There are many DVD drive formats as follows: DVD, DVD + R, DVD-R, DVD +/- R, DVD +/- RW. These symbols correspond to the read and write capabilities of each drive type. Usually newer drives are DVD +/- RW or DVD RW. They can read and write DVDs.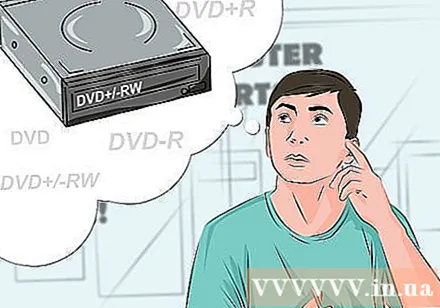
- Most newer drives have a burning function, you can still buy one that can only read discs. They are labeled DVD-ROM drive.

Decide whether to buy a Blu-Ray drive. Blu-Ray is the newest storage disc format on the market, they can store more data than regular DVDs. Blu-Ray drives allow you to watch high resolution Blu-Ray movies, read data from Blu-Ray discs and even DVDs.- The price of Blu-Ray drives has come down significantly and the burners are even more affordable.
- Even if the Blu-Ray drive is not properly labeled (BD-ROM), it is possible that they still have DVD burning functionality.
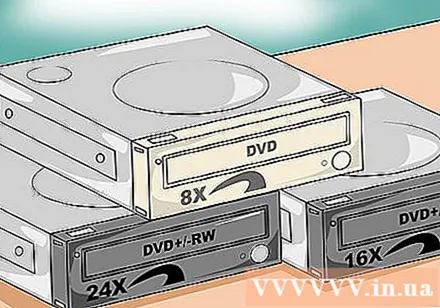
Compare reading and writing speeds. When looking for different models, you should compare read and write speeds. This will tell you how long it takes to read and write the different formats on the disc.- Newer DVD drives typically have read speeds of 16X and write speeds of up to 24X. These are only a comparison to the speed of the 1X drive, not the actual read and write speed of the drive.
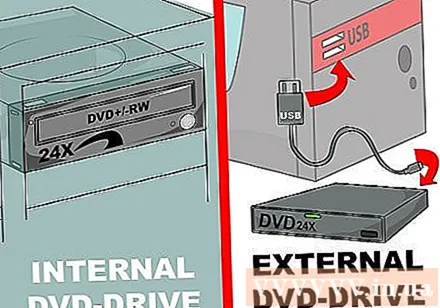
Decide between inside and out. If you're using a laptop, you'll need to buy an external drive. If you are using a desktop computer, you can choose any type, but the internal drive has better performance.- If you choose to buy an external drive, skip to Part 3 for detailed installation instructions.
Choose a quality drive. Search for big name brands. This helps to ensure the durability of the hard drive, and you also want a reliable warranty service. Here are some reliable optical drive manufacturers: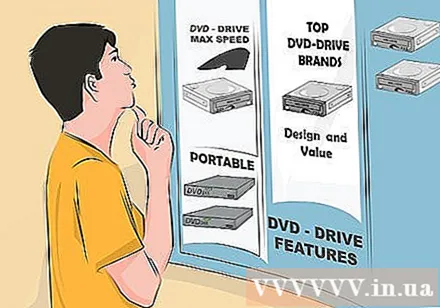
- LG
- Philips
- Plextor
- Lite-On
- BenQ
- Samsung
Consider buying an OEM line. If you have a SATA cable and do not need a driver manual and disc, you should choose to purchase the OEM series. OEMs are cheaper than conventional consumer lines but still fully featured.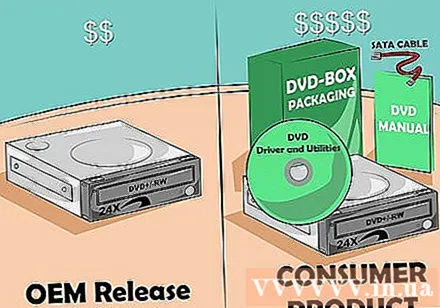
- If you purchase an OEM series, you can find drivers and documentation on the manufacturer's website.
Method 2 of 3: Install Internal Drive
Power off the computer and unplug all cables. You need to step inside the computer to install the drive. Move the computer to a stable position for easy operation.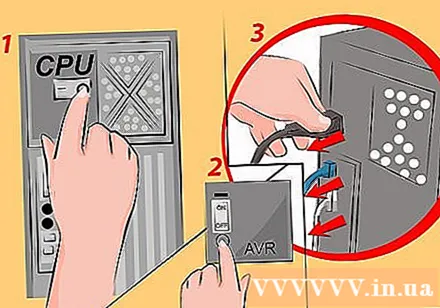
- If you are installing an external drive, simply plug the drive into your computer via a USB cable and don't need to read the next section.
Remove the computer cover. Newer computer cases often use a screw on the back to allow easy removal. You may need to use a screwdriver to remove the screws. Remove the shields on the sides so that it can interfere with the drive bracket from both sides.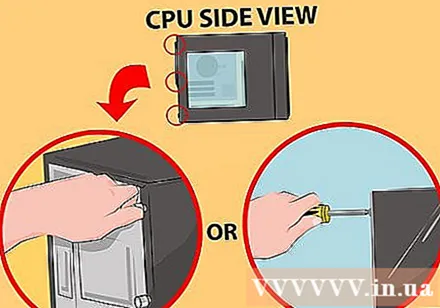
Self-grounding. Before disassembling the inside of your computer, you'll need to manually ground it.This prevents electrostatic discharges from damaging electronic equipment in the machine. The best way to self-ground is to wear an electrostatic bracelet and connect it to the case. If you don't use a bracelet, you can touch any metal object to discharge static electricity.
Remove the old drive (if necessary). If you want to replace your old drive, you'll need to dismantle the old drive before you insert the new drive. Disconnect all the cables behind the drive, then remove the screws on the sides. Gently push from the back, then pull the drive out of the holder.
Locate the 14cm drive bracket. If you haven't replaced the old drive, you will need to locate the drive. Usually, the housing is located at the front of the case, near the top. Maybe the machine has pre-installed 1 or 2 drives in this position. Remove the shield on the front to see the holder.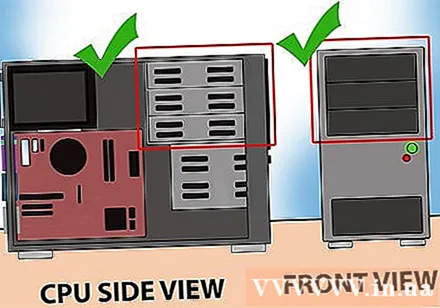
Rail mount (if necessary). Some brackets use rails to protect the drive. In this case, you need to attach the rails to the sides of the drive before inserting it into the computer.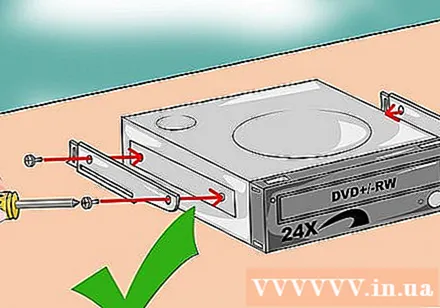
Slide the drive into the appropriate position. Most of the drives are tucked in from the front of the camera body, but you should check the instructions as well. Be sure to install the drive in the correct direction.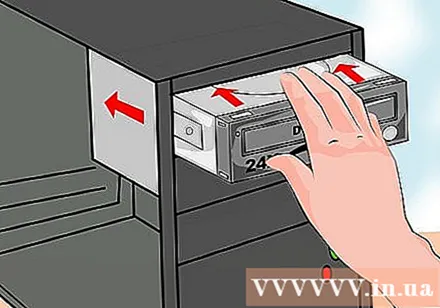
Drive protection. You can attach screws on either side to secure the drive. Remember to protect the drive on both sides of the case. In the case of rails, it should be ensured that the drive is seated and clamped properly.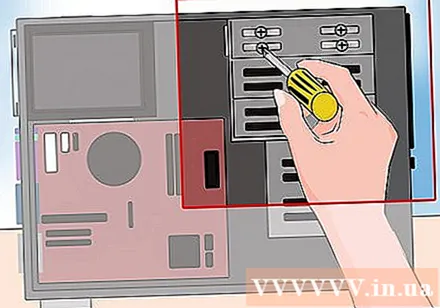
Connect the SATA port to the motherboard. Use the supplied SATA cable to connect to the corresponding port on the motherboard. Review the documentation if you cannot find the SATA port on your motherboard.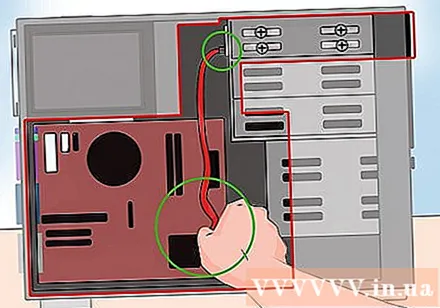
- The SATA cable can only be attached one way on both the drive and motherboard. So don't try to push the connector.
- Be careful not to disconnect other devices such as the hard drive, otherwise the computer cannot start.
Connect the power supply to the drive. Find the connection port from the computer's power supply. It's usually on the bottom of the case. Plug the power cable into the corresponding port on the back of the drive. Just like the data transmission cable, the power cable can only be plugged in one way, so don't try to push the connector.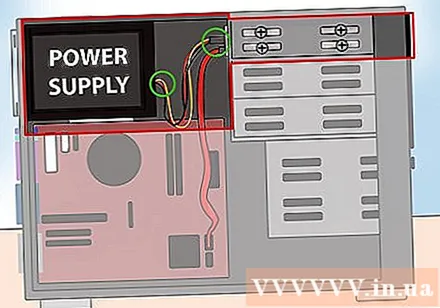
- If you are not looking for the power connector, you will need to purchase a replacement adapter for the connector.
Assemble the computer and turn on the machine. Close the case, move the machine back into position and plug all cables back in. Start the machine. advertisement
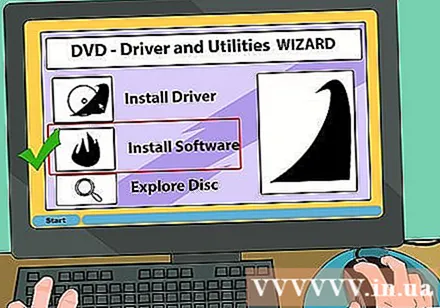
Method 3 of 3: Install Drivers and Software
Wait for the operating system to detect the drive. Usually, the operating system will automatically detect the new DVD drive. Compatible drivers are also installed automatically. The operating system will notify you after the installation is completed.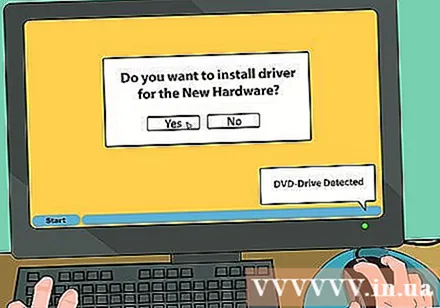
Install the driver using the supplied disc (if needed). If the driver is not installed automatically, you need to install it from the supplied disc or download it from the manufacturer's website. Follow the instructions on the screen to install. You may be asked to reboot after completing the installation.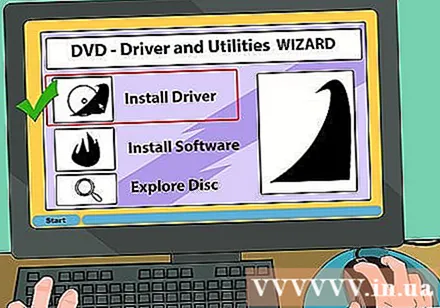
Install included software, such as video recording or recording software. Many drive software comes with software that lets you burn your media files onto blank DVD discs, or watch high-resolution video. The software is also not necessary because you can download it from the Internet, but you can still install it if you want. advertisement