Author:
Louise Ward
Date Of Creation:
8 February 2021
Update Date:
1 July 2024

- If you don't have a nail patch kit, you can cut one from the tea bag. This is the most common and quite effective alternative material.
- If you don't have nail patches or tea bags at home, you can try using a handkerchief or coffee filter paper.
- At a minimum, the material should be large enough to cover the entire broken foundation. Ideally, the material should be large enough to cover the entire foundation and enough of a residue.
- If using a nail patching kit, use the nail patching solution instead of glue and simply use the brush in the kit to apply the solution to the nails.
- Use tweezers to smooth out wrinkled or raised parts of the piece of material. The patch should be as smooth as possible.
- If necessary, use small nail clippers or regular scissors to prune excess patch.
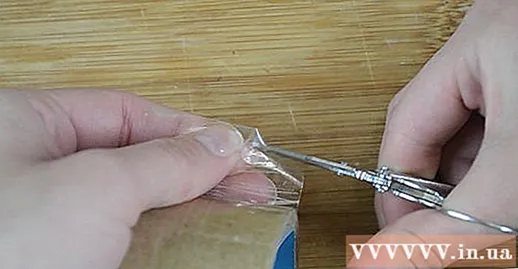
Wrap the patch at the tip of the nail. Use tweezers to grab the patch at the top of the nail, fold it down so that the patch sticks to the bottom of the nail.
- If the patching material doesn't have adhesive yet, you may need to apply a small dot of the adhesive or patching solution to help the patching material stick under the nail.
- This step provides extra balance and protection for cracked nails.
- You can use the nail patching solution instead of super glue or nail glue.
Trim and polish your nails. If you have a polishing stone, be sure to polish the nail carefully after the glue has dried. Use the smooth side of the stone first, then polish the surface.
- For best results, rub the polished stone in one direction, rather than back and forth.
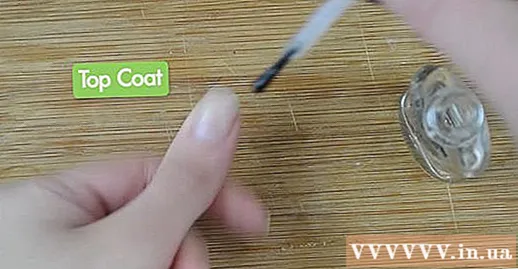
- It is recommended to let the glue dry overnight before applying topcoat to avoid bubbles or irregular patches.
- If you want, you can apply one coat of nail polish after the topcoat dries.
Method 2 of 4: Temporary nail repair
Cut a small enough piece of transparent tape. Carefully cut a piece of tape that is only slightly larger than the size of the torn nail with scissors.- To easily cut the tape without having to remove the tape from the blades, use small nail clippers or sewing scissors. If you are using large scissors, use the tip of the blade to trim the tape.
- Choose a single-sided tape with a slight tack. Magic tape, gift wrapping tape, multi-purpose tape or other transparent tape should be used in offices. Avoid using strong tape like electrical tape.
Stick tape to cover all the tears. Stick the center of the tape over the center of the crack. Press hard to stick. Then, use the tip of the uncracked nail to slide the length of the tape on either side of the corner, so that the tape covers the tear from start to finish.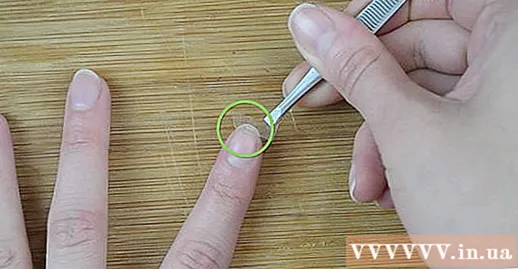
- Make sure the ends of the crack are evenly straightened before applying the tape.
- Use strong, even force to fix the tape.
- Swipe the tape in the direction of the nail tear, not backwards. Swiping the tape in the opposite direction may cause the nail to peel more off.
Trim off excess tape. If the tape on the nail is a bit too large, you can use nail clippers or sewing scissors to trim the excess.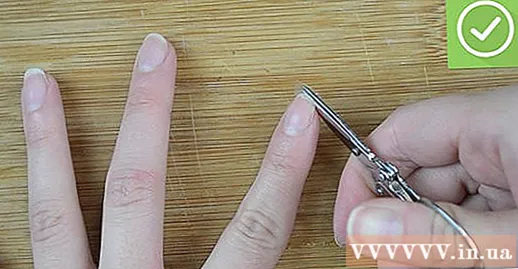
- Make sure the edges of the tape are flat and rounded against the nail.
- Normal scissors can be used to cut the tape if there are no small scissors.
Be careful when removing the tape. When peeling the tape, you should peel it in the direction of the tear, not backwards. advertisement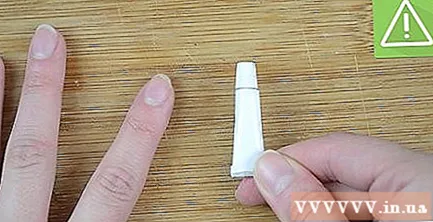
Method 3 of 4: Apply nail glue
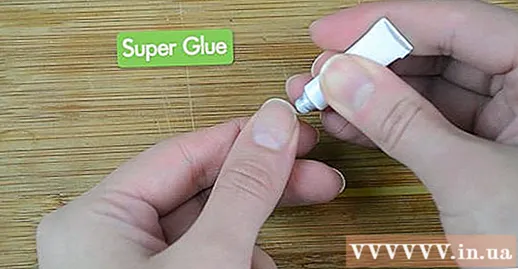
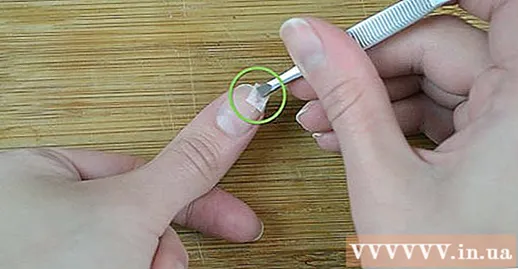
Apply nail glue to the torn nail. Gently squeeze the adhesive tube until a small piece of glue melts. Use a toothpick to lift the glue and apply it to one side of the broken nail, forming a thin sticky layer.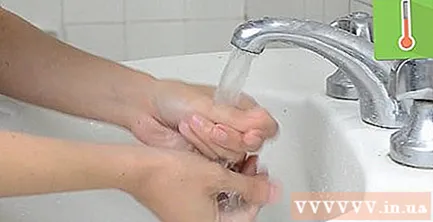
- If nail glue is not available, super glue can be used. In general, cyanoacrylate adhesives will form the strongest adhesion layer.
- Do not touch the adhesive with your finger for any reason.
Wipe off excess glue. Before the adhesive dries completely, soak a cotton swab or cotton ball in nail polish remover and wipe along the edges of the foundation. This step helps to remove any excess glue from the skin.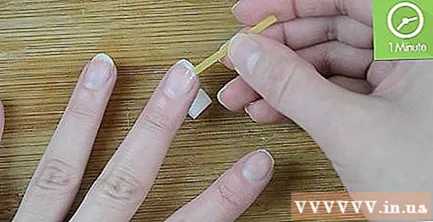
- You may need to rub a little to get the glue off.
- Be sure to rub nail polish remover on any areas of the skin that are stuck with the adhesive.
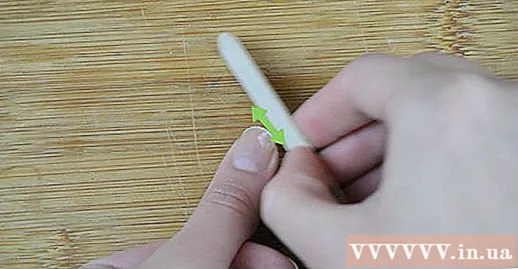
Smooth out the newly repaired nail. After the glue dries, file the nail evenly. Use the abrasive of a scrubber pad or file tool to file off the excess and rough edges of the tear.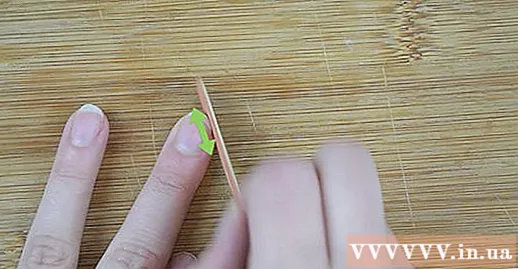
- Filed in one direction, not filing back and forth. To minimize the risk of further damage, only file nails in the direction of the crack, not back-filing.
- File slowly to avoid further damage to the crack.
Apply a protective topcoat when nails dry. Once the broken nail looks smooth again, you can protect the nail by applying a protective topcoat or a firm nail polish over the entire nail. Let the nail dry completely. advertisement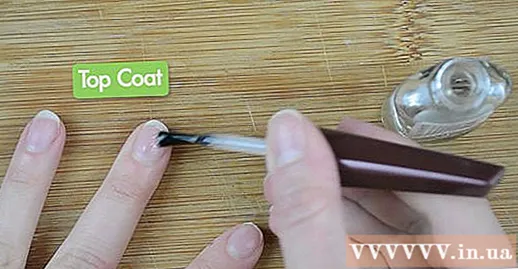
Method 4 of 4: Repair split nails
Remove loose nails. When the nail or part of the torn nail is completely removed from the nail, you may need to remove the nail to treat the damaged nail. Use nail scissors to carefully cut off the partially sticky nail, then remove the nail with tweezers.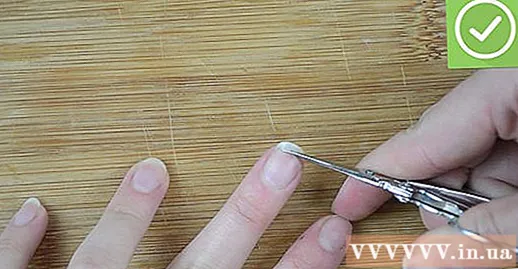
- By removing the nail, you can easily access the damaged foundation below. As a result, you can treat the lesion more effectively and reduce the risk of infection.
- Or, you can leave the crack in place and clean the surroundings. Although more difficult, this is possible. The split nail will fall off on its own when the new nail grows.
Stop bleeding. Depending on the severity of the dislocation of the nail, the foundation may bleed more or less blood. Before continuing the treatment, you need to stop the bleeding by applying pressure on the wound.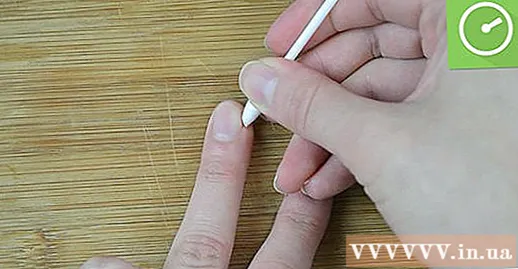
- If possible, use a medical bandage or sterile cotton pad. Place a gauze pad or cotton pad directly on the wound, then press firmly for a few minutes. You can even use force when pressed.
Trim the rest of the nail. Use a nail clipper or sharp nail clipper to cut off sharp or jagged edges. You will need to do this if you remove the split nail or leave it alone to prevent further clipping or tearing.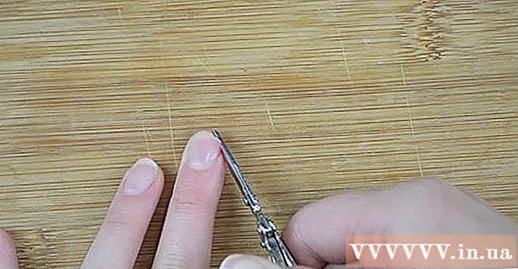
- See your doctor and ask your doctor to prune your nails if you find it too painful or uncomfortable to trim yourself.
Soak your feet or hands in salt water. After soaking in cold water, switch to soaking your feet or hands in warm salt water.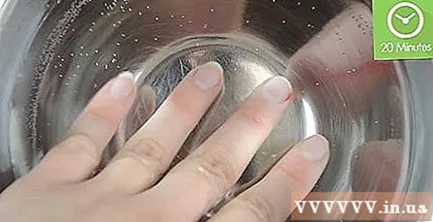
- Mix 1 teaspoon of salt in 4 cups of warm water.
- Soak the injured toe or finger in salt water for about 20 minutes. Salt water will help prevent infection.
- Repeat this procedure 2-3 times daily for the first 3 days.
- Use a soft, clean cotton towel to pat dry.
Apply antibiotic ointment. To speed healing and reduce the risk of infection, use a clean finger or cotton swab to gently apply a layer of antibiotic ointment over the affected nail area.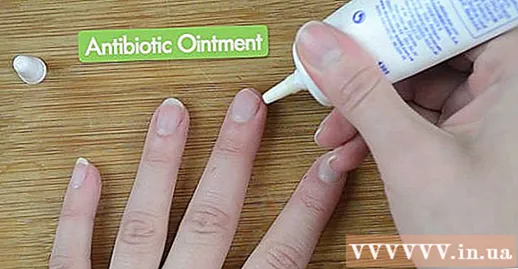
- Make sure your hands are clean while handling injuries.
Cover the foundation until a new nail grows. Wrap an adhesive bandage over the damaged nail to prevent further scratches and reduce the risk of infection.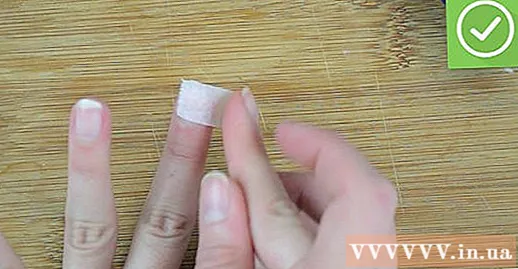
- Wrap the bandage over the entire foundation until the new nail grows.
- Change the bandage each time you soak or sanitize the wound. Make sure the wound is dry every time the dressing is changed. Replace every time the gauze gets wet.
Track injury. Watch for signs of infection every time the dressing is changed. This is especially important during the first 72 hours, but you should keep checking until the new nail grows enough to cover the exposed part of the nail bed.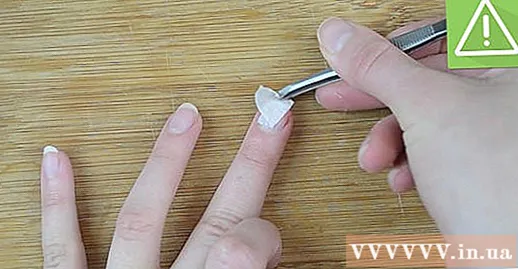
- Signs of infection include: fever, redness, increased temperature in the damaged nail, painful swelling or pus.
- See your doctor if you suspect an infection.


