Author:
Peter Berry
Date Of Creation:
14 February 2021
Update Date:
1 July 2024

Content

- In the first bowl, mix the flour, salt and pepper together.
- In the second bowl, mix the eggs with whipped cream.
- The third bowl will be the shredded coconut.
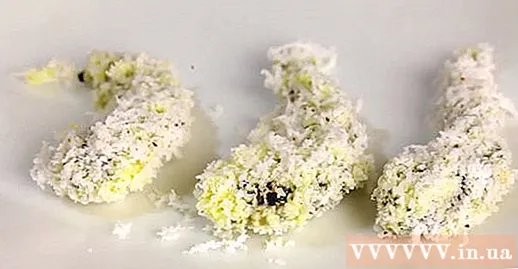
Place the coconut shrimp on the wax paper. This will prevent shrimp from sticking to the surface of the plate.
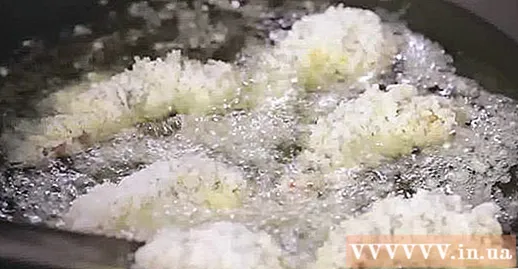
- You can check the temperature of the oil with a food thermometer or dip the tip of the chopsticks in the oil, if the tip of the chopsticks is bubbling, the oil is ready to fry.
- If you don't want to fry shrimp in a pan full of oil, you can fry it in a shallow pan. Fry one side for 30 seconds, then use tongs to flip the prawns and fry the other side for 30 seconds.
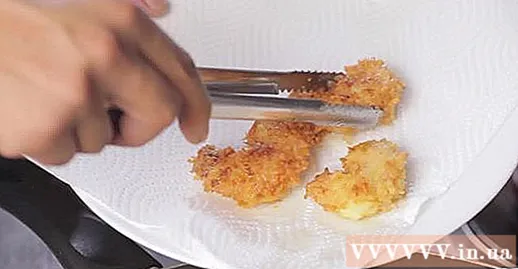
Let the shrimp drain. Use tongs to pick shrimp out of the pan. Put shrimp in a plate lined with a paper towel to dry the oil.

Method 2 of 2: Grilled Coconut Shrimp
- Turn on the oven at 170 ° C.
Peel the shrimp and take out the black thread. You will use your finger to remove the shell. You can leave the shell on the tail if you want, but you need to remove the shell and legs. Then, use a knife to make a cut in the spine of the shrimp to get the black thread. Rinse the prawns to remove any remaining shells.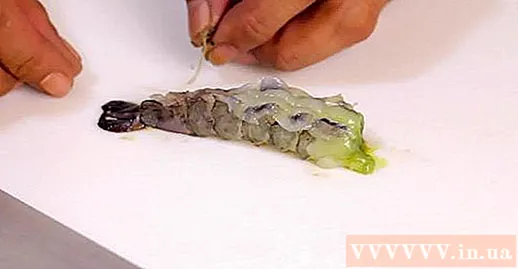
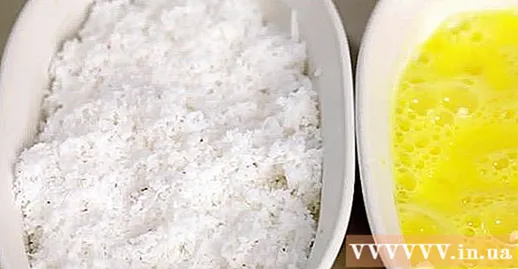
Prepare the dough. Mix the flour and seasoning in one bowl, eggs and whipped cream in another bowl and finally the coconut bowl.
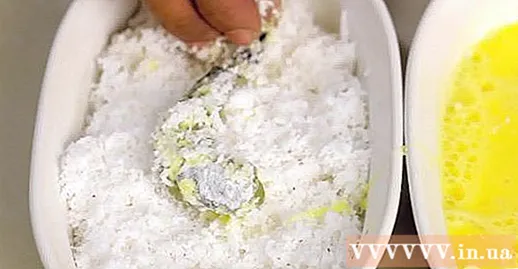
Dip and roll the shrimp. One by one dip each shrimp in the flour bowl, then the egg mixture and then roll over the coconut. Remember to do this so that the shrimp are evenly coated on the sides before moving to another mixture.
Place the shrimp in the baking tray. Apply oil to a 9x12 metal or glass baking tray and place the prawns. Be careful not to stick the shrimp together because this will not cook evenly.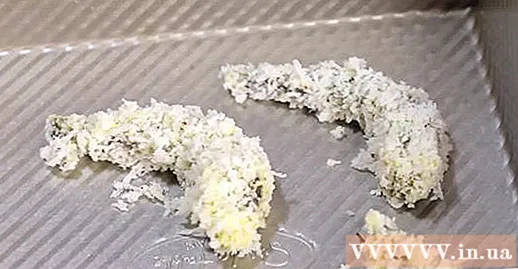
Grilled shrimp. Place the baking tray in the oven for 10 minutes, until the surface of shrimp turns golden brown. Remove the tray from the oven and turn the other side of the prawns over for another 10 minutes. The dish is finished when the other side of the shrimp also turns golden brown.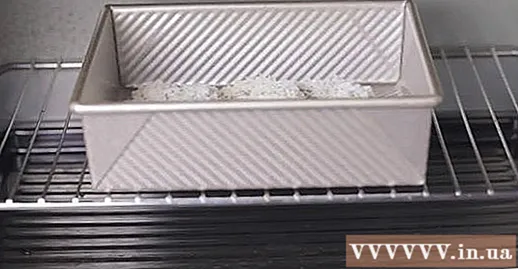
- If the shrimp does not have a golden brown color, you can switch the oven to the upper grill mode. Continue baking for 2-3 minutes on each side.
- Do not grill too long, otherwise the shrimp will dry out. Remember to remove the shrimp from the oven when finished.
Enjoy. Grilled coconut shrimp is a healthy appetizer or main dish. You can eat it with green vegetables or sauces like honey mustard sauce.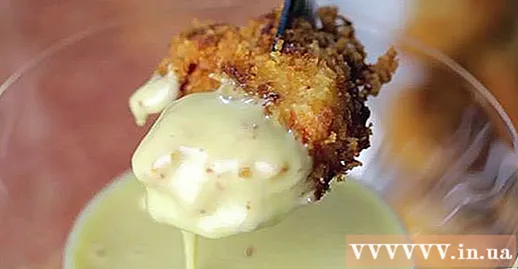
Completed. advertisement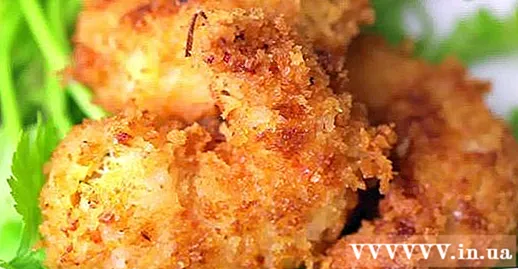
Advice
- The shredded coconut fibers will be brittle when fried in oil.
Warning
- Just like strawberries and peanuts, some people will be allergic to shrimp. Allergies will also happen unexpectedly when you use shrimp oil to prepare other foods, such as fried chicken. This excess oil can cause a dangerous reaction during the meal because it contains allergens. If a relative or friend is allergic to shrimp, you should remove the oil immediately after using it or put a "used for shrimp processing" label on the oil container.
- Be careful when putting shrimp in the hot oil pan to avoid the oil from splashing on the body.
What you need
- Stencils
- Food thermometer
- Double pick up food


