Author:
Christy White
Date Of Creation:
4 May 2021
Update Date:
1 July 2024
Content
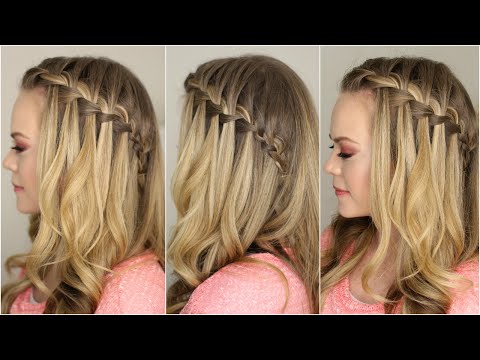
A braid is a great hairstyle for any occasion, whether you are dining at a fancy restaurant or want to keep your hair loosely out of your face when you go to school. Whatever the occasion, a waterfall braid is a simple and romantic hairstyle that anyone can make. A waterfall braid may look complicated, but you'll be using an easy braiding technique that will give you a unique look while still leaving your hair flowing and loose.
To step
Part 1 of 2: Preparing your hair
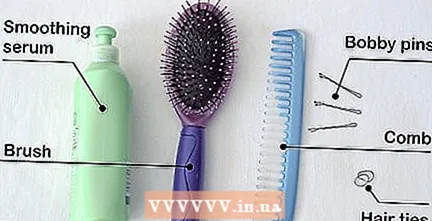 Gather your supplies. You don't need a lot of things to braid your hair, just a brush, some small hair ties and maybe a few bobby pins. However, it is a good idea to have these items on hand so that you can pin your hair right away when you are done braiding.
 - It's common for someone to start braiding and then find out that she doesn't have a hair tie or clip to secure the braid. In such a case, you can ruin your hairstyle while looking for something to tie your braid with.
- Consider putting a hair tie around your wrist while braiding. That way, all you have to do is slide the elastic off your wrist to secure your hair when you're done braiding. You don't have to switch hands to grab the hair tie and not let go of the end of the braid.
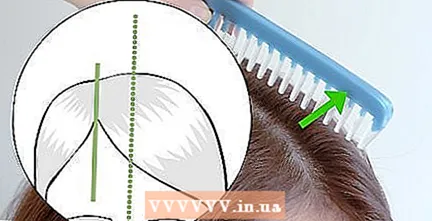 Consider making a side part. Making a waterfall braid with a side part will make the braid look more like a waterfall. Your hair will basically look like a waterfall if you do a deep side part and comb the hair over the other side of your head.
 - You can still do a waterfall braid if you have a center part in your hair, but a deep side part will enhance the braid and make it stand out more by "flowing down" the other side of the head.
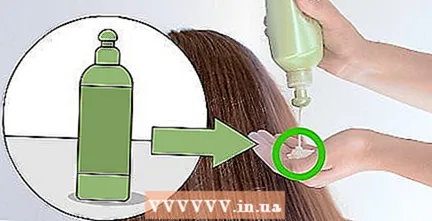 Consider applying serum to smooth your hair. If you'd rather not want a stylish and messy hairstyle, a smoothing serum can help keep your hair sleek and easy to handle while braiding.
 - Consider using styling mousse or a smoothing serum if you have fine hair, small strands of hair that lift quickly, or if you have layers in your hair. Such a serum can smooth unruly hair and keep strands of hair from coming out of the braid.
Part 2 of 2: Braiding your hair
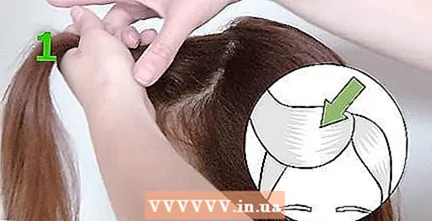 Make a first section in your hair. Make the first section near your forehead, close to your bangs. A waterfall braid usually starts with a section about 2 to 3 inches long, but you can decide how long you want to make the section, depending on how thick you want the braid to be at the top. The larger the first section, the thicker the braid on the top.
 - If you've done a deep side part in your hair, start braiding on that side of your head with the most hair.
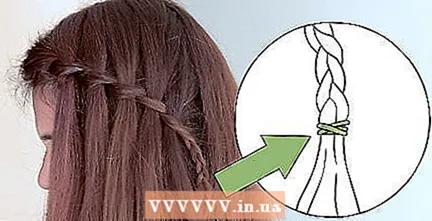 Finish the braid. When you have braided around your head up to your ear (or to the place where you want the braid to stop) finish the braid by not adding more hair or dropping any more strands, but by make the three strands of hair a regular braid.
 - You can secure the bottom of the braid with a small hair tie, bobby pin, or clip.
- Consider spraying a little bit of hairspray on your braid to keep the strands in place.
Tips
- Use bobby pins in the same color as your hair for a more natural look.
- Make sure to smooth out the strands as you braid so that there are no bumps in your final braid.
- Consider working with damp hair. A braid holds better in damp hair.
- Consider braiding unwashed hair. Hair that is slightly dirty is less smooth, so strands of hair are less likely to fall from the braid.
- Tying a flower or ribbon at the bottom of the braid can really make the braid stand out.
- Make sure your hair is only slightly damp so that you can hold it better. However, don't braid your hair when your hair is wet, such as after taking a shower. This can cause your hair to become damaged, dry and frizzy.
Necessities
- Coarse comb or brush
- Hair tie or bobby pins
- Hair styling products (optional)


