Author:
Morris Wright
Date Of Creation:
1 April 2021
Update Date:
26 June 2024
Content
Although Windows 7 can handle many older programs by default, some applications simply do not run under this Microsoft operating system. For these cases we have Windows XP Mode, a virtual machine of Windows XP that runs within Windows 7. This article will walk you through the steps to go through to install this program.
To step
 Go to the website. Open this link in your browser.
 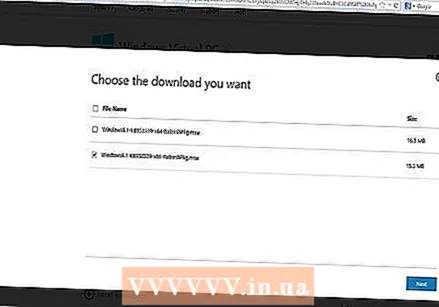 Click the check box for the correct version. The check box indicates whether you want to install the 32-bit or 64-bit version. Select the ones you need.
  If you are unsure about your version of Windows 7, you can get this information by clicking the Start button and then right-clicking Computer and selecting Properties. The system window will open and here you can find which version of Windows 7 you have and whether it is 32 or 64-bit.
  Download the file and save your setting from Windows virtual PC.
 Under step 4 on the webpage you will find the button "Download and install this first:" Windows XP Mode ". Click on it and save the file in a convenient place following the on-screen instructions.
 - If you don't see the "Download and install this first" link, alternatively go to the link below to download the installation file: http://www.microsoft.com/en-us/download/confirmation.aspx?id=8002
 Run the file. When the file has finished downloading, you can open and run it. The file will be extracted and then you will be asked if you want to click next to continue with the installation procedure.
 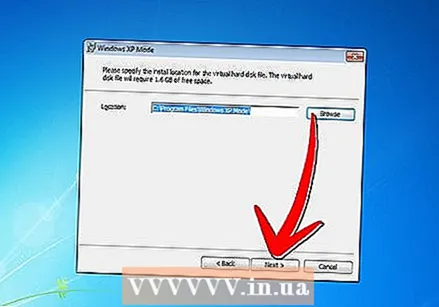 When prompted, use the default installation location and click Next.
 The Setup utility installs the files in the folder. After this is done, click Finish to complete the installation.
  Go back to your browser (the link from step 4), and click the "Download and install this second" button: Windows Virtual PC ". Open the file when prompted.
  Click "Yes" when asked if you want to install the Windows update. Read the license terms and click "Accept".
  Windows 7 will proceed to install the required updates. When the installation is complete you will be prompted to reboot the computer. Please take a moment to make sure you have everything saved before continuing.
  When your computer has finished restarting, click the Start menu> All Programs> Windows Virtual PC and then click Windows XP Mode.
 Review the license agreement and agree to the license terms, then click next when you're ready to proceed.
 You will be asked for a password to log into your virtual machine in Windows XP mode. Choose a name and password that you can easily remember and enter it in both fields, then click Next.
  The next screen will ask you whether or not you want to enable automatic updates. This is recommended, so click Enable and click Next, then Next again on the subsequent screen.
  The setup will complete the installation and start Windows XP mode automatically. Congratulations! You have successfully installed Windows XP Mode in Windows 7.
Tips
- You need Windows 7 Professional, Enterprise or Ultimate to use Windows XP mode.


