Author:
John Pratt
Date Of Creation:
15 April 2021
Update Date:
1 July 2024

Content
Sometimes the Wi-Fi signal does not get as far as you would like. Of course there are devices for sale to do something about this, but they cost a lot of money. We show you how to build a WiFi antenna with parts that you already have or can easily buy, no new software is needed and you don't need to open your computer.
To step
- Buy a USB WiFi adapter, aka dongle. With this small device (about the size of your thumb) you can surf the internet wirelessly on your laptop. You also need this if your computer already has a built-in WiFi adapter.
- Buy a dongle with 802.11b and 802.11g standard.
- Look at Beslist.nl or Kieskeurig for simple cheap dongles.
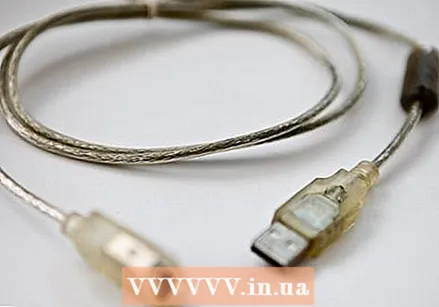 Buy a passive USB extension cable (male to female). With the extension cable you can just connect the WiFi antenna to your computer.
 - The antenna is directional, so you must be able to position the antenna so that it is aimed at the wireless access point. Make sure the cable is long enough to direct the antenna, a 5 meter cable is very useful.
- You can also connect multiple extension cables together.
- With an active USB extension cable you can make a lot more length, maybe you can even pull a cable to a WiFi antenna outside the house.
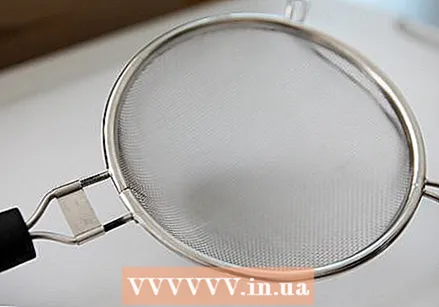 Take a strainer. Grab a sieve with fine holes, preferably such an Asian one in the form of a large spoon. These have the ideal shape and they have a long wooden handle.
 - You can also use a regular strainer, a lid or a lampshade, as long as they are saucer-shaped and made of metal.
- A bigger option is an old satellite dish. That gives more signal, but it is more difficult to assemble. A diameter of no more than 30 cm is most convenient, also in view of the wind.
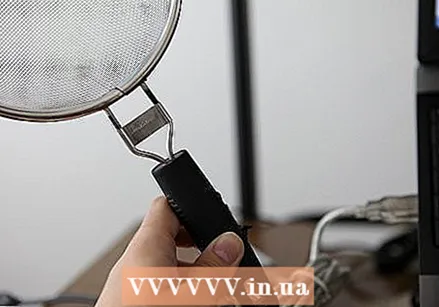
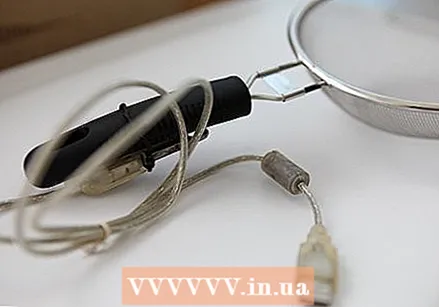 Assemble the system. Attach the Wi-Fi dongle and USB extension cable to the dish with pieces of iron wire, tape or glue.
 - The dongle must be on the "hot spot" of the dish - the radio signals enter the dish and reflect to a point in the center, a few fingers above the surface of the dish.
- The best place for the dongle can be found through simple experiments. One method is to cover the dish with aluminum foil, then check where the most sunlight is reflected, which is the hot spot of the dish.
- You can optionally place the dongle with a small support stick.
- You can also stretch wire over the dish, like a spider web, and attach the dongle to it. Or hollowed out garden hose, or even chopsticks!
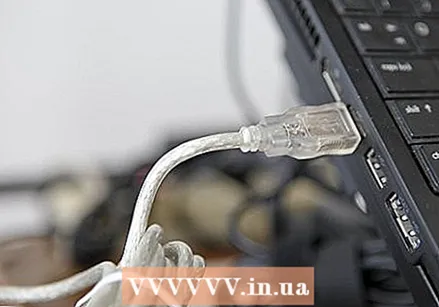 Plug in the antenna. Put one side of the extension cable (male) in your computer and set it on your computer as the Wi-Fi card to be used.
 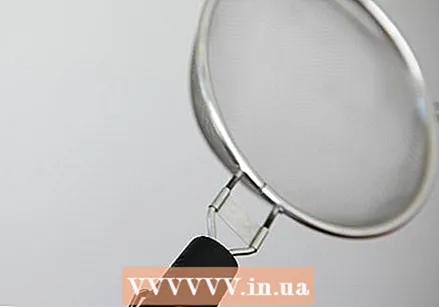 Aim the saucer. Locate the WiFi transmitter you want to reach.
 - The WiFi antenna is very directional, so targeting is very precise.
 Adjust the dish further. Once you are connected, you can aim the dish even more precisely using the signal lines on your screen.
 - A program like [NetStumbler] for Windows or [KisMAC] for the Mac can be useful when looking for the best signal.
- This elevated antenna arrangement often provides a much better signal than the built-in WiFi adapters, which are located at desk height. With your new antenna you can receive WiFi over a much greater distance.
Tips
- This approach also works with other radio wave technologies such as a bluetooth dongle. However, it does not work with infrared.
- A wide-mouth plastic bottle can be useful for keeping the dongle dry when set up outdoors, but keep it away from direct sunlight or you will damage your dongle.
Warnings
- Wifi "to borrow" is not appreciated by everyone.
- Some WLANs are password protected.
Necessities
- USB wifi adapter
- USB extension cable (male to female).
- Dish-shaped object made of metal
- Iron wire, tape or glue
- A short stick for support or a piece of garden hose
- Optional: computer program to monitor signal strength


