Author:
Frank Hunt
Date Of Creation:
12 March 2021
Update Date:
1 July 2024
Content
- To step
- Method 1 of 5: Choose your method
- Method 2 of 5: Ferment your own seeds
- Method 3 of 5: Plant your seeds
- Method 4 of 5: Repot the plants
- Method 5 of 5: Grow the plants
- Tips
- Warnings
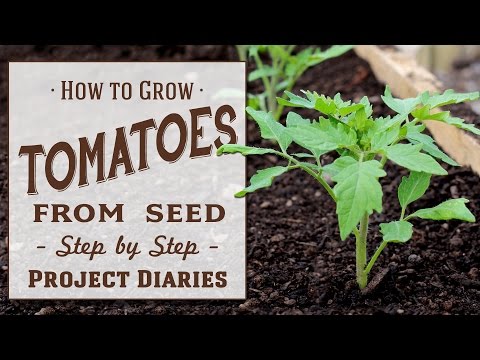
Do you want to grow a tomato plant from seed? If you use healthy, ripe tomatoes from your own kitchen, you can grow multiple tomato plants in your garden. Study the process below to learn how to grow tomato plants from seed, whether using prepackaged seeds or fermenting your own seeds.
To step
Method 1 of 5: Choose your method
 Buy seeds from a reliable source. You can order seeds on the internet, get them from the garden center or buy them from other growers.
 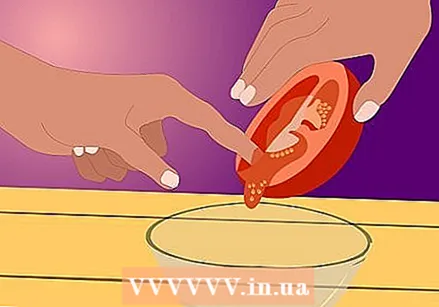 Dry the seeds of a ripe tomato. You can just squeeze the seeds out of a ripe tomato and let them germinate. See the second section, “Fermenting Your Own Seeds,” for instructions on how to prepare the wet seeds for planting.
 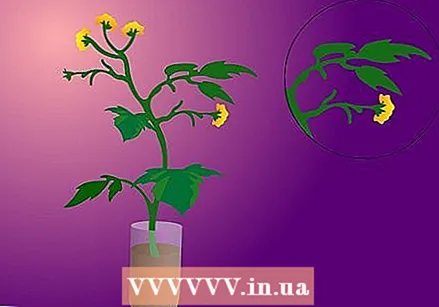 Choose a kind. There are more than a thousand different tomato varieties. You can roughly divide them into three categories to decide which strain to plant in your garden.
 - Seed resistant and hybrid varieties: The seed-resistant varieties have the advantage that the seed is cheaper and that you can extract seed from it. Production is lower. The seed of hybrid varieties is expensive, but the production of these varieties is greater than that of the fixed-seed varieties.
- Self-tapping and growing varieties: This classification method is based on how long the plant produces fruit. Self-tipping plants produce fruit for a few weeks, while growing varieties produce fruit all season long, until it gets too cold.
- Form: Tomatoes can also be divided into four different shapes: there are round (meat) tomatoes, pear-shaped tomatoes, plum tomatoes and cherry tomatoes.
Method 2 of 5: Ferment your own seeds
 Choose tomatoes from a healthy plant. Get your tomatoes from a seed perennial. If you take tomatoes from a hybrid variety, the results are likely to be disappointing.
 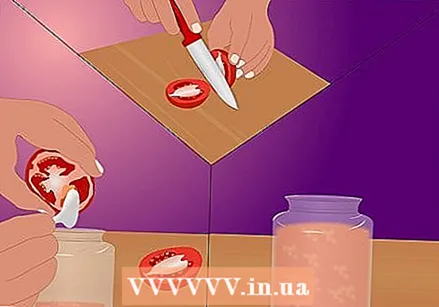 Cut the tomatoes in half and put the seeds in a plastic container. Take a container with a lid, because you have to let the pulp with the seeds sit in it for a few days. A layer of fungus will form, preventing any diseases that can affect the seeds.
 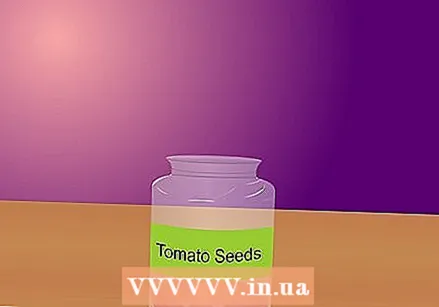 Label your container. If you are going to ferment several types of seed at the same time, write on the container which type is in it so that you do not mix them up. Put the lid on, but let it rest loosely so that oxygen can still be added.
  Place the pulp in a warm place, but not in the sun. The fermentation process is not very pleasant to smell, so place the container somewhere you don't need to be around it too often.
 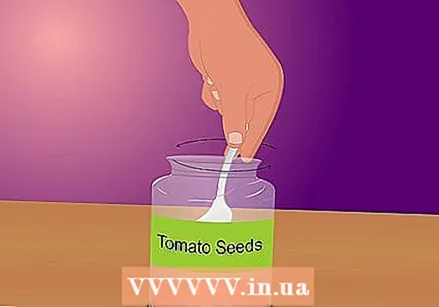 Stir the pulp daily until a layer of white mold forms on the surface. This usually takes 2-3 days. Then remove the seeds from the tray, because they should not germinate in this tray.
 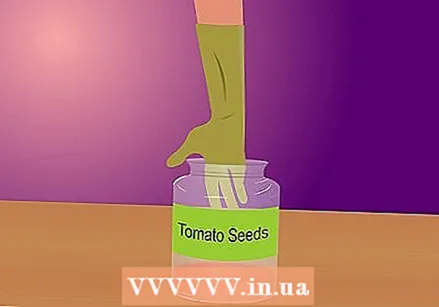 Harvest the seeds. Put on household gloves and scoop off the mold. The seeds will have sunk to the bottom of the container.
 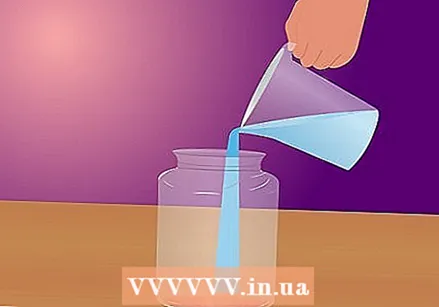 Pour water into the container to dilute the mixture. Let the seeds sink to the bottom and rinse out unwanted bits of pulp. Be careful not to wash the seeds away.
 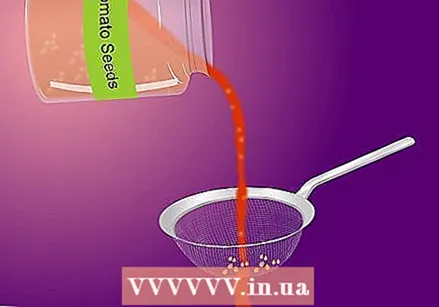 Catch the seeds with a sieve and rinse well.
 Spread the seeds on a non-stick surface and let them dry for a few days. A glass or earthenware plate, a baking tray or a piece of wood work fine. It can be difficult to get the seeds off paper or fabric later. When they are dry, you can put them in a plastic bag until ready to plant. Make sure to write on the bag what kind it is.
  Keep the seeds in a cool, dark place. You can also store them in an airtight container in the refrigerator to simulate winter. Don't put them in the freezer, you will damage them.
Method 3 of 5: Plant your seeds
 Plant the seeds indoors 6 to 8 weeks before the last frost. To prepare your tomatoes for transplanting outdoors, grow the seed indoors while it is still cold outside. Cold temperatures in the early spring can slow the growth of the tomatoes or even kill the seedlings. Start indoors to increase the chances of a good harvest.
 - Buy plastic seed trays or similar small pots to grow the seedlings in. You can find these at the garden center.
 Fill the pots with growing medium. For example, you can use equal parts compost, peat moss, and vermiculite.
  Sow 2 to 3 seeds 0.5 cm deep in each pot. Cover the seeds with a little soil and press it down gently.
  Place the trays in a room at between 20 and 25 ° C until the seeds start to germinate. When they have germinated, place them in full sun or under grow lights.
 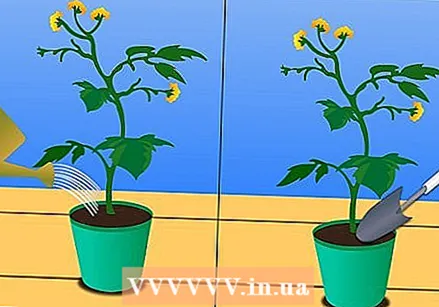 Spray the seeds with water daily for the first 7 to 10 days. If you see small blades developing, you can give them a little less water. More plants die from too much water (causing the roots to rot) than from too little water, so give them a little less water after germination.
 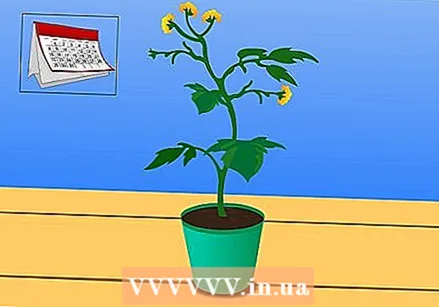 Look at the jars every day. Once the plants protrude from the soil, they will start to grow quickly.
Method 4 of 5: Repot the plants
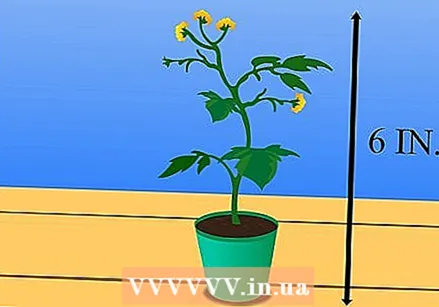 Make sure your plants are at least 6 inches high. When there is no longer any danger of frost and the plants have reached this height, they can be put outside.
 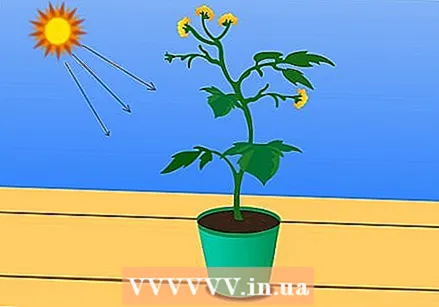 Let the plants get used to the outside temperature. About a week before you really want to put the plants outside, you can gradually let them get used to the colder temperature. This is called hardening off. Get them used to the sun, start in a spot with partial shade and keep them outside a little longer.
 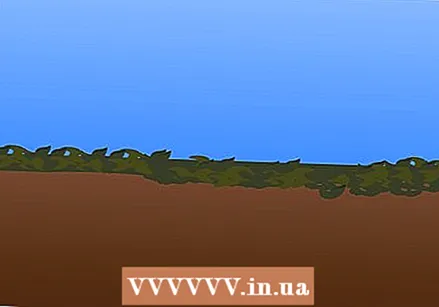 Prepare a spot in the garden. The soil must have good drainage and contain a lot of organic material.
 - Consider mixing some peat moss into the soil for better drainage. Sphagnum moss can absorb 10 to 20 times its own weight in water, but it is thought to be bad for the environment and quite expensive to buy. To extract peat moss, ditches have to be dug, the soil has to be tilled, it has to be dried, packed and transported, all of which costs a lot of energy.
- If you do want to use sphagnum moss, do not scoop away more than half of the soil and top it up with sphagnum moss. Mix it well and put it back where you want to plant.
- If you'd rather not use peat moss, consider building a raised planting bed out of wood. Make a simple container from four boards. Use an untreated type of wood that can withstand moisture, such as cedar.
 Test the soil's pH level. To grow tomatoes do best in soil with a pH of between 6 and 7.
 - You can buy things to test the soil at the garden center. After you have made adjustments to the soil, you should test the pH level again.
- If the pH is below 6, add lime to the soil to raise the pH.
- If the pH is above 7, mix sulfur granules into the soil to lower the pH.
- Dig a hole 60 cm deep. It should be deep enough to plant your seedlings so that only the top quarter of the plant is sticking out of the ground. Put a scoop of organic matter such as compost in the bottom of the hole. This gives the plant an extra push, making it more resistant to the shock of transplanting.
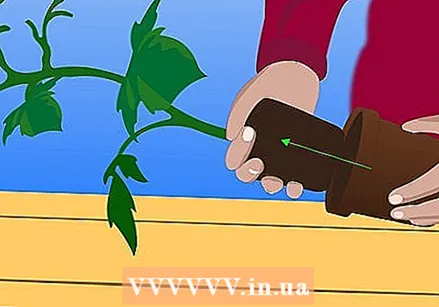 Carefully remove the plants from their pots and put them in the ground. Try not to damage the roots. Tuck the plants deep enough so that the soil reaches the first few new leaves when you put the soil back in the hole. Gently press the soil around the plant.
 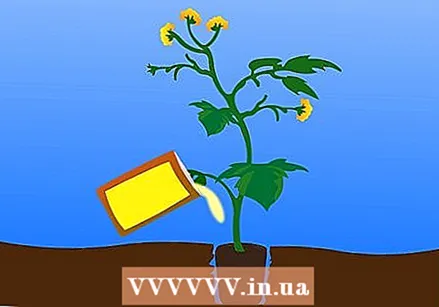 Fertilize the soil with fish meal, chicken manure or a mixture of organic fertilizers with a low nitrogen and high phosphorus content, and then water it sufficiently. You have to fertilize the soil every year.
 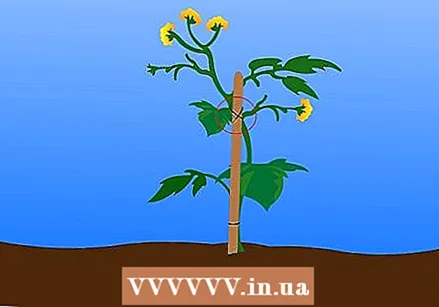 Place sticks or other supports next to the plant. This gives the plants support as they grow, and makes it easier to reap the benefits. Be careful not to damage the roots.
Method 5 of 5: Grow the plants
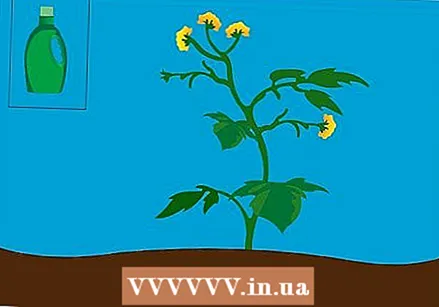 Provide the plants with sufficient water and nutrients. Pour the water onto the soil to prevent mildew from forming on the leaves. Feed the plants with liquid seaweed and compost every week to increase yields.
 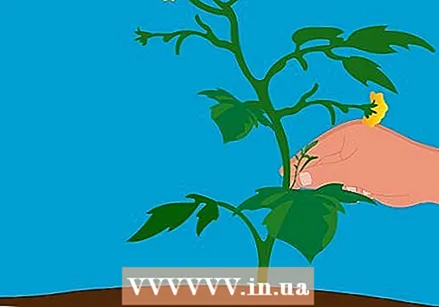 Pick thieves from the plant. If you want your plants to grow better and yield more fruit, pick the thieves off the plant with your fingers as soon as you see them appear. Thieves are small stems that grow on the main stem, in the armpits with the side branches. Leave a few at the top to prevent sun scorching.
 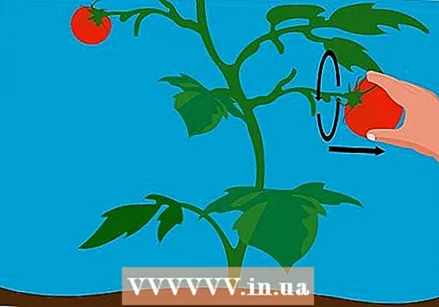 Pick the fruit when it is ripe. The fruit will appear about 60 days after the plant is set outside. Check the plants every day as soon as the fruits start to ripen. Carefully turn the fruit away from the plant so you don't break off the branches.
Tips
- Some seeds dry very slowly. Let the seeds dry for a few weeks (or longer for large seeds).
- Beef tomatoes are very tasty on a sandwich. Plum tomatoes are perfect for a tomato sauce. Cherry tomatoes are mainly used in salads.
- A ceiling fan can improve air circulation when growing the seedlings indoors.
- Water the plants one to three times a week.
Warnings
- Bugs such as aphids can affect your tomatoes.
- Never place the seeds in direct sunlight when the temperature is above 29 ° C.
- Illnesses can also harm your tomato plants.You can prevent this by growing resistant varieties, not always planting tomatoes in the same place and keeping your garden clean.


