Author:
Morris Wright
Date Of Creation:
2 April 2021
Update Date:
1 July 2024
Content
- To step
- Part 1 of 6: General solutions
- Part 2 of 6: Troubleshooting Windows Update
- Part 3 of 6: Troubleshoot power settings
- Part 4 of 6: Changing the power button properties
- Part 5 of 6: Scan with Windows Defender
- Part 6 of 6: Disable startup programs
This wikiHow teaches you how to diagnose and fix common Windows computer shutdown problems, both by making general fixes and by troubleshooting parts of the software on the computer.
To step
Part 1 of 6: General solutions
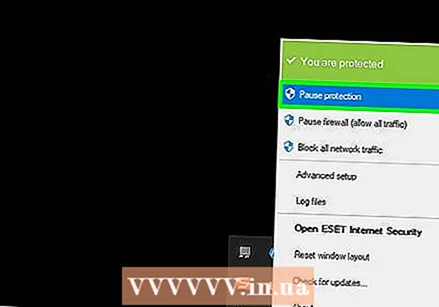 Make sure you don't have any third-party antivirus programs installed. An antivirus program other than Windows Defender is technically a third-party program. Such antivirus programs running on your computer can prevent your computer from shutting down, so remove all third-party antivirus programs.
  Close all programs that are open. Running programs can hinder the shutdown of the computer, so close all open programs and apps.
 - You can close programs that don't want to close using Task Manager.
 Remove all connected devices. Flash drives, mice, controllers, SD cards, and anything else you may have connected to your PC can prevent your computer from shutting down properly. Eject and remove these devices before continuing.
 - Not ejecting connected devices before removing them can later cause problems with drivers or information on the devices.
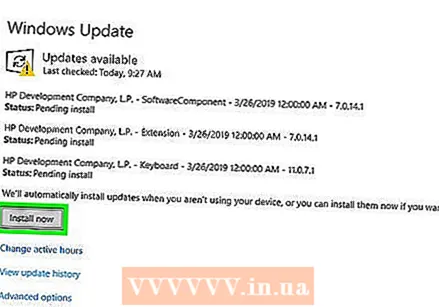 Update your computer. The version of the operating system on your computer, outdated drivers, or a combination of both can easily cause problems when you try to shut down. To update your computer's operating system and drivers:
 - Open Start .
- Click on the Settings-button.
- click on Update and security.
- click on Check for updates.
- Wait for your computer to update.
 Turn off your PC's wireless connections before shutting down the device. Disconnecting from your computer and disconnecting from all wireless networks (including Bluetooth) can solve the shutdown problem; if so, then you probably have a network problem. Putting your computer in airplane mode is the easiest way to disconnect your computer:
 - Click on the box Notification in the lower right corner of the taskbar.
- Click on the box Flight mode.
- If you are connected to a wired (ethernet) network, remove the ethernet cable from your computer as well.
Part 2 of 6: Troubleshooting Windows Update
 Open Start
 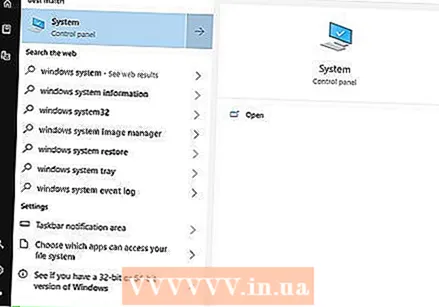 Scroll down and click Windows system. It is a folder in the "W" section of the Start menu.
  click on Control panel. This option is located near the center of the Windows system folder.
 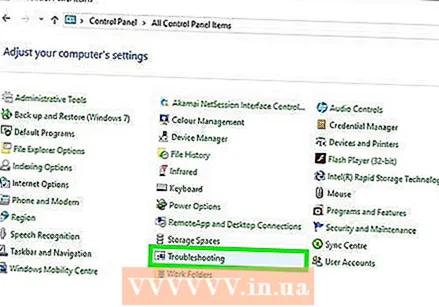 click on Solving a problem. This icon resembles a blue computer monitor in a computer screen.
 - If you don't see this option, click the option next to "View by:" in the top right corner of the window, and select Large icons or Small icons.
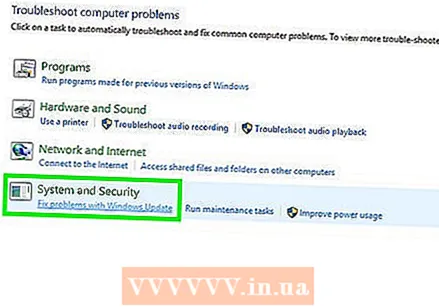 click on Troubleshoot Windows Update. You can find this link under the heading "System and security".
 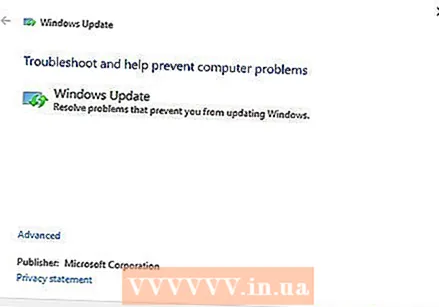 click on Next one. This option can be found in the lower right corner of the window.
 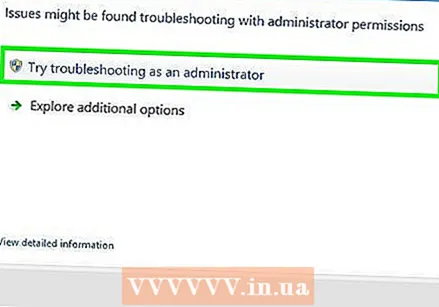 click on Try to resolve as an administrator. This option is displayed at the top of the window. If you are not using an administrator account, you will not be able to complete this procedure.
 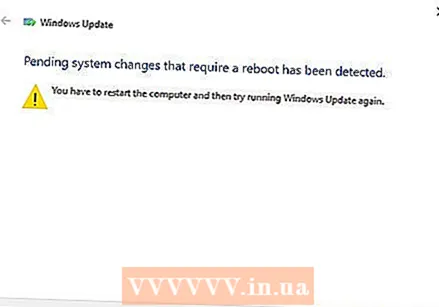 Follow the instructions on the screen. If there are problems with your Windows update, follow the instructions to fix them.
 - In most cases, you will be on Apply this solution when prompted and wait for the fix to be applied.
- You may have to restart your computer for the changes to take effect, which means holding down your computer's power button to turn it off.
Part 3 of 6: Troubleshoot power settings
 Open start
  Click on Settings
 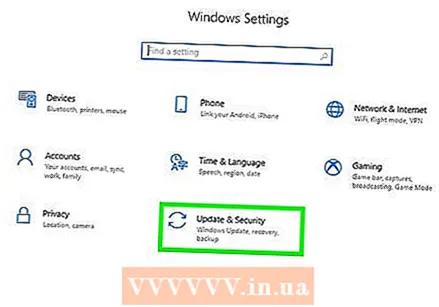 click on Update and security. It's a circular arrow icon.
 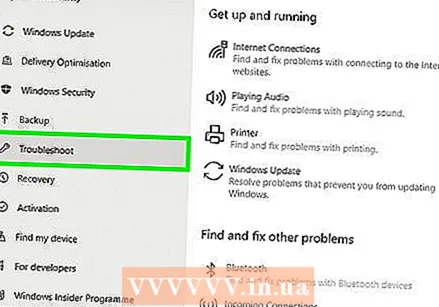 click on Solving a problem. This tab can be found on the left side of the window.
  Scroll down and click Power management. This option can be found at the bottom of the window.
 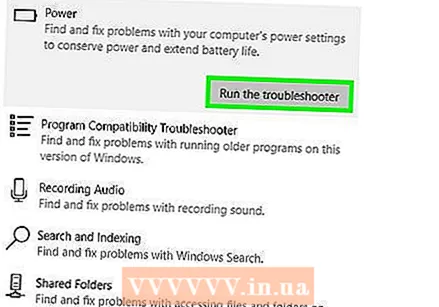 click on Solving a problem. This button appears below and to the right of the Power management-option. Click on it to start the troubleshooter.
  Wait for an error to be displayed. Common Power Management issues are related to battery life and screen brightness.
 - If no errors are displayed and the process is complete, then in any case your power settings are not responsible for not wanting to shut down your computer.
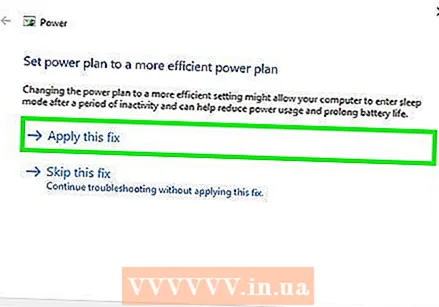 click on Apply this solution. Do this for any problem Windows encounters.
 - If you see something as a problem, but you don't want to fix it, click Skip this solution.
 Try to shut down your computer. If the computer shuts down successfully, the problem is resolved. If not, move on to the next section.
Part 4 of 6: Changing the power button properties
 Open Start
  Click Settings [[Image:| techicon | x30px]]. You can see this icon in the lower left corner of the Start window.
 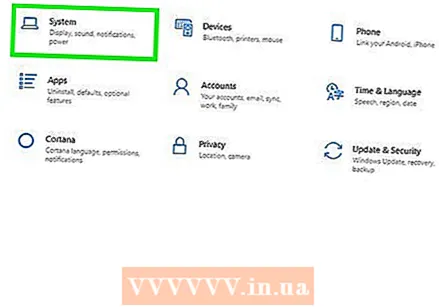 click on System. This icon resembles a laptop.
 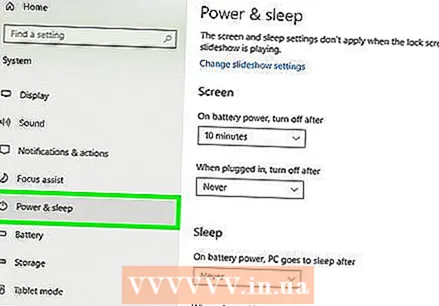 click on Power management and sleep mode. You will see this option on the left side of the page.
 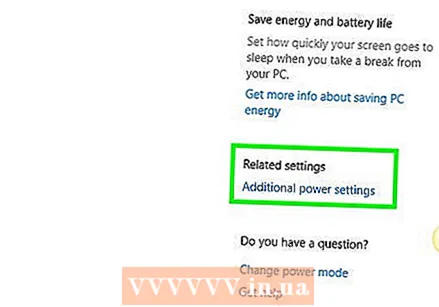 click on Additional energy settings. You can see this option at the top right of the window.
  click on Determine the behavior of the power buttons. You can find this link in the top left corner of the window.
 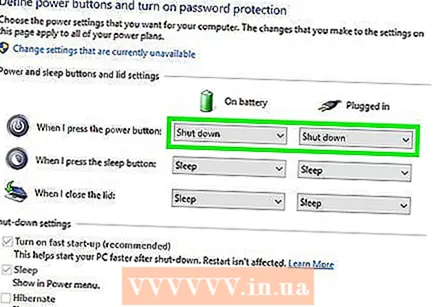 Change the "On battery" and "AC power" boxes to "Shut down". Click the drop-down menu to the right of "When I press the power button on my computer" and under "On battery", click Shut down and repeat this for the column "Grid Current". This will ensure that pressing the power button on your computer will turn off the computer.
  Try to shut down your computer by pressing the power button. If the computer shuts down successfully, the problem is resolved. If not, move on to the next section.
Part 5 of 6: Scan with Windows Defender
 Open Start
 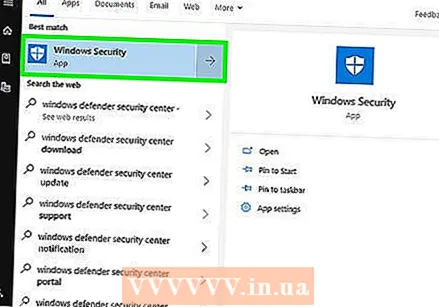 Scroll down and click Windows Defender Security Center. You can find this in the "W" section of the Start menu.
  click on ☰ . This button is in the top left corner of the window.
 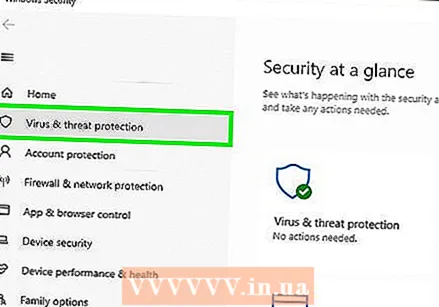 click on Virus and threat protection. This option is in the top left corner of the Windows Defender window.
 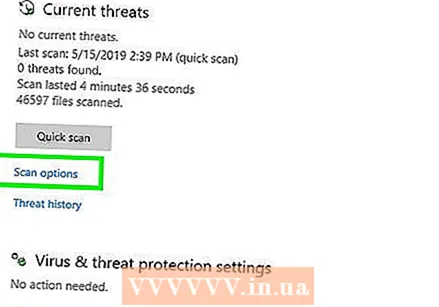 click on Advanced scan. This link is below the button Quick scan in the middle of the page.
 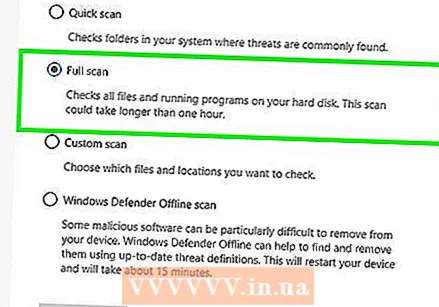 Make sure "Full scan" is checked. If not, click on the circle to the left of the "Full Scan" at the top of the page.
 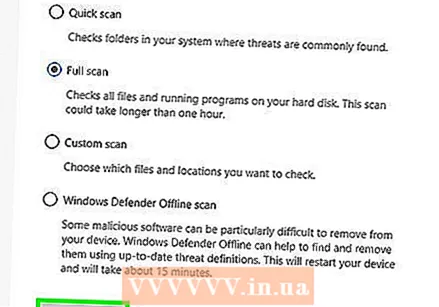 click on Scan now. This is in the middle of the page. your computer will then be scanned for interfering programs.
  Wait for the scan to complete. If something harmful shows up during the scan, Windows Defender will warn you. Let Windows Defender remove the dangerous software.
 - If nothing is found with this scan, repeat the scan with "Windows Defender Offline scan" checked, instead of "Full scan".
 Try to shut down your computer. If the computer shuts down successfully after the scan is complete, the problem is resolved. If not, move on to the next section.
Part 6 of 6: Disable startup programs
 Open Start
  Scroll down and click Windows system. It is a folder in the "W" section of the Start menu.
 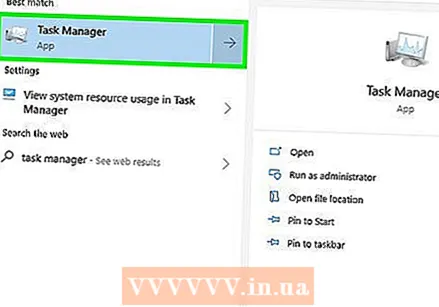 click on Task management. This option is at the bottom of the Windows system folder.
 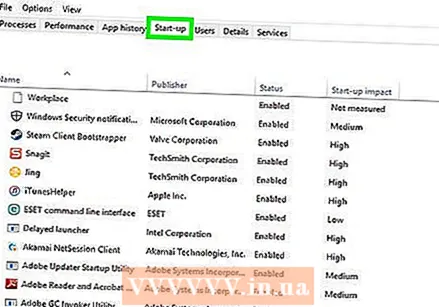 click on Startup. You can see this tab at the top of the Task Manager window.
 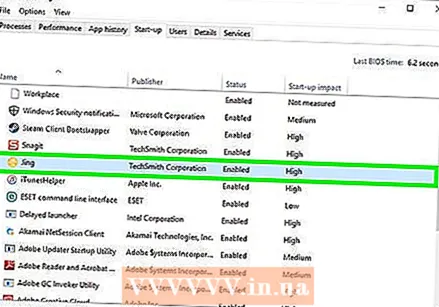 Select a program and click Disable. This will prevent the program from starting automatically when you turn on your computer. Too many programs trying to start at the same time can crash your computer; thus, related problems can be solved in this way.
  Disable any startup programs that are not included with Windows. All third-party programs, such as antivirus tools, chat rooms, or other apps, should be turned off when you're done.
 - You do not disable Windows processes, such as the graphics card or Windows Defender.
 Try to shut down your computer. If the computer can be shut down successfully, the problem is solved. If not, you should probably take the computer to a technical department to have it repaired.


