Author:
Frank Hunt
Date Of Creation:
11 March 2021
Update Date:
1 July 2024

Content
Suppose you have your set of beautiful plates, bowls and cups - just think how much fun it is to make your own set of pottery by pottery. Buying a nice set of ceramics from the store is fun, but adding your own flair to these objects that you use every day is worth its weight in gold - and easier than you think!
To step
Method 1 of 2: Create an object
 Consider whether you want to make a functional or non-functional piece of ceramic. A bowl is best made on a potter's wheel, but a decorative piece is probably best made by hand. You can even make a clay sculpture, as long as it is mostly hollow on the inside and you create a vent so that air can flow in or through it while baking.
 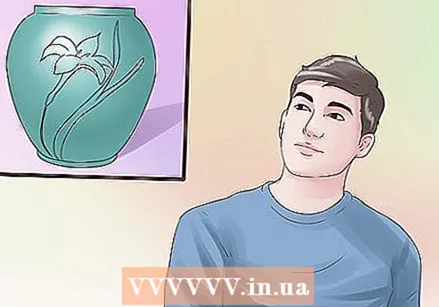 First consider what purpose, size, shape and color the object you want to make will have. "Pottery" is a rather vague term - there are dozens of ways you can proceed. To make an object it is necessary to get to know various elements of pottery. Visit an art supply store in your area to find out what materials you will need.
 - Think carefully about the type of object you want to make. If you want to make small objects, beads, decorated boxes and animals are a good start. The possibilities with regard to vases, plates, pans, crockery and wall decorations are endless.
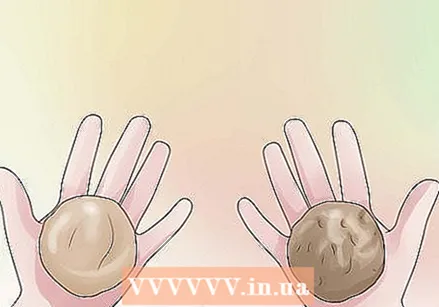 Once you know what you want to make, you can choose the clay. Polymer clay does not even need to be heated in a special potter's oven, you can do that in the oven at home. Because this is quite expensive material, it is best to make small objects with it. Clay is often pre-baked ("biscuit" baked) at 500-600 ° C to prevent any cracks. After that, simple tasks are often baked at 900 ° C and utensils at 1000-1300 ° C.
 - Pieces that you do not bake too hot in the oven (900 ° C) often have bright colors. This can also give you nice details. However, they are not very water resistant so make sure you glaze them well.
- Clay that you bake hot (1000-1300 ° C) is not particularly suitable for bright colors, but it is sturdy and water-resistant. Moreover, you can easily add structures. Glaze can run due to the high heating, so that small details can be lost.
 Decide which method works best for the objects you want to create. You can choose from a few options:
 - A potter's wheel or turntable: this is ideal for symmetrical and round objects. You need a turntable and some skill for this. Although this method is suitable for both small and large objects, it can be difficult to reshape the clay if you make mistakes and that happens quite often in the beginning.
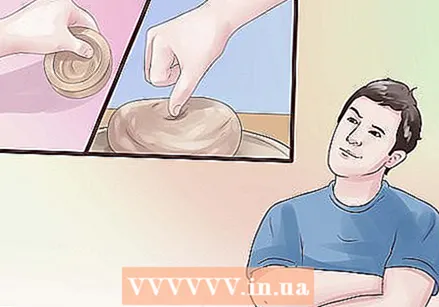
- Clay by hand: This is best suited for small objects. The method is quite simple: start with a small piece of clay that you can work in your palms. Shape the clay using pressure and heat. Use a damp cloth to wipe the surface smooth.
- Build up with clay rolls: This method works best with hollow or asymmetrical objects. You can create an interesting texture or pattern by building up layers of clay rolls and bonding them together. Instead of working with a block of clay, you simply build the clay rolls on top of each other in a mold. You attach them with swipes of your fingers so that the clay rolls form a mass.
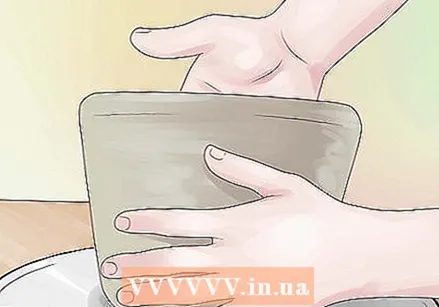
- Build up with slabs of clay: this works best with flat objects. You put the sides of the plates of clay on a flat surface. As it dries, it shrinks on the surface but retains its shape.
 Improvising with clay. This depends on yourself and your level of pottery. If you have a turntable, that's great. If you don't have one, you can also proceed in other ways as described above. If you are new to pottery you can take a workshop or lessons with a potter or watch some videos on the internet. It is an art that requires skill.
 - Some clays cannot be shaped, made into a ball and converted again. So when you make your choice pay attention - not all clays give you a second chance.
Method 2 of 2: Heat the object
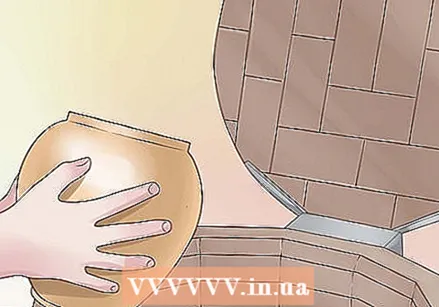 Place the pottery in an electric potter's oven. Set the temperature to 850 ° C for 12 hours. In this way you can bake "biscuit" or unglazed earthenware. This initial heating removes water and chemicals from the clay so that the object can be glazed without becoming loam or breaking again.
 - Allow the kiln to cool and remove the pottery from the kiln 48 hours after the temperature has cooled completely.
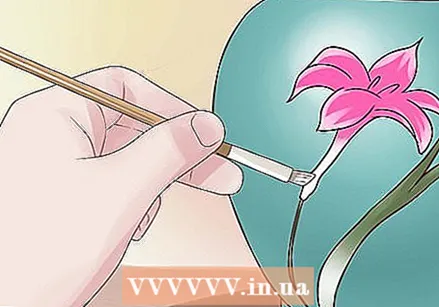 Glaze your objects. Keep in mind that the icing will start to run. If you are aiming for precise lines, first paint the object with underglaze paint and then cover it with a transparent glaze.
 - If the surface of the object is not completely smooth, use a fine sandpaper or a knife sharpener to smooth it. Then clean the object with a sponge to remove all dust. The glaze can then adhere well to the surface.
- Glazing can be done in different ways. You can dip, paint, work with a sponge or etch - just to name a few of the many possibilities. You can buy them in liquid or dry form. If you want to be a true professional you can even make your own icing.
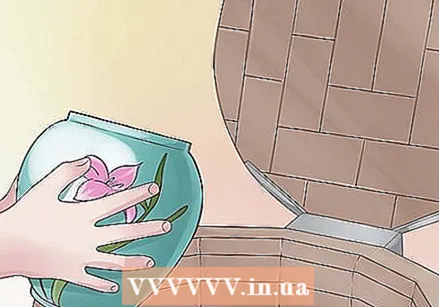 Heat the objects again to melt the glaze and make your object water resistant. Depending on the type of clay, the size of the object and the type of glaze, you need a pottery kiln that can reach 1150 ° C.
 - At night you preheat your potter's kiln to a very low temperature.Leave the oven on a low setting for two hours (do not increase the heat more than 100 ° C degrees per hour) and then for two hours on a medium heat (do not increase the heat more than 150 ° C degrees per hour) until the desired temperature has been reached. Eventually you increase the temperature by 150-200 ° C per hour until the desired temperature is reached.
 Look at the bottom of your object. Maybe it was in an odd position on the bottom of the oven that caused the bottom to come off. Always smooth the bottom of the object beforehand, check this by resting it on a table or shelf before baking. If it doesn't wobble, it can be placed in the oven.
 - Optionally, stick felt on the bottom of your object when it's done. Then you can start admiring your final product!


