Author:
Frank Hunt
Date Of Creation:
17 March 2021
Update Date:
1 July 2024

Content
- To step
- Method 1 of 3: Find quick solutions
- Method 2 of 3: Make an earring holder frame
- Method 3 of 3: Make an earring box
- Tips
- Necessities
- Make an earrings holder frame
- Making an earring box
Earrings are one of the hardest pieces of jewelry to keep. They must be kept in pairs and often get lost. Unfortunately, earrings holders can be quite expensive, the wrong size, or the wrong style and color. Fortunately, it is quite easy to find different objects to keep earrings. It is also just as easy to make your own earrings holders yourself.
To step
Method 1 of 3: Find quick solutions
 Grab some small plastic drawers. They are actually intended for storing office supplies, but are fine to use for earrings! You can usually find them in the storage or office supplies department. If you want, you can cover the bottom of each drawer with a piece of foam rubber. This way you can poke the earrings into the foam to keep them in place.
 - Choose a small one about 6 to 8 inches high.
- Don't you like the color? Take out the drawers and color them with a paint spray! You can also use the box with glitter glue pens and / or beautiful glitter stones.
- Store each type of earring in a different drawer. For example, you can keep all stud earrings and stud earrings in one drawer and all hook earrings in another.
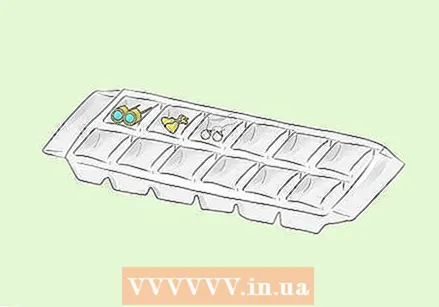 Use ice cube trays to store earrings.This is a great alternative if you have a lot of earrings. This is not suitable for large and gaudy earrings or giant earrings, but is perfect for smaller earrings and stud earrings. You can leave the ice cube tray on your dresser or counter or keep it in a drawer.
 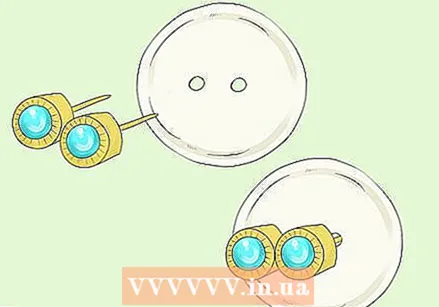 Use plastic buttons to hold the pairs of earrings together. This works best for stud earrings, but might work for hook earrings too. Buttons with two holes are also better suited for this than those with four holes. Once you've tucked the earrings into the buttons, you can keep them in a box, dish, or drawer.
 - Do not use jacket buttons or buttons with a single loop at the back.
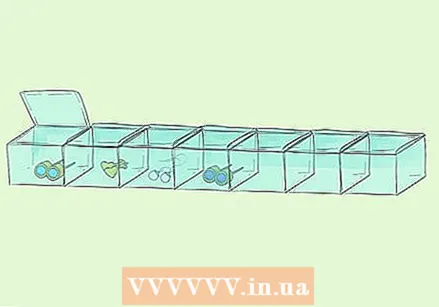 Store small earrings in plastic pill boxes. This works best for stud earrings, but might work for small hook earrings too. Keep each pair of earrings in each separate compartment.
 - If you want, you can paint the box in a different color with a spray paint or decorate it with stickers.
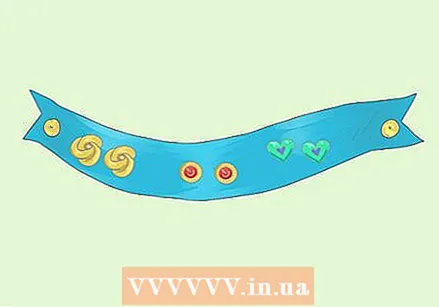 Tuck stud earrings into a long strip of ribbon to keep them together. Use a thick, sturdy ribbon, such as grosgrain. It will last longer and be less likely to tear or unravel. Something between an inch and a half will work best for this.
 - Keep the ribbon in a box or drawer, or hang it on the wall with a thumbtack or nail.
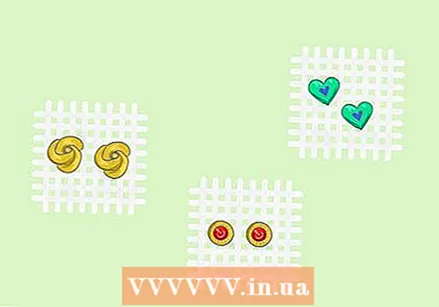 Use a piece of plastic canvas to hold stud earrings together in a jewelry box or drawer. Buy a piece of plastic canvas from a craft store and cut it to the size you want. Put the stud earrings through it and then put it in a jewelry box or drawer.
 - Weave ribbon around the edges of the plastic canvas to beautify it. You can use a simple straight stitch or a blanket stitch.
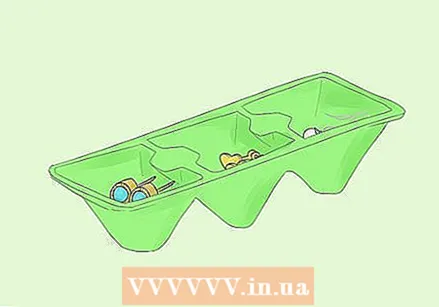 Make a simple earrings holder from an egg carton. Cut off the top and side of an egg carton, then color the carton in your favorite color and let it dry. Fill each box with a pair of earrings.
 - You can use a paint spray or acrylic paint for this.
- You can further decorate the egg carton with glitter glue, glitter stones and ribbon.
Method 2 of 3: Make an earring holder frame
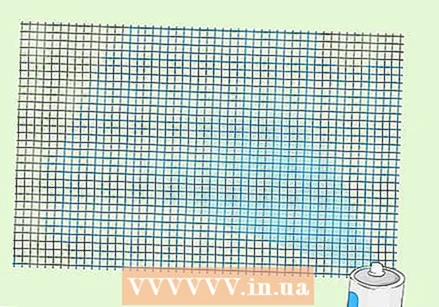 Take a piece of gauze. This can be a sheet of plastic canvas, window mesh, tulle, or even lace. Plastic canvas is an excellent choice because it comes in a variety of colors and is easy to work with; you can find it in a hobby or art store. This holder works best for hook earrings, but can also be used for stud earrings.
 - If you're using window mesh, consider painting it a fun color first. Paint one side first, let it dry, then flip it over and paint the other side.
- Instead, try burlap for a rustic frame. You can even add a figure or letter with some fabric paint and a template.
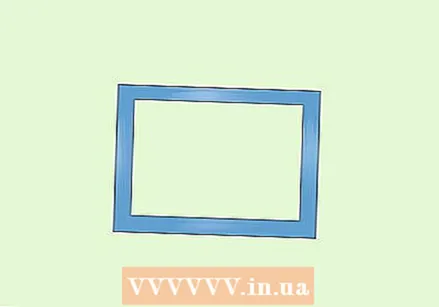
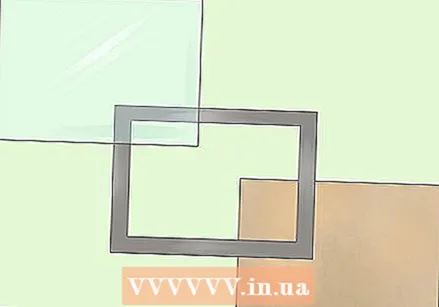 Take apart a photo frame. Discard the glass and backing or save them for another project. You can alternatively use a simple wooden base frame from the hobby store; no glass or back is included here, so it will be less work for you.
 - Don't worry about the frame color, you can always paint it.
 Paint or decorate the frame, if you like. If the frame design is the right one, but it has the wrong color, you can always paint it with a paint spray to your liking. You can also decorate the frame with glitter, glitter glue or colorful glitter stones. Let everything dry completely before proceeding.
 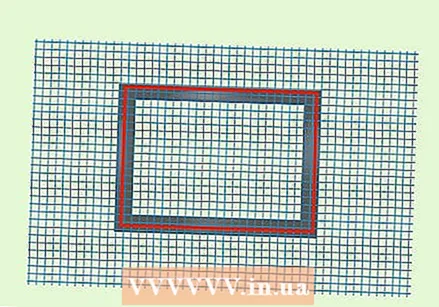 Cut the mesh so that it is just slightly larger than the opening of the frame. Turn the frame over so that the back is facing you and place the mesh on it. Use painter's tape or masking tape to mark where to cut the mesh. When you are done, use the tape as a guide to cut the mesh. Remove the excess tape.
 - Do not use a highlighter. Not only will you ruin the list with this, but the highlighter will be hard to see on the material.
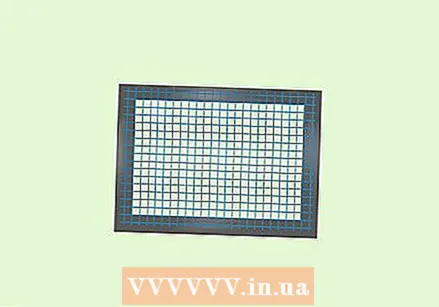 Glue the mesh to the frame and let it dry. Line the glue around the outside edges of the opening on the back of the frame. Quickly press the mesh into the glue. You can use hot glue or hobby glue for this. If you used tulle, lace, or burlap, you can use fabric glue instead.
 - Obviously, the different types of glue also require different drying times. Hobby glue dries after several hours, while hot glue dries almost immediately.
- If you want to hide the glue, trace the inside edges of the mesh with glue, then cover it with strips of ribbon. Make sure the ribbon does not extend past the opening of the molding.
 Let the frame lean against the wall or your dresser. Since you took out the back, the frame cannot stand on its own. You also can't put the back back, because it would "block" the mesh and you wouldn't be able to put the earrings in. If you want to make the list a bit more stable, there are a few things you can do:
 - Cut a piece of ribbon and make a loop with it. Glue it to the back of the frame and use it to hang it on the wall.
- Use a frame holder or a frame stand to keep your frame upright.
- Hot glue one or two short dowels to the back of the framing to make a stand. If you want, you can paint the plugs to match the frame.
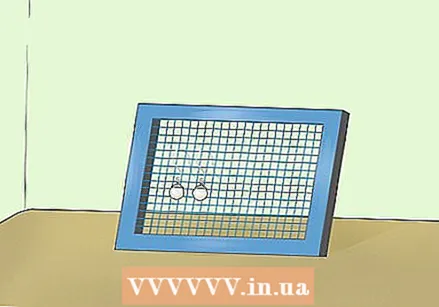 Hang your earrings in the mesh. This earring holder is best suited for hooked earrings, but can also be used for stud earrings. First remove the button at the back of the earring, put the earring through the mesh and push the button back on.
Method 3 of 3: Make an earring box
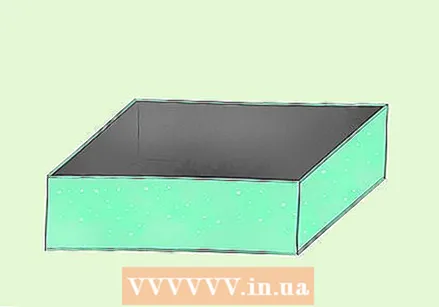 Paint a wooden box in the desired color. The best wooden box to work with is one that is relatively shallow, between an inch and a half deep. It is best for stud earrings, but can also be used for hook earrings. You can use acrylic paint or a paint spray for this.
 - For something a little more girly, paint the outside of the box with fine scrapbook glitter. Make sure to apply a layer of a glossy coating afterwards to prevent the glitter from coming off.
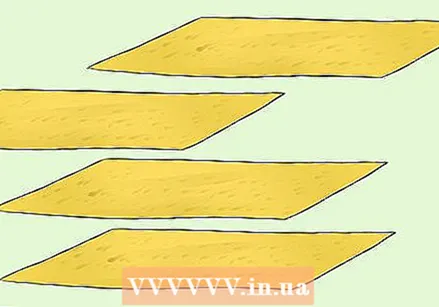 Cut a number of strips of felt the same length as the inside of the box. If you plan to wrap the strips around a pencil (for extra support), make them four inches wide. If you don't plan on doing that, make them 6 to 8 inches wide instead.
 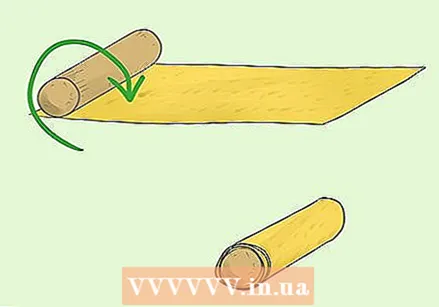 Roll each piece of felt into a tight tube. If you want, you can roll the felt around a short dowel or pencil to make it firmer. Make sure the plug or pencil is long enough to fit properly in the box.
 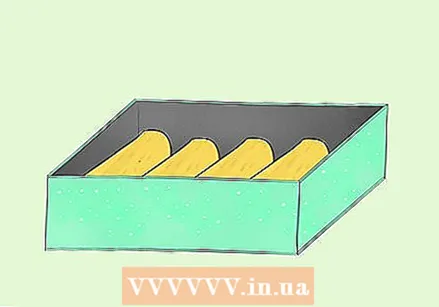 Put all the felt tubes on the bottom of the box. To make this permanent, stick the felt rolls seam down in the box. Make sure all felt rolls are facing the same direction. If you can see the bottom of the box, you will need to make more felt rolls.
 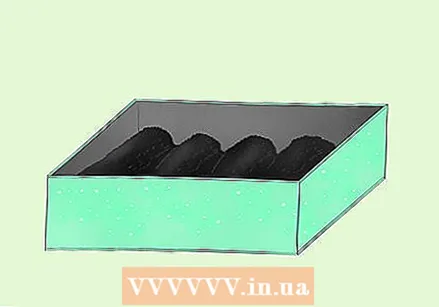 Consider covering the tubes with a scrap of fabric for a more finished look. Cut a piece of fabric a few inches wider than the inside of the box. Drape it over the top and tuck the fabric between the felt rolls. Tuck away excess fabric between the first and last tube and on the sides of the box.
 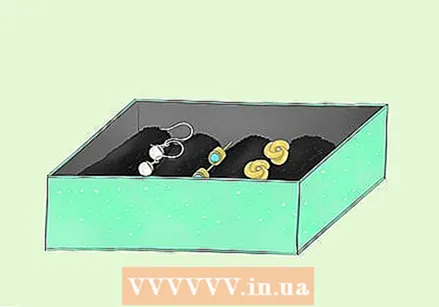 Place the earrings between the felt tubes. This holder is best suited for stud earrings, but can also be used for hook earrings if you place them sideways.
Tips
- Sort your earrings by color. This can be the color of the gemstone or the color of the metal.
- Sort your earrings by size and shape. Keep all earrings together in one place and all hook earrings in another place.
- Keep the earrings you wear often in sight and the earrings you rarely wear safely stored.
- A plastic box box, like the kind used to store beads or embroidery floss, is perfect for storing earrings!
- If you see an earring holder that you like, but in the wrong color, you can always paint it with paint spray in a different color.
Necessities
Make an earrings holder frame
- Photo frame
- Mesh (plastic canvas, window mesh, tulle, etc.)
- Painter's tape or masking tape
- Scissors
- Glue (hot glue, hobby glue, fabric glue, etc.)
- Paint (optional)
Making an earring box
- Wooden box (or small drawer)
- Paint spray or acrylic paint and brush (optional)
- Felt sheets
- Pencils or plugs
- Hot glue (optional)
- Hot glue sticks (optional)
- Scissors


