Author:
Frank Hunt
Date Of Creation:
18 March 2021
Update Date:
1 July 2024

Content
- To step
- Part 1 of 7: Selecting a template
- Part 2 of 7: Create your document
- Part 3 of 7: Inserting extra frames
- Part 4 of 7: Inserting a picture
- Part 5 of 7: Cropping an image
- Part 6 of 7: Saving your document
- Part 7 of 7: Printing your document
Microsoft Publisher is an Office application that allows you to create professional documents such as newsletters, postcards, flyers, invitations, brochures and more using built-in templates. After selecting one of Publisher's built-in templates, you can add text and images as needed before saving and printing your document.
To step
Part 1 of 7: Selecting a template
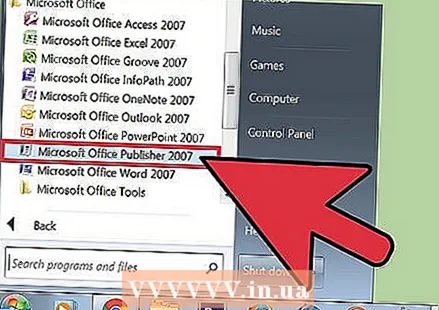 Start Microsoft Publisher. When opening the application, the Catalog window will appear on the screen. The Catalog window contains a number of different publication types and templates that you can use to design your document, including newsletters, brochures, signs, greeting cards, letterheads, envelopes, banners, advertisements and more.
 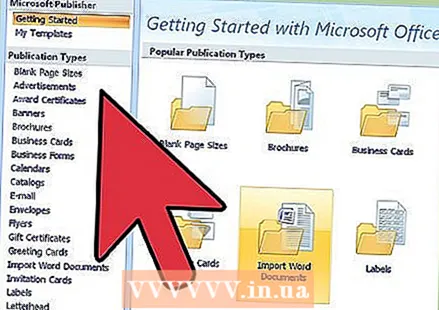 Click on the publication type you want to create in the left column. A number of different templates for the chosen publication type are displayed in the right pane.
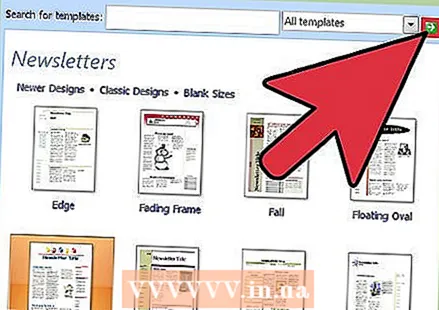
  Scroll through the templates in the right pane to find the one you want to use. For example, if you chose "Newsletter" as the publication type and your newsletter is aimed at children, you can use the "Happy" template.
 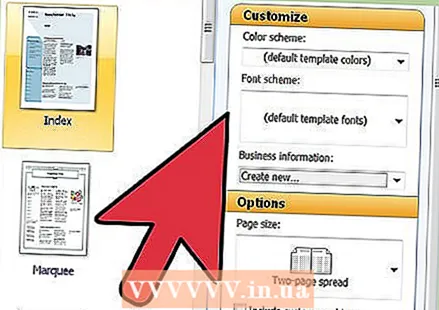 Select your template and then click "Create" at the bottom right of the Template window. The Template window disappears and shows your template in the main Publisher window.
Part 2 of 7: Create your document
 Click "Next" in the left pane after starting the wizard for your Publisher template. The wizard will guide you through the formatting process for your document.
  Follow the Publisher wizard instructions to create your document. The steps will differ for each document based on your publication type. For example, if you are creating a newsletter, the wizard will ask you to select a color scheme and indicate whether you want the recipient's address printed on the document.
 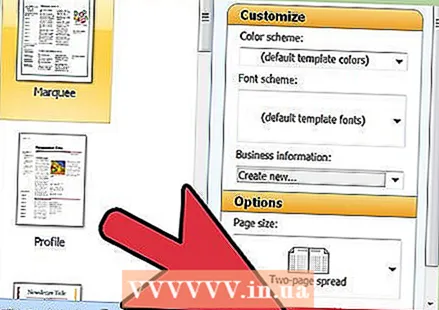 Click "Finish" on the last tab of the Publisher Wizard. The wizard is minimized and you can now start adding text and images to your document.
 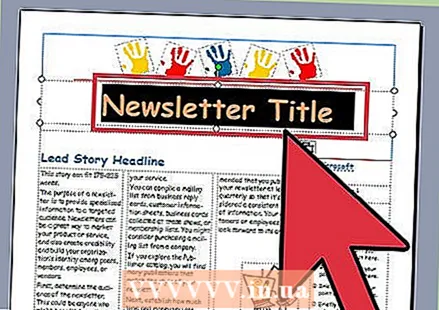 Click the part of the document you want to add content to. your document will contain multiple frames in which text or photos can be added. In most cases, Publisher places sample text and photos in each template to give you a general idea of how to write and format your document. For example, if you are creating an envelope, Publisher inserts dummy addresses in the appropriate text boxes on the document so that you can replace the text with your own data.
  Enter content or add images to each frame of the document as desired. You can also insert additional frames in the document if needed.
Part 3 of 7: Inserting extra frames
 Click the "Insert" tab and select "Draw Text Box".
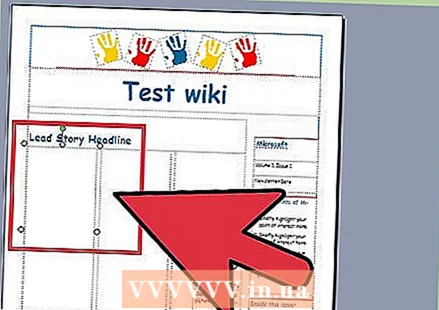 Position your cursor where you want the top left corner of the frame to begin.
 Drag your cursor diagonally down and to the right until the frame is the size you want.
 Click inside the frame and start typing text.
Part 4 of 7: Inserting a picture
 Position the cursor where you want to add the image to your document.
 Click the "Insert" tab and select "Picture" under the Illustrations group. This opens the "Insert Picture" dialog box.
 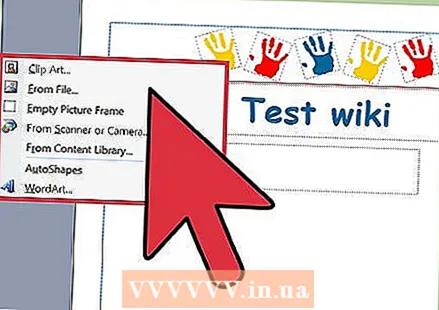 Click the folder in the left pane that contains the image you want to add to your document.
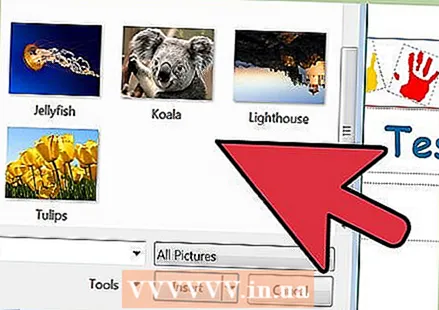 Open the same folder in the right pane of the dialog box.
 Select the image you want to add to your document and then click "Insert". The image is added to your document.
Part 5 of 7: Cropping an image
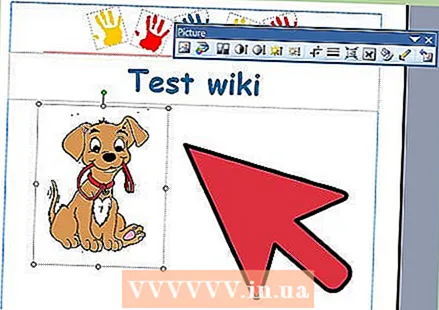 Click on the photo in your document that you want to be cut. The outline of a box appears around the image.
  Click the "Format" tab and select "Crop" from the image tools.
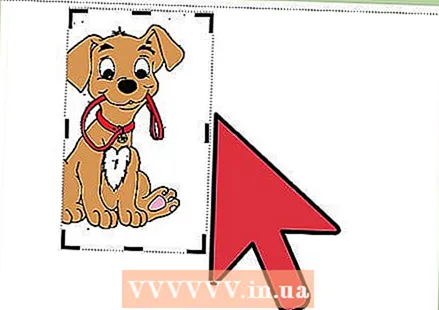 Position the crop handle over the edge or corner of your photo as desired.
 Drag the crop handle over the portion of the photo you want to crop or delete.
- Hold down CTRL while dragging a handle in the center to crop both sides evenly.
- Hold down CTRL + Shift while dragging a corner handle to crop all four sides evenly while maintaining the proportions of your image.
Part 6 of 7: Saving your document
 Click on "File" and select "Save".
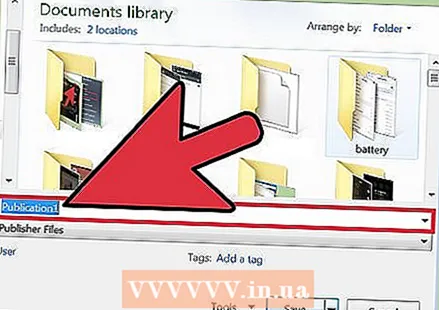 Type a name for your document in the "Save As" dialog box.
 Specify the location where you want to save your document. If not, Publisher will save your file in the default working folder.
 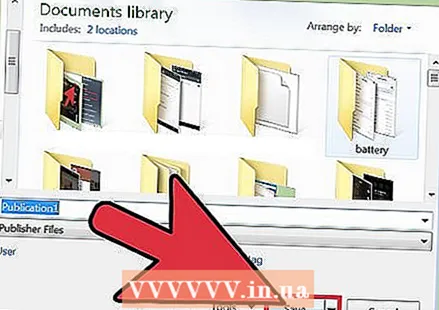 Click on "Save". Your document will now be saved.
Part 7 of 7: Printing your document
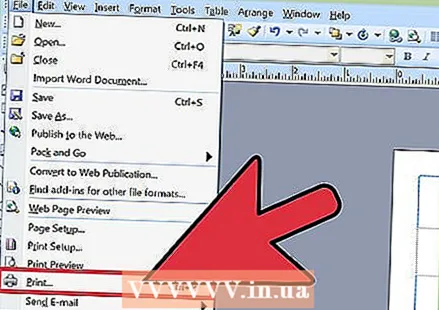 Click on "File" and select "Print".
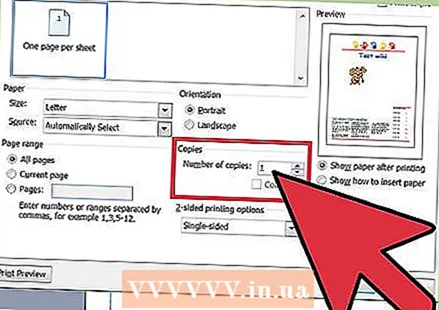 Enter the number of copies you want to print next to "Copies of the print job".
 Verify that your printer is selected next to "Printer". In most cases, the properties of your default printer are automatically displayed in this field.
  Indicate the paper size you use to print your document under "Settings".
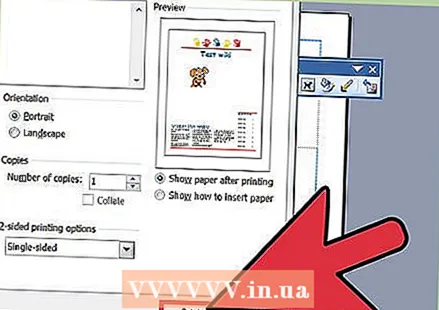 Select your printing color preferences and then click "Print". Your document will now be sent to the printer.


