Author:
Tamara Smith
Date Of Creation:
19 January 2021
Update Date:
1 July 2024

Content
- To step
- Part 1 of 6: Enable Location Services for Snapchat on iPhone / iPad
- Part 2 of 6: Enable location services for Snapchat on Android
- Part 3 of 6: Enabling filters
- Part 4 of 6: Using multiple filters
- Part 5 of 6: Using emoji filters
- Part 6 of 6: Using lenses
This article will teach you how to apply emoji filters, lenses, and all kinds of other filters to your snaps.
To step
Part 1 of 6: Enable Location Services for Snapchat on iPhone / iPad
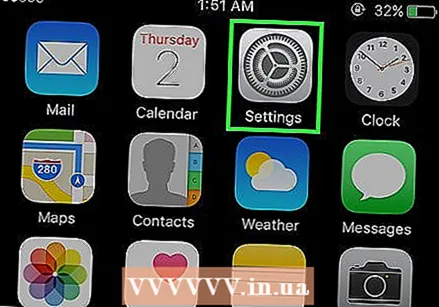 Open the Settings of your iPhone. This is an app with a gray gear and is usually on your home screen.
  Tap Snapchat. This is somewhere in between your other apps.
  Tap Location at the top of the page.
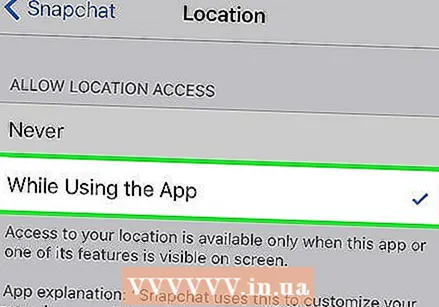 Press While Using the App. Snapchat will now be able to access your location while using the app.
Part 2 of 6: Enable location services for Snapchat on Android
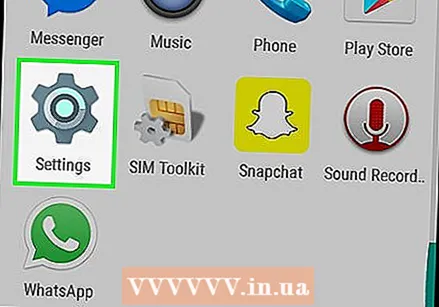 Open Settings on your Android device. This is the gear-shaped app (⚙️) on your home screen.
  Scroll down and press Apps in the "Devices" section of the menu.
 Scroll down and press Snapchat. The apps are listed alphabetically.
  Tap on Permissions near the top of the menu.
 Slide the button next to "Location" to the "On" position. The bud will turn blue-green. Now Snapchat will be able to access your device's location to enable specific filters for your location.
Part 3 of 6: Enabling filters
 Open Snapchat. This is a yellow app with the outline of a ghost. This will take you to your camera.
 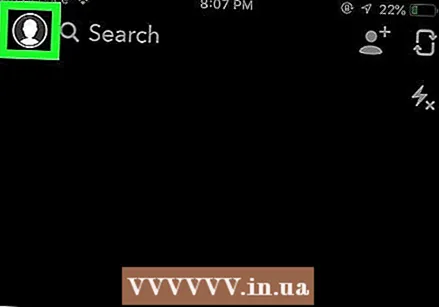 Tap a ghost's button in the top left corner of the screen. This will take you to the user screen.
  Tap the gear in the top right corner of the screen. This will take you to Settings.
  Press Manage Preferences under Extra Services.
 Slide the Filters button to the "On" position. Now you can access all of Snapchat's available filters.
Part 4 of 6: Using multiple filters
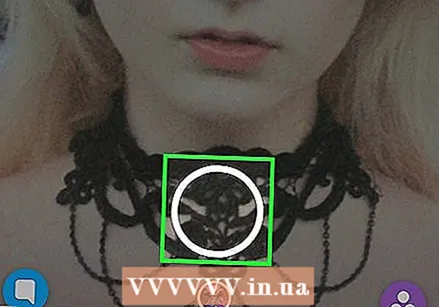
 Press the release button to take a photo snap. This is the large circular button at the bottom of the screen. The photo will be displayed on your screen.
  Swipe right or left. This will take you to the filter menus. By swiping to the right you go to the filters that depend on your location; swiping left will bring up Snapchat's traditional filters.
  Press and hold on the snap. You have to hold down the first filter so that it stays on the photo.
  Slide your finger left or right. Keep holding your first finger on the snap while choosing a different filter.
 - You can add up to three location filters, timestamps, temperature icons or colored filters.
Part 5 of 6: Using emoji filters
 Take a photo snap. A photo will be taken by pressing the large circular button at the bottom of the screen. The snapshot will be displayed on your screen.
  Press the "Sticker" button in the top right corner of the screen. This looks like a piece of paper with an over-folded corner.
  Tap the smiley face icon in the lower right corner of the screen. This will take you to the emoji menu.
  Press an emoji. Choose an emoji that has the color you want as a filter. This will place the emoji in the center of your screen.
 - The outer edge of the emoji will eventually be the filter.
 Drag the emoji to any corner of the screen.
 Spread two fingers apart above the emoji to make it bigger.
 Drag the emoji to the corner again. Keep alternating between making it bigger and dragging the emoji to the corner of the screen until the outer edge overlaps the snap, creating a color filter from the pixelated, semi-transparent edges of the image.
Part 6 of 6: Using lenses
 Tap the rotating icon of a camera to switch to camera view. It's in the top right corner of the screen. You need to make sure your camera is facing the right direction before applying a lens.
  Press the center of the camera screen. This will open the Lenses menu.
  Scroll through the lenses. You get a preview of each lens so you can see what your snap will look like.
 - Some effects will require action, such as raising your eyebrows.
 Press the release button while the filter is active. This is the large circular button at the bottom of the screen. Now a picture is taken with the lens.
 - To record a video with the lens, press and hold the release button for up to ten seconds.
 Edit the snap. Add stickers, text, drawings, emojis or filters.
- You can save the snap to your device by pressing "Save" in the lower left corner of the screen.
 Press Send to to send your snap. It's in the bottom right corner of the screen.


