Author:
Frank Hunt
Date Of Creation:
20 March 2021
Update Date:
27 June 2024

Content
- To step
- Method 1 of 3: Brush off a light scratch
- Method 2 of 3: Remove a deep scratch
- Method 3 of 3: Hide scratches in plastic car parts
- Necessities
If you've gotten a scratch in a countertop, car part or any other plastic surface don't worry. In many cases, you can simply brush away the scratch with a simple polish. Take it a step further and use fine sandpaper to remove deeper scratches. For scratches in plastic car parts, use polishes that are suitable for cars. If the scratch is on a painted plastic surface, you can easily hide the problem with a paint marker for cars.
To step
Method 1 of 3: Brush off a light scratch
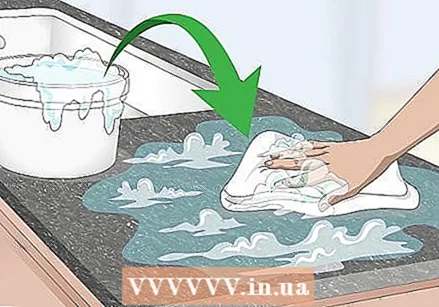 Clean the plastic. Get a clean, damp cloth and dip it in warm, soapy water. Rub the cloth gently over and around the scratch, making circular movements. This will remove all dirt and grease, making it easier to remove the scratch. When you're done, dry the area with a clean, dry cloth.
  Run your fingernail over the scratch to see how deep it is. You can usually brush away shallow scratches. Run your fingernail over the scratch. If your nail gets caught in the scratch, it is too deep to be brushed away. Deep scratches can only be removed with other methods.
 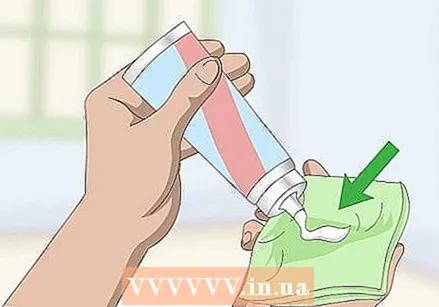 Put toothpaste on a damp cloth. A mild abrasive like toothpaste will help wipe away the scratch. Use regular toothpaste and no gel toothpaste. You don't have to put a lot of toothpaste on the cloth. Use just enough to cover the scratch. Instead of toothpaste, you can also try the following:
 - Furniture polish
- Commercial polish for plastic
- Baking soda. Mix a few spoons with enough drops of water to get a smooth paste.
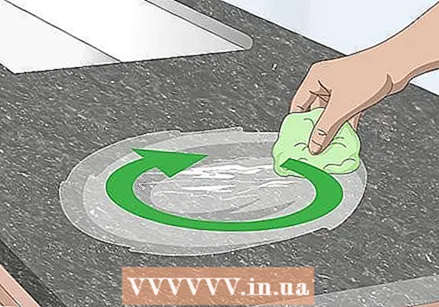 Rub the cloth over the scratch in circular motions. Treat the entire scratch, from one side to the other. By brushing you can rub the scratch out of the plastic. Keep brushing until the scratch disappears.
 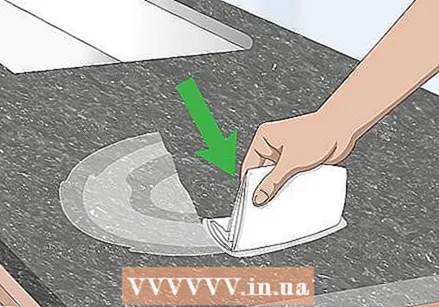 Clean and dry the area. When you're done, wipe the area with a clean, damp cloth to remove the paste and residue. Then take a clean cloth and wipe everything with it to dry the surface.
Method 2 of 3: Remove a deep scratch
 Buy sandpaper with different grit sizes. If the scratch is so deep that your fingernail gets caught in it, you can try sanding it away. However, to do this correctly you need sandpaper with different grit sizes, from grit size 800 to 1500 or even 2000.
 - The higher the number, the finer the sandpaper.
- You can get sandpaper at any store that sells DIY supplies. You can often buy a package with different types of sandpaper so that it is not necessary to buy separate packaging for each grain size.
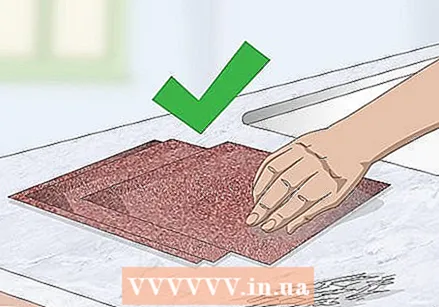
 Start by wetting a piece of 800 grit sandpaper. Take a piece and fold it in thirds. This gives you a smaller surface to work with and makes it easier to hold the paper. Run some water on the sandpaper.
 - It is very important to wet the sandpaper as it will not sand too strongly. The water will also help remove grit and sanding dust while you are sanding.
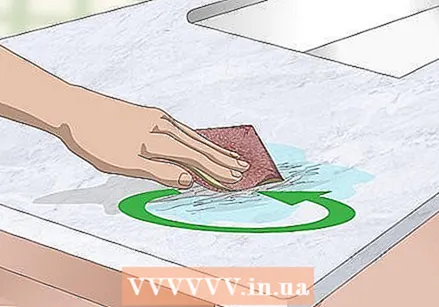 Rub the piece of sandpaper over the scratch in circular motions. You can remove a lot of scratches thanks to the brushing movements and the abrasive effect of the sandpaper. However, proceed with caution. If you apply too much pressure you can make new scratches in the surface.
 - Keep brushing until the scratch disappears.
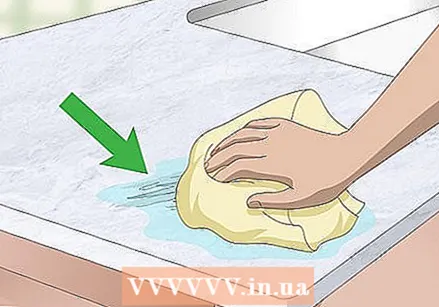 Clean the area. Use a clean, damp cloth and wipe the area you treated. Then take another clean cloth and run it over the surface until it dries.
 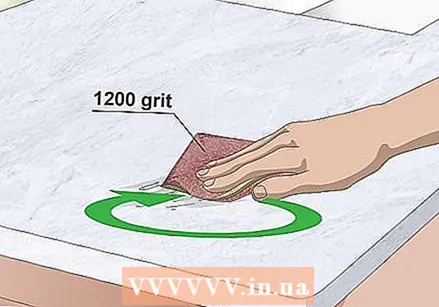 If necessary, use finer sandpaper. Look at the spot where the scratch is. It should look different and the scratch may have disappeared. However, if you can still see the scratch, you can rub it again with a finer sandpaper. For example, try a 1200 grit piece of sandpaper and follow the same steps as you just did.
 - Make sure to wet the sandpaper every time and work gently.
- If 1200 grit sandpaper fails to remove the scratch, get a piece of even finer sandpaper (such as 1500 grit), and so on.
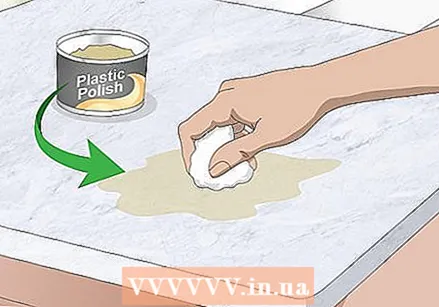 Clean the spot. When you have completely removed the scratch, you can make the surface look like new by polishing it. Get a plastic or acrylic polish from the store and put some of it on a clean cloth. Wipe the entire plastic surface with it so that the area you have treated does not stand out. Then take a clean cloth and wipe off the polish residue.
 - You can buy plastic polishes at most department stores and hardware stores. You can find them with car supplies or household cleaning products.
Method 3 of 3: Hide scratches in plastic car parts
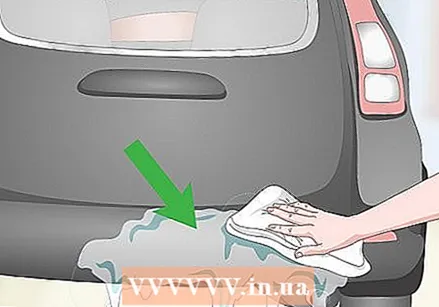 Clean the area where the scratch is located. Use a damp cloth dipped in a mixture of warm water and mild soap. Run the cloth over the scratch and the area around it to remove dirt and dust.
  Buy a buffing pad and polish. You can buy them at hardware stores and some auto stores. You can attach the polishing pad to an ordinary drill.
 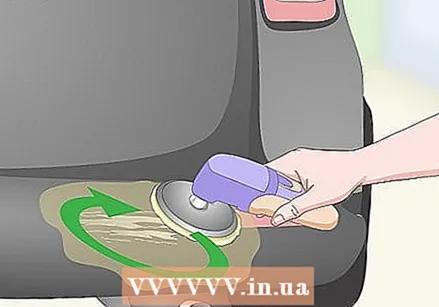 Apply a small amount of the polish to the polishing pad (follow the directions on the package). The polish will help rub away the scratch. Turn on the drill and gently run the buffing pad over the entire scratch.
  If necessary, use a touch-up stick. If it is a deep scratch, you can hide the problem even further with a touch-up pen. Look up the correct color code for your car (look in the manual or look for a listing on your car). Get the right touch-up pen from a car supplies store.
 - Often you will just have to draw over the scratch with the marker so that paint is applied to the spot.
- Let the area dry before proceeding.
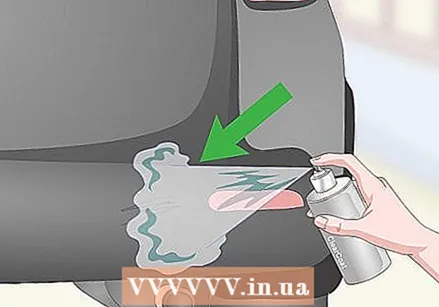 Apply clear varnish to the area. A transparent lacquer ensures that the treated area looks just like the rest of the plastic. That way you cannot see that there was a scratch on that spot.
 - You can get transparent varnish at business in car supplies.
- Follow the directions on the package. If it is a minor scratch, it may be enough to iron the clear lacquer on the spot.
- Work in a well-ventilated area.
 Clean the area with car wax. When you're done and everything is dry, get some regular car wax. Use a clean cloth or polishing pad and polish the entire surface with car wax. With this last step, you make sure your car looks as good as new.
Necessities
- Clean cloths
- Water and soap
- Toothpaste, furniture polish or polish for plastic from the store
- Different types of fine sandpaper
- Power drill
- Polishing attachment
- Paint stick for cars
- Transparent lacquer
- Car wash


