
Content
- To step
- Method 1 of 5: Choosing the right product
- Method 2 of 5: Create a pointed short haircut
- Method 3 of 5: Creating a vintage pompadour
- Method 4 of 5: Choosing the classic side part
- Method 5 of 5: Create a "crew" hairstyle
- Necessities
- Making a pointy short haircut
- Creating a vintage pompadour
- The classic side part
- Create a "crew" hairstyle
You have a lot of freedom and flexibility when it comes to styling short hair. You can opt for a highly stylized effect like the pointy short style of the pompadour, or you can keep it classic with a simple side part. If you have a simple haircut, such as a crew cut, there are several ways to adjust your hair so that it looks more or less formal. If you really want to style short hair, invest in a good wax, modeling gel or pomade to make styling your hair easier.
To step
Method 1 of 5: Choosing the right product
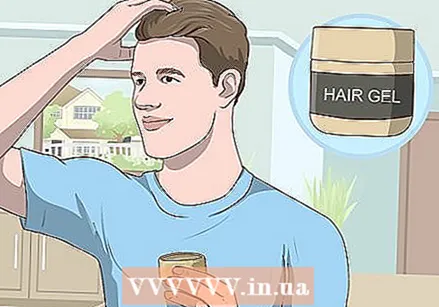 Choose a gel to keep your hair in good shape and leave a little shine. Hair gel is the most common hair product for a reason - it tends to provide the strongest hold. If you have very specific styles in mind and plan to spend a lot of time outdoors or running around, use gel to shape your hairstyle.
 - Most gels tend to add some shine. This can make your hair look a little damp if you use too much of it.
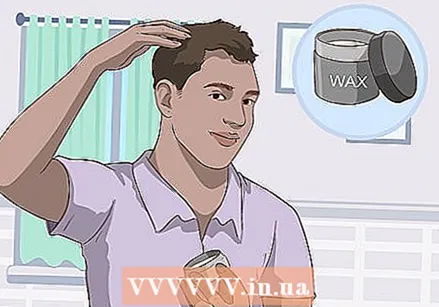 Choose a hair wax or mud for a fairly firm style with less shine. Wax and mud are thicker than gel and hold hair in shape fairly firmly. The big difference is that wax or mud gives your hair less shine. This is the best choice if you don't really want to look like you spent a lot of time on your hair as it will be more difficult to tell if you actually put anything in your hair.
 - These products are also called hair clay.
- Wax, unlike gel or pomade, can be adjusted after it has dried and still retains its shape.
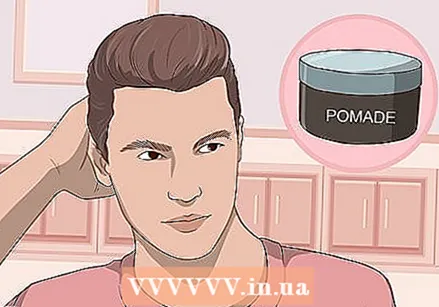 Select pomade for a light hold that will still give some shape. Pomade has become one of the most loved hair products for men in recent years. It is popular because it provides a light holding power without making it obvious that you have put an agent in your hair. It won't hold your hair firmly in place, but it will help maintain an overall shape once it's in your hair.
 - Pomade is thicker than wax, but offers less hold. This makes it a great option for those with thicker hair who don't need as much help holding a shape.
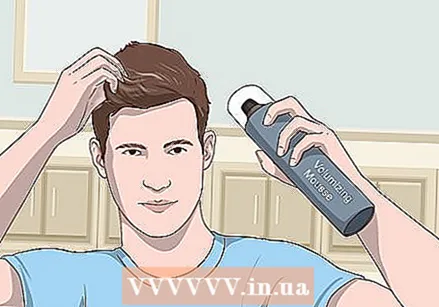 If you have thinner hair, use a volumizing mousse. Although not very popular among men, a volumizing mousse will thicken and lift your hair. This is a great choice for those with thinner hair that tends to hang after styling with thicker products.
Method 2 of 5: Create a pointed short haircut
 Wet your hair and pat it partially dry. Run your hands under a trickle of water and run your fingers through your hair to wet it. You can also choose to shower and pat most of your hair dry with a towel.
 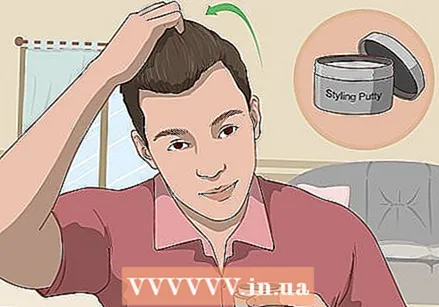 Apply some of the product to your hair after you pat it dry. Scoop a dollop of the product into your hand and work it into your hair, running your hands through your hair over the top of your head. Start at the roots and run your hands back to spread the product.
 - This model is a great one for men with shorter side hair who want a sleek, simple hairstyle that looks natural and neat at the same time.
- You don't need a lot of product to style your hair. Using more than a small dot may leave blobs of product in your hair.
 Pull your hair back by running your hands through your hair as you dry it. Plug in a hair dryer and set it to a low setting. Spread your fingers and brush your hair over and over. At the same time, dry the hair from the left side of the right side of the head. The direction you dry will determine which side of your hair will go up to the top in the front.
 - If you have longer side hair, comb it or flatten it so it doesn't stick out on the side.
 Pull your hair up to a point at the front of your head. Starting at the edge of the crown, straighten the hair in the front half of your head straight up and toward the center of your skull. The hair at the top of the front should meet at a point, level with the center of your crown.
 Tip: If you feel a little bit ridiculous, don't worry. You can always flatten it out a bit when you're done if you don't like the fact that your hair is that high.
 Use a flat iron on the peak to hold it in place. Connect a flat iron and turn it on low (if you can adjust it). Clamp the flat iron over the peaks where the two sides of your hair meet at the top for 1-2 seconds. This will heat up and merge the edges so your peak will last all day.
 - This step is optional. You can always choose to leave it as it is. However, the peak will hold up sooner if you work the points with a flat iron.
 Reinforce the vertical part of your hair with a hair product. Spoon a small amount of styling product into your hand. Rub your hands together to distribute the product over your fingers. Dab the sides of your crown and the ends of your hair where the two sides meet to hold the hair in place.
Method 3 of 5: Creating a vintage pompadour
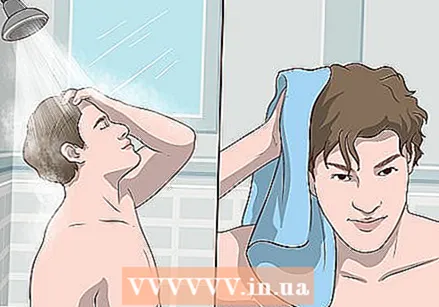 Wet your hair partially. You need to get your hair wet before you can style a pompadour. Take a shower and wet your hair with a towel to get rid of the excess water. You can also choose to wet your hands and then run your fingers through your hair.
  Apply the product to your hair after you pat it dry. Squeeze a dot of the hair product into the palm of your hand. Then rub the product gently on your hands and distribute it evenly through your hair, from the root to the ends.
 - This is a bit of an old days hairstyle that has become quite popular over the past 5-10 years. It is a useful way to make short hair look longer than it actually is, although it will be difficult to achieve if the front of your hair is tapered shorter than the top of your hair.
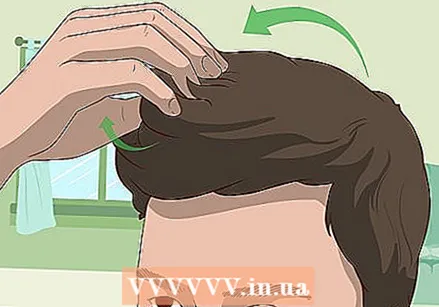
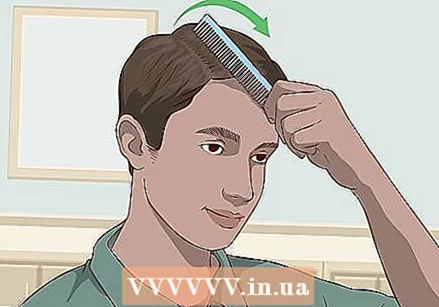
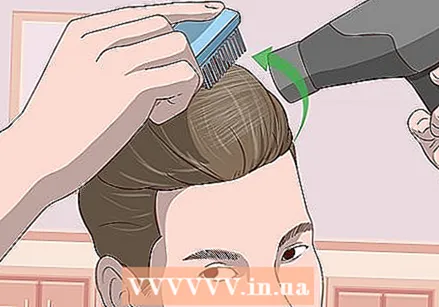 Push your hair back to the crown while you blow-dry it. Set a hairdryer on a low temperature. Run your fingers through your hair and push the front of your hair up and then back as you dry it from the front.
 - Stand your hair upright as much as possible during this step. Once the roots of your locks have dried vertically, you can gently push the ends of your hair back.
Tip: Try to get your hair straight up and back.Don't move it to both sides as this will create a parting.
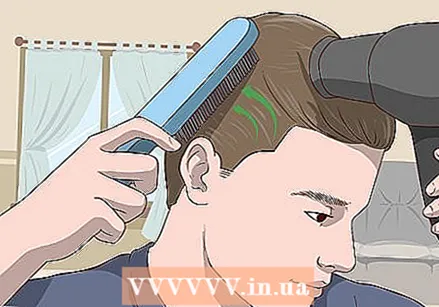 Comb your sides back while you dry them. Once you've lifted the top of your hair and pushed it back, take a comb or stiff brush. Comb or brush the side of your hair back. While combing, dry the sides with the hair dryer set on a low temperature.
  Apply hair product in the top of your hair to keep it in place. Once your hair is dry, scoop a small amount of styling product into your hand. Rub it into your hands to distribute it and run your fingers lightly through the top of your hair. Adjust the shape of the top of your pompadour to match your style and strengthen your hair.
 - Do not change the general direction of your hair after you dry it. You will not be able to add more hair or set it to the side after the hair dries.
- Add details or alter small elements with a comb if you wish.
Method 4 of 5: Choosing the classic side part
 Wet your hair and pat it dry. You need to wet your hair before you can style it. Take a shower and pat your hair partially dry, or wet your hands and run your fingers through your hair.
  Scoop up some hair product and run it through your hair. Squeeze a dot of product into your hand and rub the cream or mousse through your hair. Make sure to rub the sides and back of your head with it as well.
 - This is a simple, stylish haircut that is suitable for both job interviews and a night out on the town. It works with almost any head shape, and can be easily adapted to be more or less formal.
 Pick one side of your head to part near the top. You can wear a part on either the left or right side of your head. Some people have a natural parting, where their hair tends to face one direction or another. If you have a natural divorce, use it to make the divorce easier. If you don't have that, choose which side you think looks better depending on the shape of your head.
 - The part is on the top right or top left, where the side of your hair merges into the top of the head where the hair thickens.
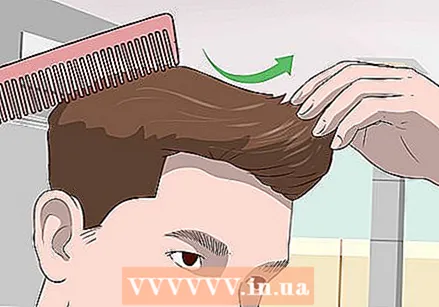
 Part your hair with a comb, running the top out to the side. While the hair product is still wet, start with the comb at the point on your head where you want to part. Line up the teeth of the comb exactly where you will be separating and comb the top over the center of your head. Comb your hair to the side, moving the comb in the same direction, away from the part.
 - The line of the parting should look like a single, continuous line on the top of your head.
 Comb the sides of your hair straight down and let your hair air dry. Your sides don't need to be combed as much as your top, but they do need to be combed flat. Use the same comb to comb the hair straight down the sides of your head. Be careful on the parting side so you don't comb any of the hair from the top.
 - Do not use a dryer on the parting side. It will only lift individual hairs from the part of your haircut where you parted your hair and will look messy.
Tip: You can use paste to strengthen your hair for a shinier effect, or let it dry naturally for a less formal effect.
Method 5 of 5: Create a "crew" hairstyle
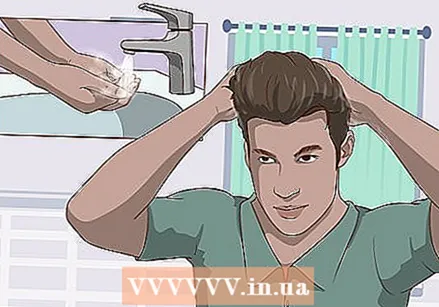
 Wet your hair and dry it a little. Take a shower and pat most of your hair dry, or scoop up some water and run it through your hair. Pat your hair dry with a damp towel to remove most of the water.
  Work some hair product into your hair. Take some modeling wax, gel, clay or pomade and work it into your hair. Make sure to rub the sides and back to coat every part of your hair.
 - The crew is a very common hairstyle in which the sides are cut extremely short and a little more hair is left on top of the head. Since you can't do much with the sides, styling a crew comes down to adjusting the hair on the top.
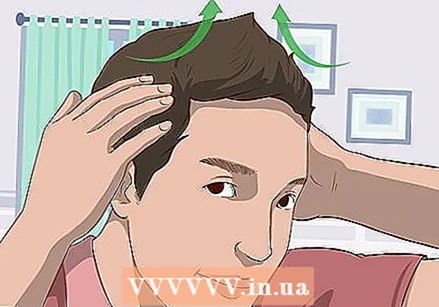
 Comb your hair back on top for an "undercut" effect. For a hipper effect, take a fine-mesh comb and place the teeth directly below your hairline at the front. Comb your hair straight back on top. Comb the top part of your hairstyle straight back and the sides down for a vintage undercut style.
 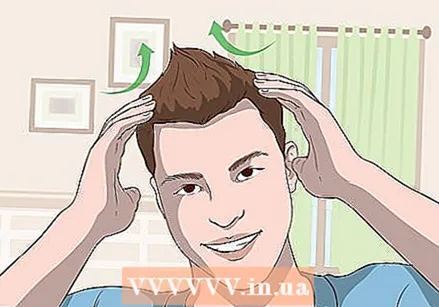 Work your hair to the center for a pseudo-mohawk. To give your crew a bit of attitude, scoop a dot of hair product into your hands. Place both hands on top of your head in the part. Use your fingers to rub your hair up and toward the center on both sides. Pinch the crown of your hair to strengthen it.
 Tip: You can merge the points in the middle with a flat iron if you want a really sleek effect that keeps the shape longer.
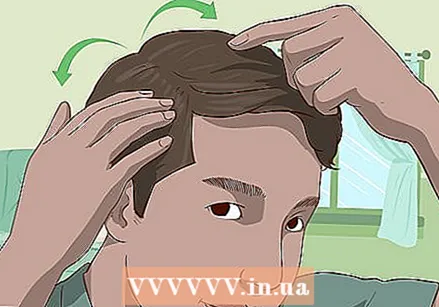
 Rub your hair up in the front for more volume. If you want a little more volume without it being too noticeable, comb or brush the top of your hair forward. With the top of your hair brushed or combed forward, go with your hand and go up through the hair in the front. Pull up the hair near your hairline with your fingers and make small manual adjustments to give your hair some shape.
 - This will give your hair a bit of volume without making it look overly cut.
 Go for a messy style (like you just got out of bed) by rubbing your hair in randomly. For a relaxed, sleepy effect, just mess up the top of your hairstyle with your hands. Once your haircut has become a complete mess, make small adjustments by hand or with a soft brush to shape your haircut to your liking.
 - If you want to fix your messy hair, use a sculpting spray.
Necessities
Making a pointy short haircut
- Comb
- Hairdryer
- Styling product
- Flat iron
Creating a vintage pompadour
- Styling product
- Hairdryer
- Comb or brush
The classic side part
- Styling product
- Comb
- Pasta
Create a "crew" hairstyle
- Styling product
- Comb
- Sculpting spray
- Soft brush


