Author:
Frank Hunt
Date Of Creation:
19 March 2021
Update Date:
27 June 2024

Content
- To step
- Method 1 of 3: Setting up the LAN
- Method 2 of 3: Connect your PC
- Method 3 of 3: Assign IP addresses (no router)
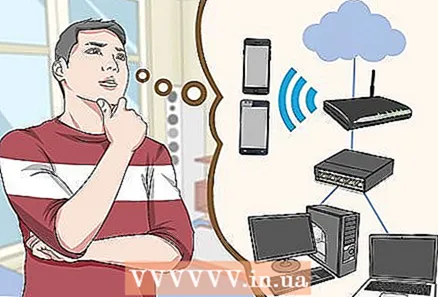
This wikiHow teaches you how to create a LAN (Local Area Network) for connecting multiple Windows PCs in a network.
To step
Method 1 of 3: Setting up the LAN
 Determine how many computers you want to connect to each other. The number of computers you want to connect determines the type of network you need.
 - If you have four or fewer computers to connect to each other, then you do not need more than a single router or a switch if you do not need internet.
- If you want to connect more than four computers, you need a router and a switch, or just a switch if you don't need internet.
 Determine the layout of your network. If you want to create a wired LAN, take the length of the cables into account. Category 5 Ethernet cables should be no longer than 75 meters. Is it necessary to have a greater distance to bridge, will have to put you at regular intervals switches, or should you use CAT6 cables.
 - You need an Ethernet cable for each computer you want to connect to the LAN, as well as an Ethernet cable to connect the router to the switch (if applicable).
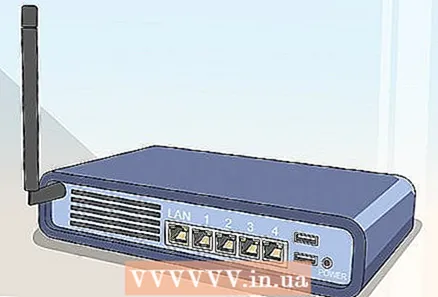 Make sure you have the correct network hardware. To create a LAN, you need a router and / or a network switch. This hardware is the "hub" of your LAN, and this is where all your computers will be connected to.
 - The easiest way to create a LAN where any computer can access the Internet is to use a router and add it to a network switch (if the router does not have enough ports). A router will automatically add an IP address to every computer connected to it.
- Switches are similar to routers, but do not automatically assign an IP address. Switches usually have many more Ethernet ports than a router.
 Connect your modem to the WAN port of the router. This port can also be called "INTERNET". This enables internet access on any computer connected to your LAN.
 - You can skip this if you are building a LAN without internet.
- You don't need a router at all to create a LAN, but it does make it a lot easier. If you use a network switch, you will have to manually assign an IP address to each computer after connecting them.
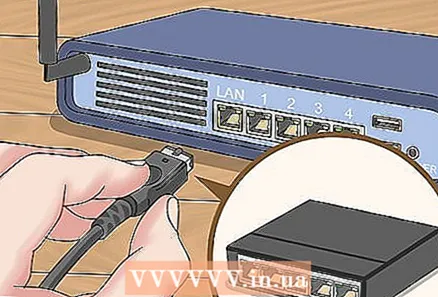 Connect the switch to the LAN port of the router. If you use a network switch to connect more computers, connect it to the LAN ports of the router. You can use any open port on the switch to make the connection. Once connected, the router will automatically provide each computer connected to either device with an IP address.
Method 2 of 3: Connect your PC
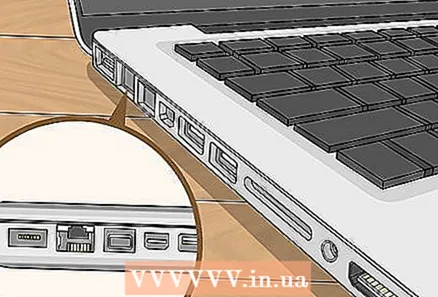 Find the Ethernet port on your PC. You can usually find these on the back of your desktop, or on the side or back of the laptop.
 - It is possible that slim laptops do not have an Ethernet port, in which case you or need a USB Ethernet adapter or to create a wireless connection, the router can handle.
 Plug one end of an Ethernet cable into your computer. Make sure you use an Ethernet cable (RJ45) and not a telephone cable (RJ11).
  Plug the other end of the cable into an open LAN port. This can be any open LAN port on both the router and the switch, depending on the layout of your LAN.
  Test your network (router only). If you use a router, your work is done. Once all computers are connected to a LAN port, they will be automatically assigned an IP address and will appear on the network. If you set up a LAN for gaming, then you should now start your LAN game and ensure that any computer logs.
 - If you are using a switch and not a router, you will still need to assign an IP address to each computer.
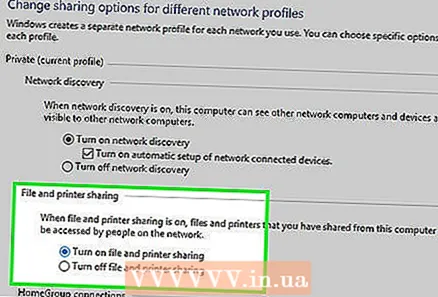 Turn on file and printer sharing. You will not be able to access resources on a networked computer until file and printer sharing is turned on. You can select specific files, folders and drives to share on any computer, as well as share access to a printer.
Method 3 of 3: Assign IP addresses (no router)
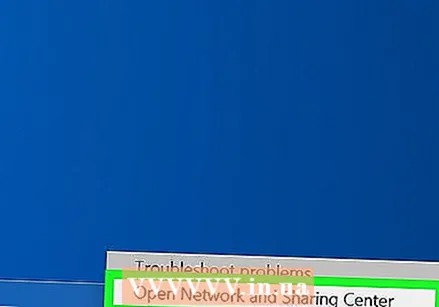
 Right click on your network connection. You will see this in your System Tray. If you connect your computers via a switch without a router, you will have to assign each computer in the network its own IP address. This process is handled automatically if you use a router.
 - Think of an IP address as a postal address. Each computer in a network has a unique IP address so that the information that is sent over the network ends up at the correct destination.
 Click Open File and Printer Sharing.
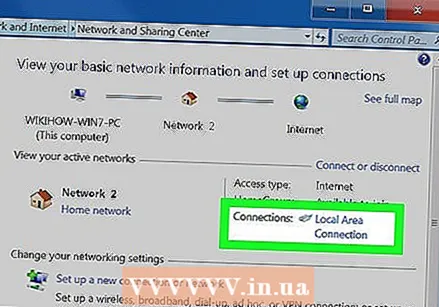 Click the Ethernet link at the top of the window. You will see this next to "Connections".
  Click on Properties.
 Click Internet Protocol Version 4 (TCP / IPv4). Make sure you do not check it, but only select it.
 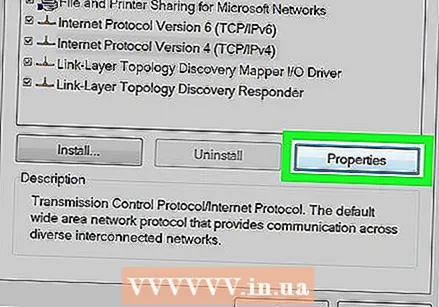 Click on Properties.
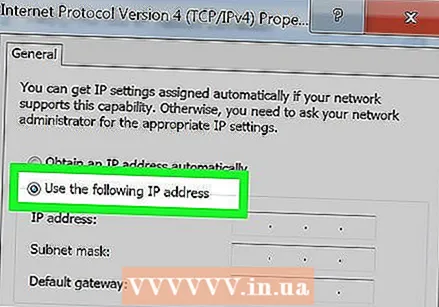 Click the Use the following IP address radio button.
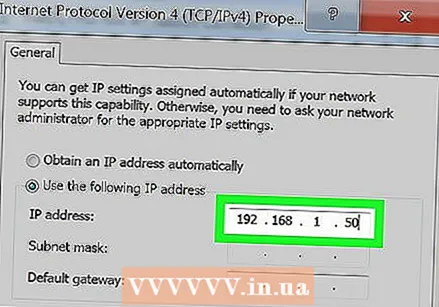 Type 192.168.1.50 in the IP address field.
 Type 255.255.0.0 in the Subnet Mask field.
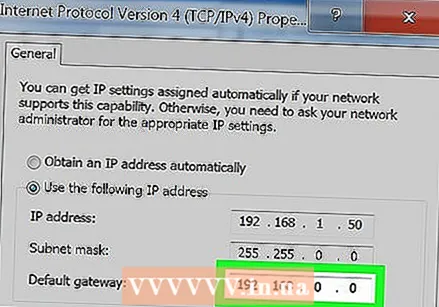 Type 192.168.0.0 in the Default gateway field.
 Click OK. This will keep the settings for that computer. This computer is now configured on your network with a unique IP address.
  Open the Internet Protocol Version 4 properties on the following computer. Follow the steps above on the second computer to open the Internet Protocol Version 4 (TCP / IPv4) properties window.
 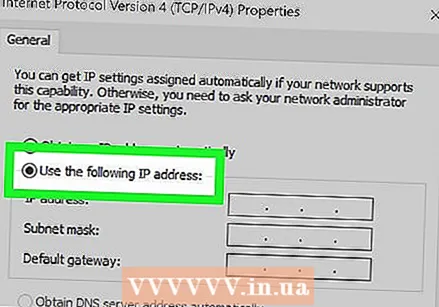 Click the Use the following IP address check box.
 Type 192.168.1.51 in the IP address field. Note that the last group of numbers has increased by 1.
  Enter the same values for Subnet Mask and Default Gateway. These values should be the same as those on the first computer (255.255.0.0 and 192.168.0.0 respectively).
  Give each subsequent computer a unique IP address. Repeat these steps for each additional computer, increasing the IP address by 1 each time (up to 255). The "Subnet Mask" and "Default Gateway" should be the same on each computer.


