Author:
Tamara Smith
Date Of Creation:
25 January 2021
Update Date:
2 July 2024

Content
- To step
- Part 1 of 3: Getting ready to get pierced
- Part 2 of 3: Piercing the spot
- Part 3 of 3: Maintaining the piercing
- Tips
- Warnings
- Necessities
Piercing the cartilage in your ear can be a painful process and requires preparation and care in performing it. Although professional piercers can do it for a fee, it is always cheaper to do it yourself, and if you have a high pain tolerance, it is also quite easy and stress-free. Professionals often lack qualifications or lack proper medical training for what is essentially a medical procedure. While your experience in this may not be better, it is not necessarily more beneficial to go to a professional. Piercing aftercare requires basic hygiene at the wound site and ensuring that no irritants or caustics get to the ear.
To step
Part 1 of 3: Getting ready to get pierced
 Buy the materials and choose the place for piercing carefully. There are significant health risks associated with cartilage piercing and minor complications are often reported. Often no minimum qualifications are required to put piercings on the body, which means a serious health problem. The health risks associated with cartilage piercings are not significantly greater than with a lower piercing in the oily tissue of the earlobe.
  Sterilize your ear and your material. It is important to purchase sterilized and sealed piercing needles. The jewelry should not be made of nickel or any other metal that could give you an allergic reaction and should be one size smaller than the hollow piercing needle.
 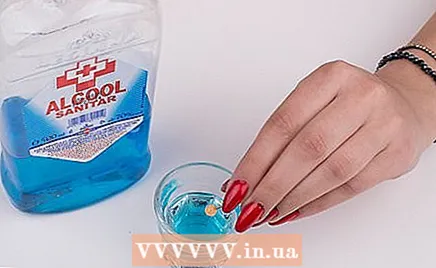 Use an autoclave to ensure absolutely sterile materials. You can get a similar effect by using a pressure cooker of water and setting it to a high pressure and temperature to disinfect the items you will be using with steam. Soaking the materials in a disinfectant, such as alcohol or diluted bleach, will disinfect them, but not as effectively.
 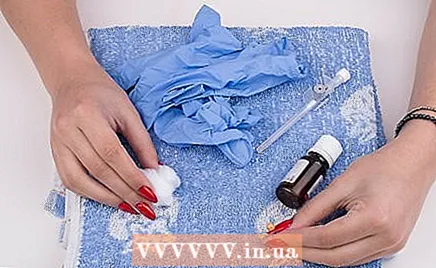 Set up a sterile place to work in. Take gloves, an external disinfectant to prep the area (preferably iodine), a marker to indicate the piercing site, and a stopper to prevent the needle from poking your scalp. Set up a sterile workbench for the materials and a separate area where the materials used can be placed. Do not mix up the non-sterile and sterile items when using them.
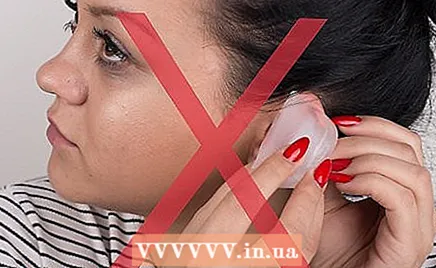
 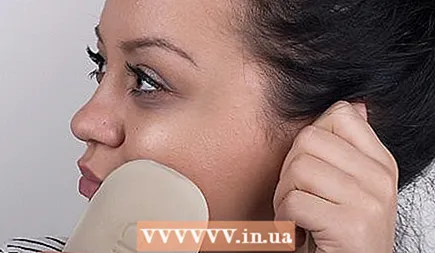 Wash your ear with an antibacterial soap. The area is difficult to clean, so consider just taking a shower. Hot steaming water helps loosen the skin, making piercing a little less painful. Clean the area thoroughly and make sure the area is marked with an indelible marker or pen.
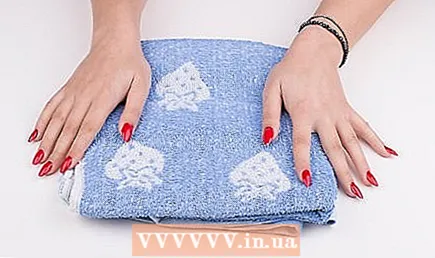
Part 2 of 3: Piercing the spot
 Do not use topical anesthetics or narcotics. They will not significantly reduce overall pain because these topical solutions have no effect on the avascular cartilage. Using ice is also not recommended. It causes the skin to contract. Contact with the ice pack or ice itself can damage the skin tissue and make it more difficult to target the site or maintain sterility.
 - This hurts. If you don't want to be in pain and you really don't want a wound in your ear, then you shouldn't put a long, hollow needle through a body part or pay someone to do it for you.
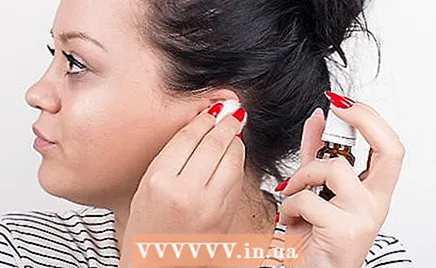 Apply an external disinfectant such as iodine to your ear. Apply it generously, including on the back of your ear. It is important to avoid infections, as the procedures for piercing infections often require drainage, surgery, and removal of the piercing, and symptoms include severe pain and fever.
  Place a stopper such as a sterile cotton ball behind your ear so that the needle does not poke your scalp. Avoiding discomfort or contact of the needle with unsterilized or unintended surfaces is critical to prevent infection. A friend can be helpful with this part, as placing and holding the stopper plus setting the piercing may require some dexterity.
 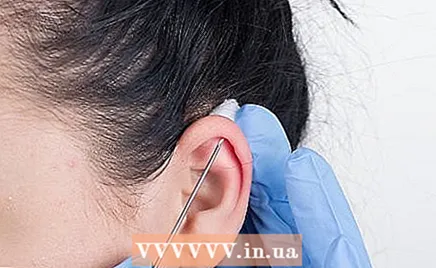 Push the needle through the ear. After breaking the first layer of skin, make sure the needle is at the correct angle as desired to push it through. There will be resistance and a total of three noticeable pops as you re-pierce the skin, cartilage, and then skin.
 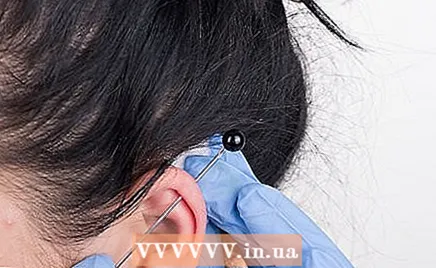 Make sure the jewelry is ready and sterilized and insert it into the back of the hollow needle. Use a needle one size larger than the jewelry so that you can do that easily. Again, do not use metal to which you are allergic or sensitive, as simple contact dermatitis from exposure to metal can turn into an infection if you repeatedly touch the wound site.
 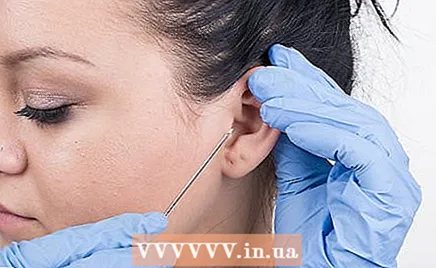 Remove the needle from your ear. This will keep the jewelry in your ear. Screw the ball or holder in place to hold the jewelry there and keep the piercing. Proceed quickly as this whole process is quite painful and if you make a mistake you should repeat it elsewhere. Obviously, you want to avoid mutilating your cartilage or causing an infection with a larger wound on your ear
Part 3 of 3: Maintaining the piercing
 Wash with sterile saline twice daily. Don't touch the crusts that will eventually form. It can take up to a year for the wound to heal completely. Poor blood flow in the upper cartilage area of the ear keeps the risk of infection high and the rate of healing slow throughout the process.
 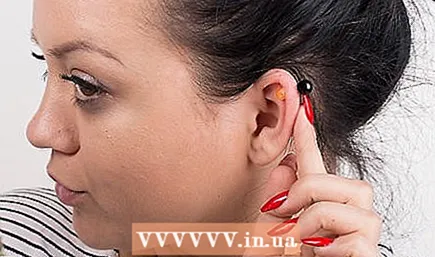 Keep an eye on the area of the piercing. Although scarring, skin deposits and some deformity from the pierced cartilage can be expected, redness, swelling, heat, or festering of the wound that lasts for days is not normal. See a doctor if symptoms persist for a week, as courses of antibiotics and surgery may be required and an average hospital stay may last longer than two days.
 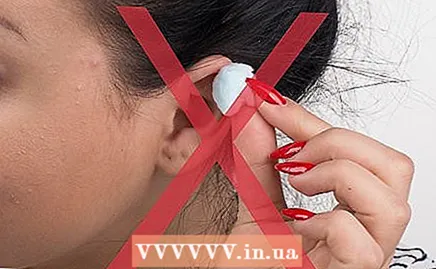 Do not use sterilizing or antimicrobial solutions such as rubbing alcohol or hydrogen peroxide to further cleanse the wound. These solutions kill the living cells and can damage the capillaries and healing tissue in the ear. Keeping the area clean and free of foreign debris greatly reduces the risk of infection.
  Anticipate cartilage fractures, whether using a piercing gun or using a piercing needle by hand. However, for a number of piercings with specific structures of the ear, a piercing gun is not a good tool because it is designed for use on the earlobe. If ear abnormalities develop, seek immediate medical attention.
Tips
- Needles designed specifically for piercings are significantly sharper than regular needles. This will cause the piercing itself to hurt less. They are also individually packaged in sterile packaging and in the correct size (thickness), reducing the risk of infection and unnecessary irritation.
- The chlorine in swimming pools can dry out the piercing and cause it to tear easily; so make sure you keep it hydrated.
- Wash your hands before touching anything that is going to get in or near your ear. Sterilize everything you will be using.
- It can be super helpful to have a friend nearby who could help you. Make sure the friend is familiar with sterile technique, maintains hygiene, and hopefully has some experience to assist you.
- Be careful and careful with aftercare: infections are dangerous and expensive and can lead to lifelong deformities or require plastic surgery.
- Getting your own piercing can be risky. Infection, rejection and incorrect placement can result. For the safest and best piercing, you should go to a professional piercer. Find the required accreditation or training from professional piercers in your area.
- If you already have multiple piercings in your cartilage and you want to wear large earrings, place them further apart.
- Opt for high-quality stainless steel / surgical steel or titanium jewelry to reduce the risk of allergies. Use no silver, as it will dull and can discolor your piercing. A good rule of thumb is that if the metal is not suitable for use in surgical procedures, then it is also not suitable for use with a piercing.
- Wait six months to replace your piercing.
- Don't sleep or get your piercing.
Warnings
- Do not soak the piercing needle in any kind of bleach. Bleach is harmful to our skin.
- You can get infected if you do not use a sterile sharp needle, if you interrupt sterile technique, or if you are simply unlucky. You must be willing to go to the doctor at the first sign of infection.
- Make sure you are not allergic to metal jewelry or that you are at risk for contact dermatitis.
Necessities
- Disposable gloves
- Iodine (disinfection of the ear)
- Indelible marker or pen
- Hollow piercing needle
- Wimp or other stop
- Intended jewelry
- Autoclave or steam sterilizer
- Saline solution (for aftercare hygiene)
- Rubbing alcohol (for surface sterilization)


