Content
- To step
- Part 1 of 3: Choosing the right illuminator
- Part 2 of 3: Applying the illuminator
- Part 3 of 3: Choosing alternative applications
- Tips
- Warnings
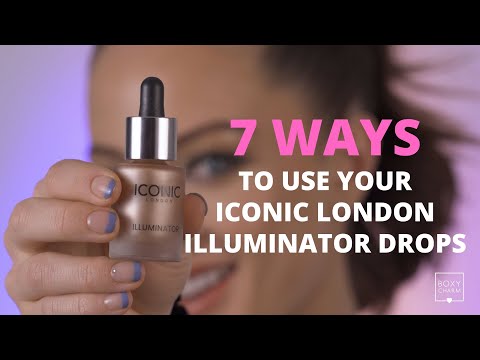
Applying illuminator (also called a highlighter) to your face - while not a necessary part of the makeup process - is a great way to brighten up the look of your skin. There are a huge number of brands on the market, so finding the one that works best for your skin is as easy as taking a trip to the local beauty supply store. Once you get your hands on the right illuminator, apply it to areas such as the cheeks, nose and chin to achieve your most radiant look.
To step
Part 1 of 3: Choosing the right illuminator
 Determine whether an illuminator is good for your skin type. You can brighten your skin with an illuminator, but this can work against some skin types. For example, if you have large pores, scars or fine lines, these can be made worse by the illuminator. Hyperpigmentation can also be made more pronounced by an illuminator unless you know how to cover it with a concealer. While these skin types are not ideal for applying illuminator, anyone with the right makeup application can get it done.
 - You can go to a makeup artist who can teach you the best makeup applications for your skin type.
- You can also search for YouTube videos with makeup tutorials.
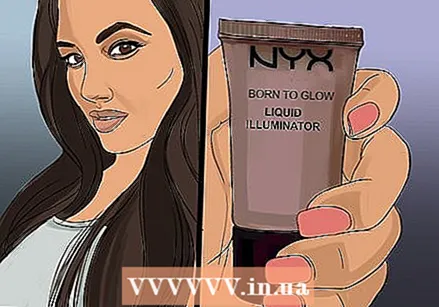 Use a liquid illuminator for a soft and natural looking glow. Liquid illuminator is ideal for a daytime look as it provides a softer glow. It is also a good choice as it can be mixed through the concealer to achieve a mild yet summery glow. In addition, it is better for dry skin
  Go for a powder illuminator for a long-lasting finish. Powder illuminators tend to be long lasting and more dramatic. A powder is ideal for evening and wedding make-up. To get a very bright glow, you can mix a liquid and a powder illuminator.
  Use a gold or bronze illuminator for olive or darker skin tones. Golden, rose gold and bronze tones bring out the radiant warmth in darker skin types. Try these colors to see which ones look the most natural on your skin. An icy or silver illuminator could also work well, but you run the risk of bringing out the gray tones of your skin.
  Apply a pearly or pink illuminator for fair skin. A pearl or opalescent illuminator shade works well with fair skin tones as it brings out the skin's natural radiance. If you apply enough illuminator, it will look like a ray of sunshine is bouncing off your cheeks. If you want a warmer glow, put on a light pink illuminator.
Part 2 of 3: Applying the illuminator
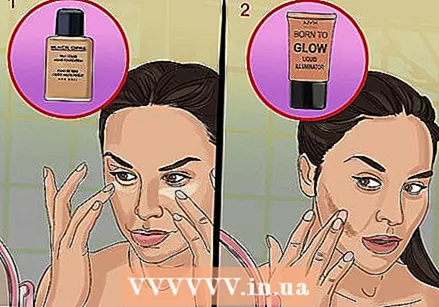 Apply the illuminator after foundation. Normally, the illuminator is applied immediately after applying the foundation and before the blush. This will give you a noticeable glow. If, on the other hand, you want a more subtle glow, you should apply the illuminator underneath the foundation. EXPERT TIP
 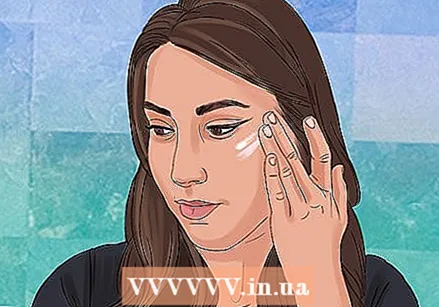 Dab the illuminator on your cheeks. The illuminator is usually applied to the cheeks. First, smile to get an idea of where the top of your cheekbone is. Then use your fingers to dab a little bit of illuminator along each cheekbone. If you are using powder, apply it with a long and soft brush. You can also put a little illuminator on the apples of your cheeks.
 - Start by lightly applying the illuminator. You can always add more if you wish.
 Apply the illuminator down to your bridge of the nose. Squeeze a little more illuminator from the bottle or apply more on the brush, depending on whether it is liquid or powder. Remember with an illuminator: less is more. Then swipe a little illuminator down on your bridge of the nose. This will give you a slimming effect if desired.
  Apply a little illuminator to your chin, upper lip and forehead. To brighten your face even more, apply a small amount to these three areas. Also put a little illuminator on the bottom of your chin, directly below the center of your bottom lip. Then put a little on the crease just above your upper lip. Finish it off by applying some to the center of your forehead, between your eyebrows.
 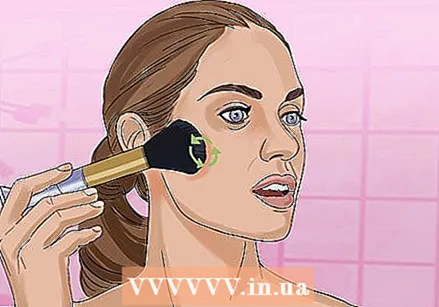 Blur the illuminator. The last step of the process is to blur the illuminator. You can use your fingers to blend it gently. You could also use a mixing brush or sponge. Make sure the illuminator is visible, but not dramatically visible - unless you want to.
 - If you apply too much illuminator, you can always put a thin layer of foundation over it to make it less noticeable.
Part 3 of 3: Choosing alternative applications
 For a dramatic look, go for a rainbow or glitter illuminator. Usually it is recommended to keep it all natural with an illuminator. Still, you can opt for a dramatic look if you wish. A more dramatic application goes well with festivals and parties or just because you are in a fun mood. Use a rainbow or glitter illuminator to take your look to the next level.
 - Just like with a normal illuminator, you also have to apply it in the same places.
 Use a bronze illuminator for a tanned look. If you're not already using a bronze shade illuminator, this type of illuminator is great for making it look like you've spent the day on a sun-drenched beach. If you have a darker skin tone, use a deep and rich illuminator. For lighter skin, use a less pigmented powder that does not contain orange tones.
  Try an illuminating primer for a fresh and radiant base. Illuminator is usually applied to areas of the face, but is also a good option to use as an illuminating primer. An illuminating primer will provide your skin with a totally fresh and radiant look. A primer will also smooth out any blemishes. Apply it all over your face with your fingers or a sponge. Then you can apply foundation, if you wish.
Tips
- Consult a makeup artist for expert advice on products and applications.
Warnings
- If the illuminator causes redness, rash, or itching, remove it immediately. Do not reuse it. If the problem persists, see a doctor.


