Author:
Roger Morrison
Date Of Creation:
5 September 2021
Update Date:
10 May 2024

Content
- To step
- Method 1 of 6: Decouping leaves
- Method 2 of 6: Cover leaves with paraffin
- Method 3 of 6: Using a glycerin bath
- Method 4 of 6: Microwave leaves to dry
- Method 5 of 6: Dry leaves with a book
- Method 6 of 6: Squeeze leaves with wax paper
- Necessities
- Press with wax paper
- Cover with paraffin wax
- Using a glycerine bath
- Use decoupage lacquer
- Dry in the microwave
- Dry in a book
Even when the season is over, you can still enjoy the beauty of autumn by preserving colorful autumn leaves. By using wax or another agent on the leaves you can keep the colors and shape for weeks. Preserved leaves make a beautiful, inexpensive decoration that you can enjoy for a long time after the trees have already gone bare.
To step
Method 1 of 6: Decouping leaves
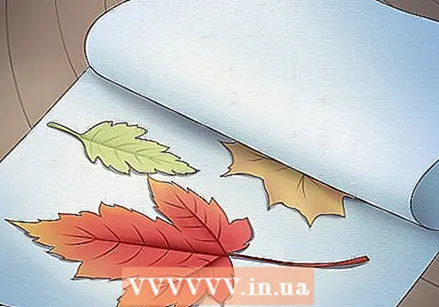
 Choose leaves that look vibrant. Harvest fallen leaves that have bright colors and are relatively smooth. The leaves can be a little dry, but they should not be so dry that they pulverize or curl at the edges. Avoid leaves with chunks or rotten areas.
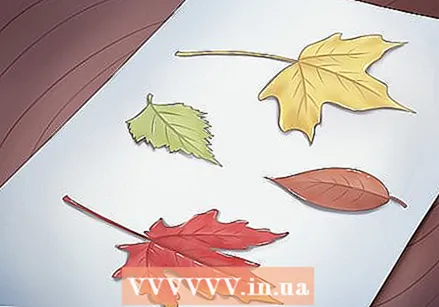
 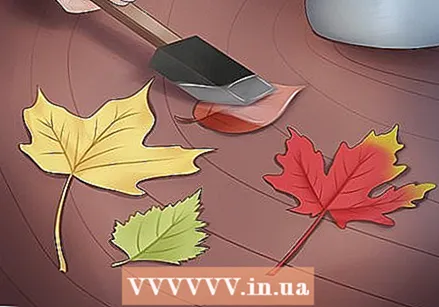 Apply a coat of decoupage lacquer on both sides of each sheet. Decoupage lacquer is a white, glue-like substance that, when it dries, turns clear. You can find it at most hobby stores and otherwise search online. Use a foam brush to apply a generous coat of decoupage to one side of each blade. Place them to dry on a piece of newspaper.
 - In most cases, you will need to apply the decoupage polish the same day you collected them. If you wait too long, the leaves will dry out, turning brown and crumbling.
- However, if the leaves are very damp, or if you picked them right off the tree instead of waiting for them to fall, you can dry them lightly by placing them between the pages of a thick book for a few days.
- Let the decoupage lacquer dry completely. It will become transparent and no longer stick.
 Repeat this on the other side. Flip the sheet over and apply the decoupage lacquer on the other side. When this second side is dry, the leaves are ready to use. This method preserves the color and shape of the leaves for a long time.
Method 2 of 6: Cover leaves with paraffin
 Choose fresh leaves. Start with leaves that look bright and have just fallen. Covering the leaves with paraffin wax will preserve them at the peak of their bright colors. Dry them with kitchen paper before you start.
 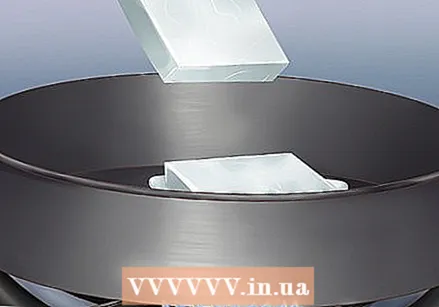 Melt paraffin wax in a disposable pan. You can buy paraffin wax at the hobby store or on the Internet. Melt it in a disposable cake tin by heating the pan over low heat on your stove.
 - To help the paraffin wax melt faster, cut it into large chunks and spread them evenly over the bottom of the disposable pan.
- If you're not using a disposable pan, use a cake tin that you won't be using for cooking anymore. The wax can ruin the pan, so don't use a pan that you use a lot for cooking and baking.
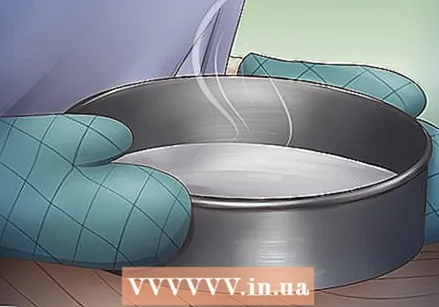 Remove the melted wax from the stove. Be careful as melted wax is very hot. Move it carefully from the burner to your work surface. Be careful not to knock it over, especially if you have pets or small children.
 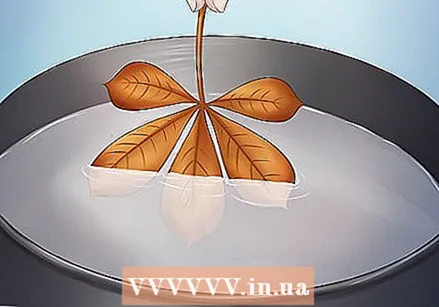 Dip each leaf in the melted wax. Hold a leaf by the tip of the stem and dip it in the liquid wax a few times. Make sure both sides of the sheet are covered with wax. Avoid getting your fingers too close to the wash. Repeat this with the rest of the leaves.
 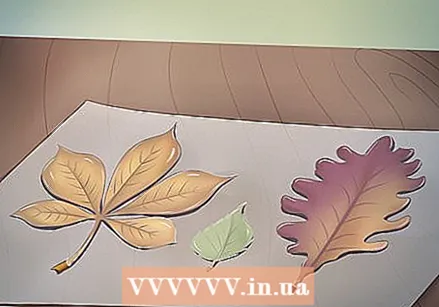 Let the leaves dry. Place each waxed tray on a piece of parchment paper until the wax hardens. Let the leaves dry in a draft-free area for a few hours. Once dried, they should peel off easily from the parchment paper. This method preserves the shape and color of the leaves for a long time.
 - For extra safety, you can cover the countertops with newspaper before covering them with a layer of parchment paper. This double layer minimizes the risk of wax drops falling on the worktop. If they fall on the counter, wax drops can be extremely difficult to scrape off.
Method 3 of 6: Using a glycerin bath
 Choose fresh leaves or a small twig with leaves attached. If you want to preserve an entire branch of fall foliage, this preservation method is easier to do than wax. Choose a branch with leaves that look clear and are firmly attached.
 - This method will make the colors even more vibrant. Yellows become even more intense, and reds and oranges take on a vibrant, reddish color.
- Look for twigs that have fallen off the tree themselves, rather than picking them off the tree. Removing a branch from a tree can damage the tree.
- Do not choose branches that have diseased leaves or branches that have been frosted over. This method does not work on leaves that have already been frosted.
 Split the end of each branch. Strike the end of each branch with a hammer to open it and expose the living part of the wood. This makes the live wood of the branch accessible so that it can properly absorb the glycerine solution. Otherwise, the solution will not be able to reach the leaves.
 - If you only want to conserve the leaves, you can skip this step.
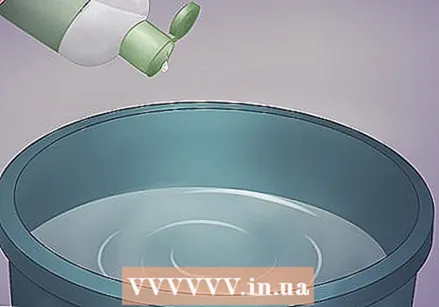 Mix a glycerine solution. You can buy vegetable glycerine online and sometimes at local shops. To make a solution, add 530 ml of liquid vegetable glycerine to two liters of water in a large bucket or vase.
 - Glycerin is a natural product made from plants, making it a fairly organic option for preserving your leaves.
- If you're going to preserve a large, woody branch, mix in four to five drops of mild liquid dish soap as well. The dish soap acts as a surfactant, chopping the glycerin molecules into small particles so that they can penetrate the wood more easily. For best results, use a mild dish soap without added dyes or fragrances. You can also use a liquid surfactant, which you can buy at most garden centers or online.
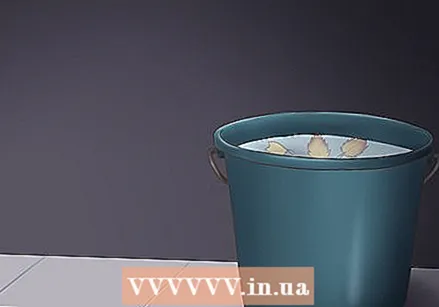 Leave the branch in the liquid for three to five days. Let the branches and leaves absorb the glycerin for at least three to five days. Place the bucket in the shade during this absorption process.
 - If you are conserving loose leaves, you will have to press them under water to keep them submerged. Pour the solution into a flat pan, place the leaves in the solution and put a plate or lid on to keep them submerged.
 Remove the branches and leaves from the solution. The color will look brighter and the leaves will feel smooth. You can use the entire preserved branch in your work, or you can pluck the leaves off and use them separately.
Method 4 of 6: Microwave leaves to dry
 Place fresh leaves between kitchen paper. This is a great way to dry leaves for workpieces, but some of the color will disappear. Place fresh leaves on top of two paper towels. Cover them with a third sheet.
 - Use fallen leaves that are still clear and flexible. Avoid leaves that curl at the edges or that are missing bites or have rotting areas.
- For best results, leave a little space between each sheet to prevent them from sticking together while drying.
 Microwave the leaves to dry. Place the leaves in the microwave and heat for 30 seconds. Then continue heating in 5 second intervals.
 - Fall leaves will generally need to be heated for 30 to 180 seconds before they are completely dry.
- Be very careful when drying leaves in the microwave. If you heat them for too long, leaves can even catch fire.
- Leaves that appear scorched have been heated in the microwave for too long. Leaves that curl at the edges after being removed from the microwave have not been heated in the microwave long enough.
 Leave the leaves overnight. Keep the leaves in a draft-free, shady place. Leave them there at least overnight, or two days at most. If you see a change in color, the leaves should be sealed immediately.
 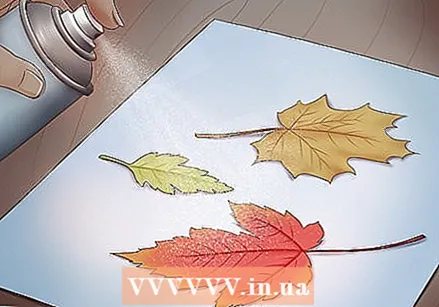 Seal the leaves with a hobby spray. Spray both sides of each leaf with clear acrylic hobby spray to preserve the remaining color. Let the leaves dry before using them as decoration or for workpieces.
Method 5 of 6: Dry leaves with a book
 Place the leaves between two sheets of paper. This preservation dries leaves, but does not retain their color. Place your fall leaves between two clean sheets of sturdy white typing paper.
 - Use paper that is at least 80 grams rather than something thin like tracing paper. Otherwise, the leaves may leak through and stain.
- Lay out the leaves in one layer. Do not stack or overlap the leaves. If you do, they will stick together.
- Choose leaves that look good. They must have recently fallen and been damp. The tips should not be dried out or curled.
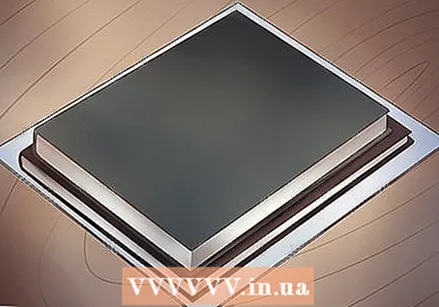 Place a heavy book on the paper. A large, heavy book should work well. To reduce the risk of smudging the book or other depressing object, or the work surface, place sheets of tissue paper or kitchen roll between the typing paper and the book. This will absorb the moisture that comes from the leaves.
  An alternative way to press leaves with a book: Press the leaves directly into the book. Use an old book, which you don't mind smudging, in case the leaves damage the pages. For best results, make sure there are at least 20 pages between the leaves.
 - Phone books do very well, if you have them available.
- Put some weight on the book. The pressing helps to squeeze the moisture out of the blade while keeping the blade flat. This could be other books, bricks, or any other item of weight.
 After a week, check the progress. They should be dried; if still pliable, squeeze for a few more days.
Method 6 of 6: Squeeze leaves with wax paper
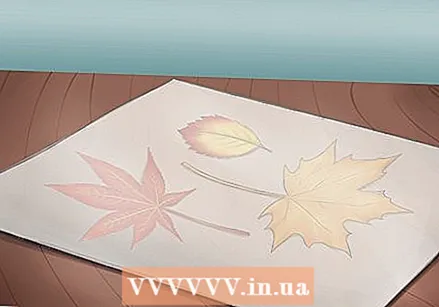
 Choose fresh leaves. Start with leaves that are moist, clear and have recently fallen. Waxing the leaves will preserve them at the height of their beautiful colors.
 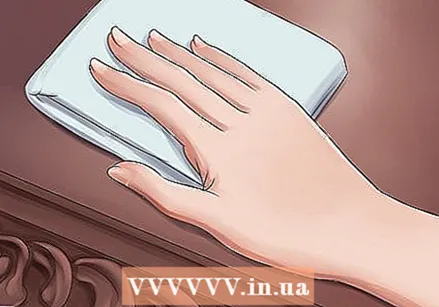 Dry the leaves. Place the leaves in a single layer between two layers of paper towel to dry when wet. Make sure they don't overlap, as this will cause the leaves to stick together. Use an iron on half setting to iron both sides. Smooth both sides for three to five minutes to get all the extra moisture out.
 - By brushing the leaves beforehand, you will allow them to retain their color and quality after you enclose them in the waxed paper.
- Do not use a steam setting on your iron, as steam keeps the leaves moist. Only use the dry setting.
- Feel the leaves after ironing them for three to five minutes. If a sheet does not feel dry, iron both sides for a few more minutes.
 Place the leaves between two sheets of wax paper. It doesn't matter which side of the wax paper is against the leaves as both sides are covered with wax. Place the dried leaves in a single layer between the sheets of wax paper. Leave some space around each sheet. The wax paper should be able to stick together.
 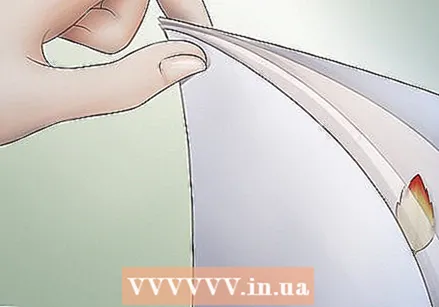 Place the wax paper between two sheets of typing paper. You can also use brown wrapping paper or other thick paper. Make sure all wax paper is covered by plain paper so the iron doesn't stick to the wax. Make sure to keep the leaves separate from each other in a single layer.
 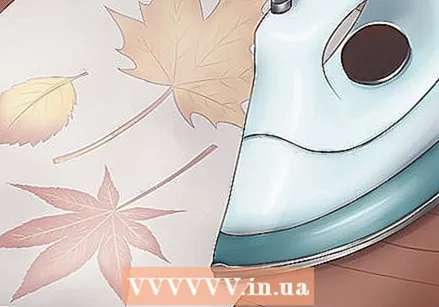 Seal the wax paper with your iron. With the iron on a medium heat, iron both sides of the paper to melt the wax together. Keep the iron in constant motion so that it will not burn the laundry. Heat the first side for three minutes, then gently flip the paper, wax paper, and leaves over and repeat on the other side.
 - Do not use a steam setting on your iron; only use the dry setting.
- Handle the hot paper gently. If your skin is sensitive, you can use gloves to protect your hands.
 Let the wax cool down. The wax will have melted a little around the leaves, and as it cools it will stick to them. Wait for the wax to cool before doing anything with it.
 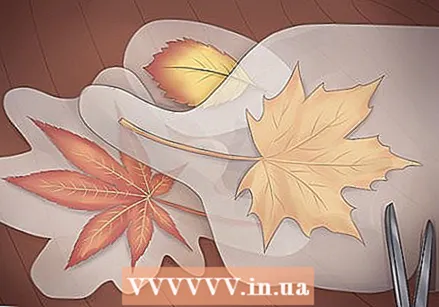 Cut around the leaves. When the whole package feels cool to the touch, remove the sheets of paper from the wax paper. Carefully cut around each leaf using sharp scissors.
 - Leave a narrow edge of wax paper around each sheet so that the sheet remains tightly sealed between layers of wax paper.
- You can also try peeling the wax paper off the leaves instead of cutting them out. A layer of wax should then remain on the leaves, which may be enough to keep the leaves preserved.
Necessities
Press with wax paper
- Fresh autumn leaves
- Greaseproof paper
- Paper towel
- Brown wrapping paper
- Iron
- Scissors
Cover with paraffin wax
- Fresh autumn leaves
- Paraffin wax
- Dispose of cake tin
- Stove
- Greaseproof paper
- Newsprint
Using a glycerine bath
- Fresh autumn leaves or a branch with leaves
- Liquid glycerine
- Water
- Liquid dish soap
- Hammer
- Large bucket or vase
Use decoupage lacquer
- Fresh autumn leaves
- Decoupage varnish
- Sponge brush
Dry in the microwave
- Fresh autumn leaves
- Paper towel
- Microwave
- Acrylic hobby spray
Dry in a book
- Fresh autumn leaves
- 2 sheets of typing paper
- 2 sheets of kitchen paper or tracing paper
- Large book or other heavy object


