Author:
Judy Howell
Date Of Creation:
3 July 2021
Update Date:
1 July 2024

Content
- To step
- Method 1 of 3: Planting gladiolus
- Method 2 of 3: Care for gladiolus
- Method 3 of 3: Dig up, dry and store gladiolus bulbs
Gladiolus (Latin: gladiolus) are commonly grown to be used as a cut flower in a bouquet. Large in size and stature, gladioli range in height from 0.5 to 1.5 m and have trumpet-shaped flowers, in a variety of colors except blue. The gladiolus is a perennial root vegetable and is not hardy.
To step
Method 1 of 3: Planting gladiolus
 Purchase gladiolus bulbs from a nearby garden center or nursery. You can buy them from a mail order company. It is best to choose the tubers by hand so that you can be sure that they are of high quality.
 - Look for sturdy bulbs with thick cores for the best bloom quality. Avoid flat bulbs.
- The size of the bulbs to be bought depends on the size of the gladiolus you want to grow. Choose bulbs with a diameter of 1.25 to 2 cm for flowers of 0.5 to 0.9 m.
 Store gladiolus bulbs in a cool, dry area where the temperature will not drop below freezing until you are ready to plant them.
 Choose a spot with plenty of sunlight. Gladiolus prefer full sun, but will also do if they are partially shaded.
  Work the soil up to 30 cm. deep.
 - Improve the soil as needed to ensure good drainage. Gladiolus in soil without adequate drainage is more likely to get sick.
- Add organic compost, composted manure, ground bark or peat dust to the soil if drainage is a problem.

- Raise the gladiolus garden by 5 to 10 cm to raise the plants above the water if puddles remain on the soil surface after 4 or 5 hours after a heavy rain shower.

- Add organic compost, composted manure, ground bark or peat dust to the soil if drainage is a problem.
 Plant the tubers in the garden after the last frost. Plant additional gladiolus at 2-week intervals to extend their blooming season. Stop planting in mid-June to ensure the plants have plenty of flowering time.
  Dig holes 15 to 18 cm deep. and leave 15 to 20 cm here. space in between.
  Place a bulb in each hole with the pointed side from which the plant grows up and the other side down.
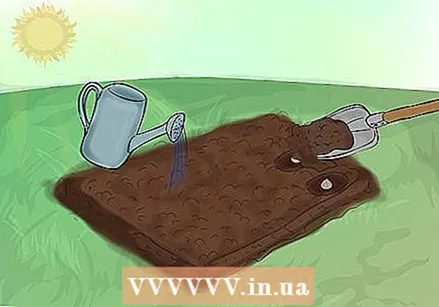 Fill the holes with soil. Water the entire area well.
Method 2 of 3: Care for gladiolus
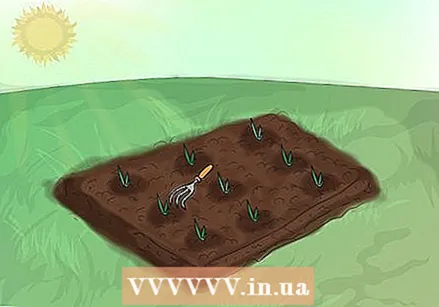 Cover the soil around and between plants with mulch to limit weeds and retain moisture. Gladiolus often lose soil to weeds.
  Water gladiolus plants 1 inch (2.5 cm) every week during periods of insufficient rain.
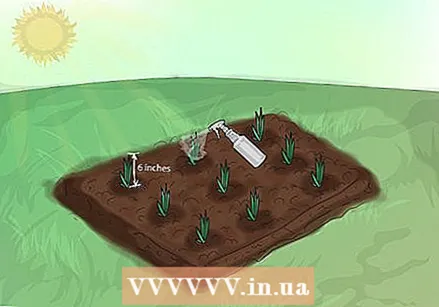 Spray plants with a pesticide. Use one with carbaryl or malathion if the gladiolus is about 6 inches. high to protect them from thrips.
 - Thrips are small insects, invisible to the naked eye. They cause streaked white leaves and discolored, distorted, unhealthy flowers. Thrips control should be preventative because once the symptoms start to show, it is too late to save the flowers.
 Guide individual plants as they grow taller. You can also use canes and wire to guide them in a cluster if you are growing several gladioli close together. Guiding and tying up these tall flowers helps limit storm and wind damage.
  Prune the flower tops when 1 to 3 flowers open. The remaining flowers will continue to open in water.
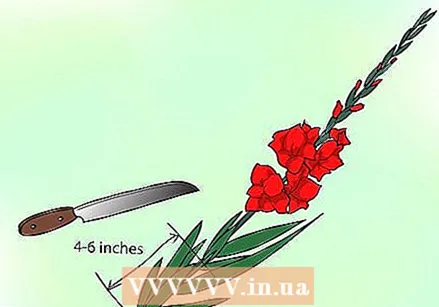
 - Harvest the flowers early in the morning or evening, when they are at their furthest.
- Cut the flowers diagonally with a sharp knife. Make sure to leave at least 4 to 6 leaves on the plant to ripen and nourish the tuber that is still growing underground.
 Remove the leaves at the bottom, 10 to 15 cm. from the bottom of the stem and put them in warm water.
  Leave the flowers in a dark, cool place for several hours before exposing them to light, arrange and place them.
Method 3 of 3: Dig up, dry and store gladiolus bulbs
 Dig up gladiolus bulbs just before the first frost. Make sure to remove the entire tubers, along with any smaller tubers around it. Shake off the loose soil and cut the stems off the tubers.
  Dry the tubers in a warm, well-ventilated place for 2 to 3 weeks.
 Clean the tubers by wiping away any remaining dry soil with your hands. Break off the old dried corms from the new corms and remove any loose shells. Leave the enveloping peels in place during storage. The new tubers are called tuber buds.
  Sort, clean, and label the small tuber buds to plant next year. Tuber buds will not produce flowers the first year they are planted, but will grow into larger tubers for flowers in future years.
 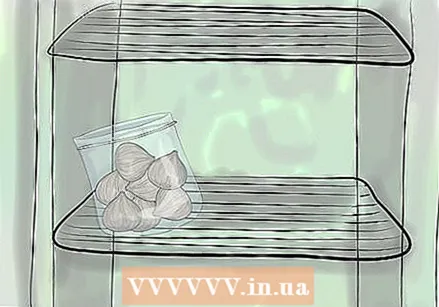 Store tubers in winter. Treat them with the same pesticide you used to protect the plants and keep them in a dark, cool, well-ventilated place where they won't freeze.


