Author:
Eugene Taylor
Date Of Creation:
13 August 2021
Update Date:
1 July 2024

Content
- To step
- Method 1 of 3: Turn your old hard drive into an external drive (Windows, Mac, Linux)
- Method 2 of 3: Connecting your old hard drive to a desktop computer (Windows, Linux)
- Method 3 of 3: Open your old files with another computer (Mac only)
- Tips
- Warnings
- Necessities
When a computer breaks down because of a software error rather than a hardware problem, it is no longer possible to open files, but they are still intact on the hard drive. To recover data from notebook hard drive with Windows, Mac or Linux that has stopped working, please follow one of the methods below.
To step
Method 1 of 3: Turn your old hard drive into an external drive (Windows, Mac, Linux)
 Buy a hard drive enclosure. This is an external system in which you can place the hard drive of a computer in order to connect it to a USB port; what essentially happens is that the enclosure turns your laptop's hard drive into an external hard drive. Every computer has a different model of hard drive, so make sure you read the specifications of your deceased laptop carefully before purchasing. E.g. If your laptop has a 2.5 SATA drive, you will need a 2.5 SATA USB enclosure.
 - Unless you have a SATA drive, you need to buy a housing that is suitable for laptop drives; only SATA-ready enclosures can hold both desktop and laptop drives.
- Note that enclosures are usually not directly available for purchase at major department stores and must usually be purchased online.
 Borrow a working computer that is compatible with your old one. If you have Windows, use Windows again; if you have a Mac, use another Mac; etc. Make sure there is enough space on the computer for the files you want to recover from the broken laptop; you can also connect a second external hard drive to the working computer and only use the computer as a transfer system for the files.
 - A Linux computer will be able to read the files from your Windows computer (but not the other way around); but only if you are familiar with both systems is it better to use a Windows computer to recover a Windows hard drive.
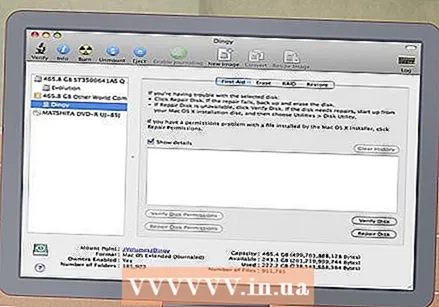 Mac users can insert a Windows hard drive into their computer and use it to read (not write) its contents, as they do not have a separate driver installed, such as NTFS-3G or Paragon NTFS. Be careful though, and only use Disk Utility while "mounting" the hard drive. Any other action can cause the Disk Utility to erase the contents of the hard drive.
 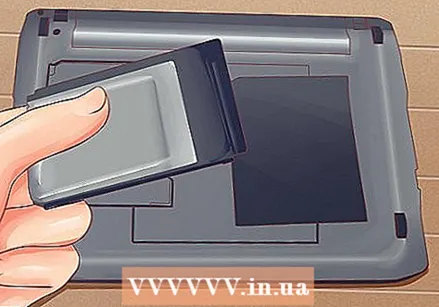 Remove the hard drive from the discontinued laptop. Turn off the laptop, unplug the power cord, and remove the battery. Turn the laptop over and you will see that you can unscrew different parts of the bottom and remove them individually. Look online at the model of your laptop to find out exactly where the hard drive is located, or just search for the most obvious candidate: although every laptop is different, the size of a hard drive is on a laptop about equal in size and shape to that of a 3.5-inch floppy disk. Unscrew the hard drive cover and remove the hard drive. Some models come up, some slide to the side, etc.
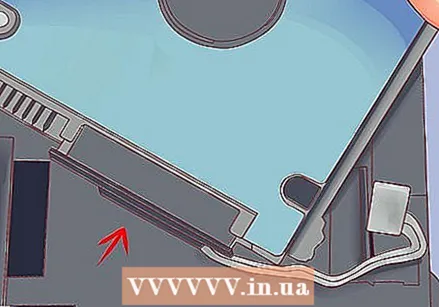
 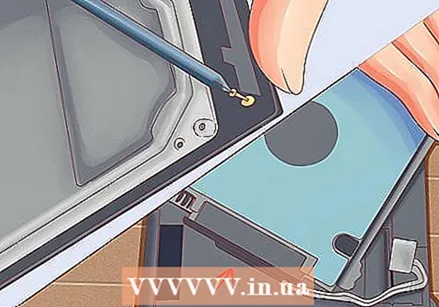 Detach the connector plate from the drive cage and install it in the hard drive interface. Look for connector pins on one end of the drive to determine where to make this connection.
 - If you have an IDE hard drive, you will see an adapter over the interface that you can detach. Simply pull this adapter off so that the drive can make a proper connection to the housing connector plate.
 Mount the hard disk in the housing. Screw it where necessary; read the enclosure manual for more information.
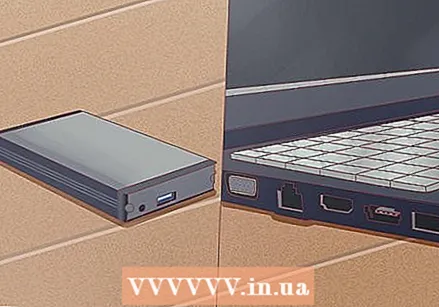
 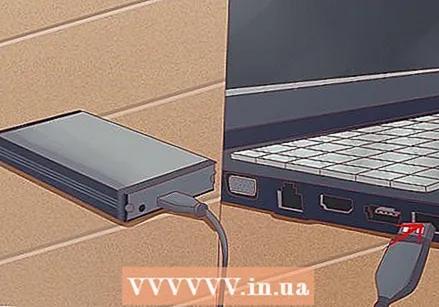 Connect the external hard drive to a computer with a USB cable. Make sure you have turned on the computer first. Once the drive is connected, an icon should appear on the desktop (Mac) or a notification should appear (Windows). The computer may automatically open the drive for you.
 - If Windows doesn't automatically notify you about the new external storage unit, just open it to My computer and find the new station.
- If the hard drive is not recognized immediately, try ejecting it and plugging it back in.
- If the hard drive is not readable, chances are that it is the hard drive itself (and not your computer's software) that something is wrong with it. If so, you will need to seek the assistance of experts if you wish to continue rescuing your data. Be warned that this can get very expensive.
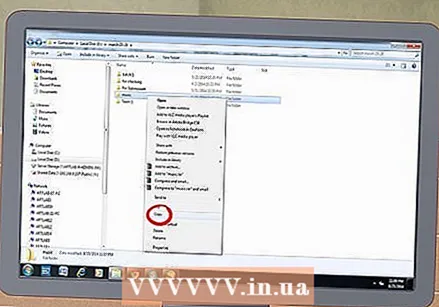 Explore and save your old files. Move them to the working computer or to another external hard drive, by copying and pasting or clicking and dragging, etc. If there are many large files (such as music and movies), keep in mind that the transfer can take hours .
 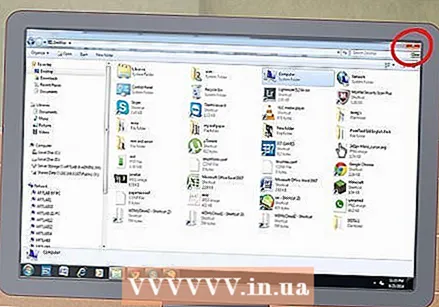 When you are done, close the hard drive window. The good news is that the computer that has stopped working is still physically intact and will probably work again when you reinstall the operating system.
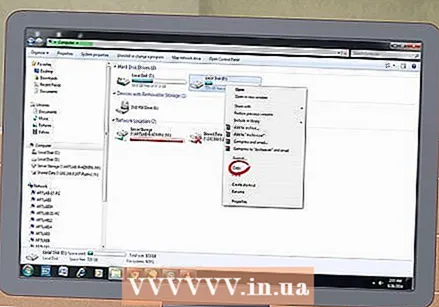
 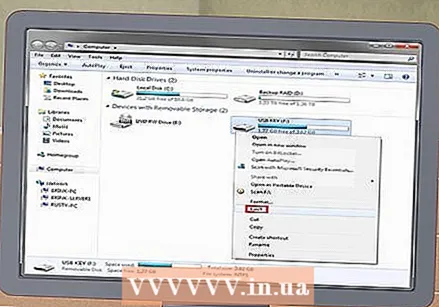 Right-click on the USB symbol and select Eject. You can now disconnect the old hard drive.
Method 2 of 3: Connecting your old hard drive to a desktop computer (Windows, Linux)
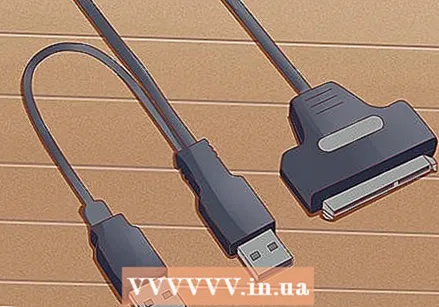 Purchase an adapter kit for the laptop hard drive. This allows you to connect the laptop's hard drive directly to a suitable desktop computer. The different computers have different hard drive models, so check the specifications of your laptop that is no longer working properly before purchasing it. For example, if your laptop has a 2.5 SATA drive, you will need a 2.5 SATA adapter.
  Borrow a working computer that is compatible with your old one. If you had Windows, use Windows again; if you had a Mac, use another Mac; etc. Make sure there is enough space on the computer for the files you want to recover from the broken laptop; you can also connect a second external hard drive to the working computer and only use the computer as a transfer system for the files.
 - A Linux computer will be able to read the files from your Windows computer (but not the other way around); but only if you are familiar with both systems it is better to use a Windows computer to recover a Windows hard drive.
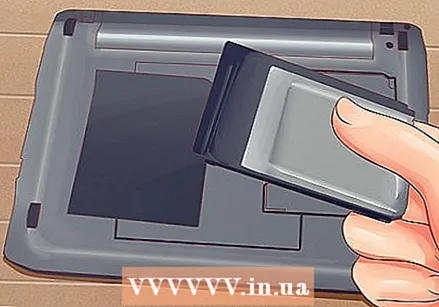 Remove the hard drive from the discontinued laptop. Turn off the laptop, unplug the power cord, and remove the battery. Turn the laptop over and you will see that you can unscrew different parts of the bottom and remove them individually. Look online at the model of your laptop to find out exactly where the hard drive is located, or just search for the most obvious candidate: although every laptop is different, the size of a hard drive is on a laptop about equal in size and shape to that of a 3.5-inch floppy disk. Unscrew the hard drive cover and remove the hard drive. Some models come up, some slide to the side, etc.
 - If you have an IDE hard drive, you will see an adapter over the interface that you can detach. Just pull this adapter off, so that the interface is soon accessible.
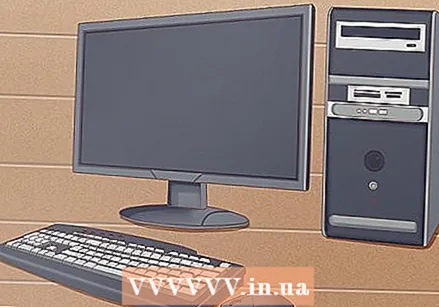
 Turn off the desktop computer, unplug the power cord, and open the case. You are going to use the adapter kit to connect the old hard drive directly to the motherboard.
 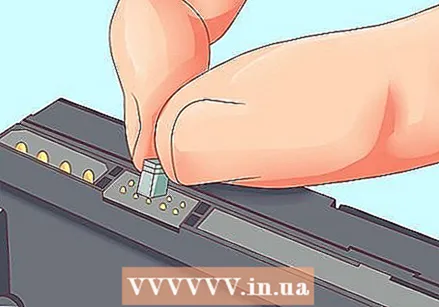 Connect the drive from the discontinued computer to the working computer using your drive adapter. Exactly how to do this depends on your drive and adapter, so read the instructions that come with the kit.
 - If you have an IDE disk, configure it as “slave” before connecting the disk to the IDE ribbon. This configuration should be listed on the hard drive itself, and involves sliding a plastic cover over a specific pin or number of pins (called “jumpers”) on the hard drive interface. By setting the disk as a slave, your laptop disk will not compete with the “master” hard disk of the desktop during boot.
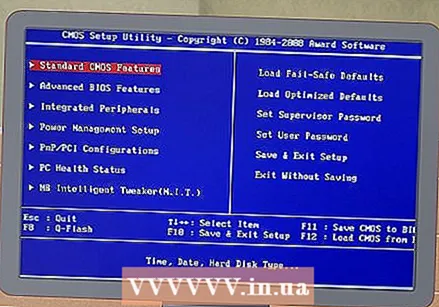 Configure your desktop to recognize the new drive. Reconnect your desktop to the mains, switch on the device and enter the BIOS. Go to Standard CMOS Settings or IDE Config, where you will find four settings related to the master and slave settings. Change all fields to auto-detection.
 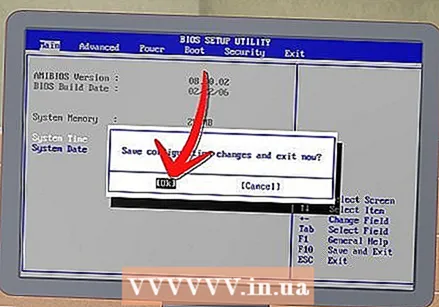 Exit the BIOS and restart the computer. Your desktop should now automatically detect the new hardware.
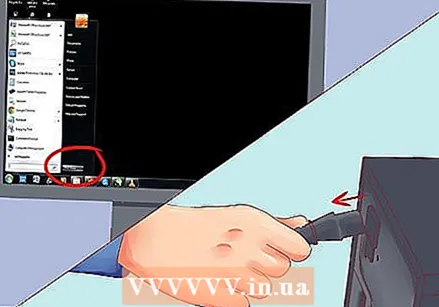
  Open the new hard drive. If you work with Windows, go to My computer and look for the new hard drive. Under Linux, the new hard drive will be in the folder the V to appear.
 - If the hard drive is not readable, chances are that it is the hard drive itself (and not your computer's software) that something is wrong with it. If so, you will need to seek the assistance of experts if you wish to continue rescuing your data. Be warned that this can get very expensive.
 Explore and save your old files. Move them to the working computer or to another external hard drive, by copying and pasting or clicking and dragging, etc. If there are many large files (such as music and movies), keep in mind that the transfer can take hours .
 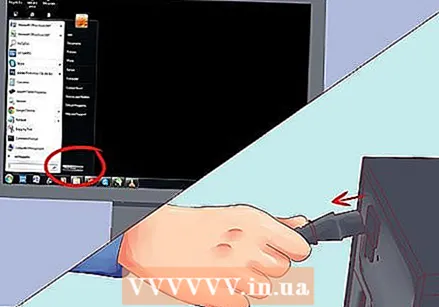 Turn off the desktop and unplug it to remove the hard drive (if you wish). Since the hard drive is not physically wrong, it will probably work fine in the old laptop again if you reinstall the operating system.
Method 3 of 3: Open your old files with another computer (Mac only)
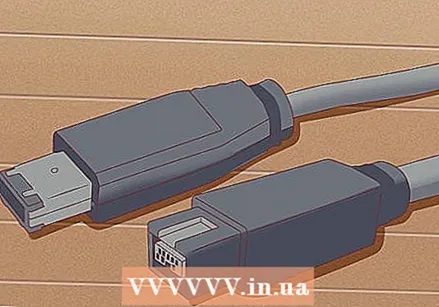 You need a FireWire cable for this. You can buy such a cable anywhere for € 5- € 20, or borrow one from someone else.
 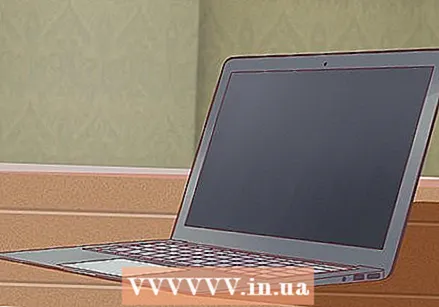 Borrow a working Mac computer. Make sure the Mac has enough space for all the files you want to save from the broken laptop; you can also connect an external hard drive to the Mac and use this machine as a transfer system for the files.
 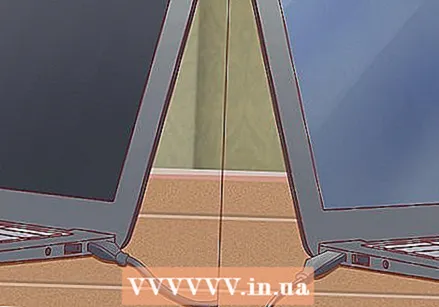 Connect the stopped Mac to the working Mac using the FireWire cable. Make sure the working Mac is switched off when you do this.
  Press T while booting the working Mac until the FireWire icon appears. This will boot the computer into “Target Mode,” which means that you can access the target computer's master drive through the working Mac in addition to its own.
 - For OS X 10.4: Turn on your computer as usual, go to System Preferences > Boot disk > Target mode. Then restart your computer so that it starts in Target mode.
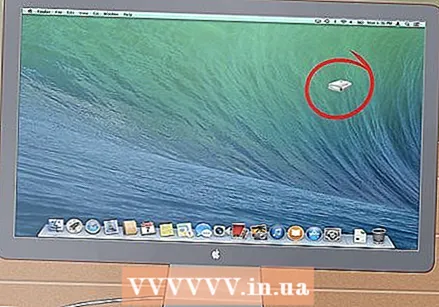 Find the hard drive of the stopped computer on your Mac's desktop. If the target drive does not appear on the desktop, then the damage to your old computer is likely hardware-related, which means you will need to get an expert to rescue your files. Be warned that this can get very expensive.
 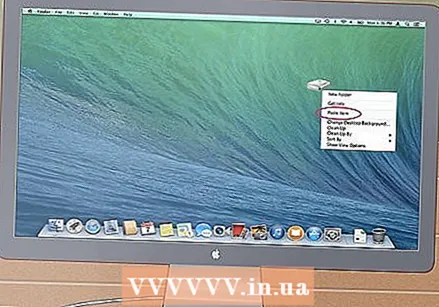 Explore and save your old files. Move them to the working Mac or to another external hard drive, by copying and pasting or clicking and dragging, etc. If there are many large files (such as music and movies), keep in mind that the transfer can take hours .
 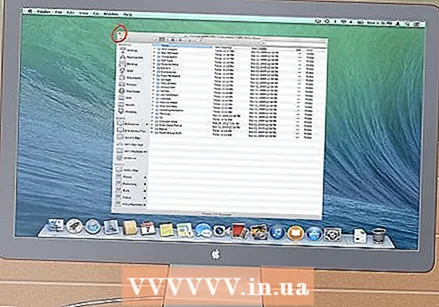 When you are done, close the hard drive window. The good news is that the computer that has stopped working is still physically intact and will probably work again when you reinstall the operating system.
  Right-click on target disk and select Eject. You can now disconnect the no longer working computer.
Tips
- If you suspect that your old laptop is malfunctioning due to a virus, scan your old hard drive with antivirus software before moving files to a working computer.
- If you decide not to put the laptop drive back into the old laptop, you can always use that drive as an external hard drive or a permanent slave drive for the desktop computer.
Warnings
- In Linux you will need to mount the filesystem as read-only before trying this. By default, NTFS file systems can only be opened in read-only mode without additional software.
Necessities
- A few small screwdrivers
- Compatible computer
- Disk enclosure (option 1)
- Laptop adapter kit for the hard drive (option 2)
- FireWire cable (option 3)


