Author:
Roger Morrison
Date Of Creation:
2 September 2021
Update Date:
1 July 2024

Content
- To step
- Method 1 of 2: Use gel or decoupage glue
- Method 2 of 2: Using transfer paper
- Necessities
- Use gel or decoupage glue
- Using transfer paper
Have you ever wanted to transfer a special photo onto fabric, a T-shirt or a bag? You can do this in a day with just a few supplies. It is a suitable craft for children's parties and a fun way to personalize decorations, accessories and garments. There are two methods of transferring photos to fabric and you should be able to find the necessary products at a hobby store near you.
To step
Method 1 of 2: Use gel or decoupage glue
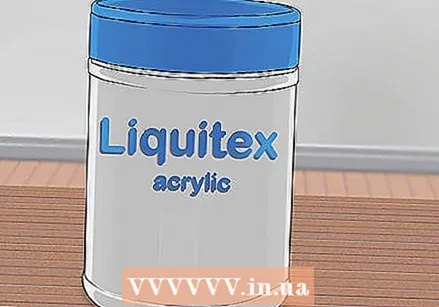 Choose a resource. Acrylic gel from Liquitex is cheap and can be found with the paint at any hobby store. You can also search for Mod Podge Photo Transfer Medium. This is a special kind of Mod Podge. Ordinary Mod Podge is not suitable for dust. You may be able to find more special resources on the internet.
 - If you can't find what you're looking for at a hobby store, get help from an employee.
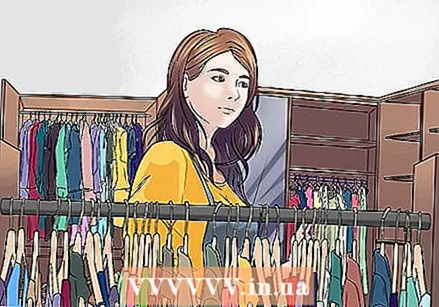 Choose fabric. Most people want to transfer photos to T-shirt fabric or canvas, which shouldn't be a problem. It is slightly more difficult to transfer photos to synthetic fabrics. If you plan to do that, make sure to test with a similar fabric first. The photo probably won't look good on stretch fabric.
 - The more you can stretch the fabric, the more the photo is subject to wear. This is why photos are often transferred to linen and canvas.
 Select a photo and cut it out. If you are using gel you will need an image printed with a laser printer. You can also use old pages from magazines and newspaper photos. According to some people, if you use Mod Podge, you can use both photos printed with an inkjet printer and photos printed with a laser printer.
 - If the image contains text, you will need to mirror it horizontally on the computer for the image to display correctly on the fabric. Most programs that allow you to open images have this feature; you don't need Paint or Photoshop.
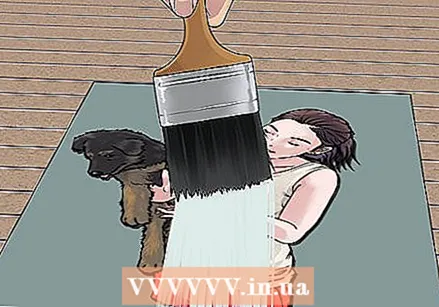 Cover the front of the photo with whatever agent you are using. You can use a regular paint brush to do this.
 - Apply a fairly thick layer of the product. You should not be able to see the image when you are done applying the product.
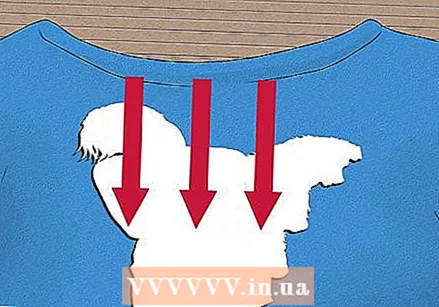 Push the image onto the fabric. Make sure that the entire image comes into contact with the fabric and remove any air bubbles. Leave the image on the fabric overnight.
 - According to some people, it is not necessary to let the image sit overnight when using gel. If you pull the paper off before it dries completely, the image will appear washed out.
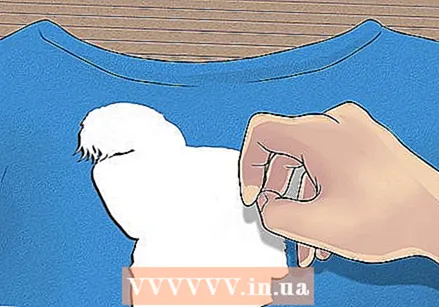 Wet the back of the image and rub the surface with your fingers. The paper will start to come loose. Keep rubbing it until all the paper is loose.
 - You can apply another layer of the gel for protection if the photo is for everyone to see.
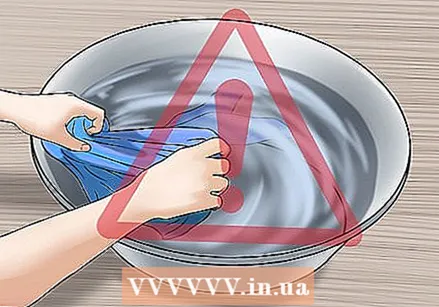 Be careful when you wash the fabric. It is best to hand wash the fabric with the image. If you do need to wash the fabric with the image in the washing machine, turn the fabric inside out and do not put it in the dryer.
 - Do not dry clean the fabric with the image. The aggressive chemicals used will damage the photo.
Method 2 of 2: Using transfer paper
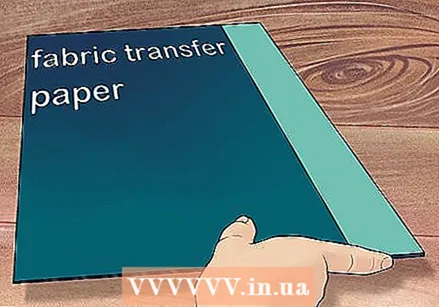 Buy a pack of transfer paper. You can buy this at department stores, office supply stores, and hobby stores. Make sure the paper you buy is appropriate for the type of printer you have so that you are not using a laser printer to print an image on inkjet transfer paper.
 - Read the directions on the packaging. In most cases, the transfer paper is for ironing images onto cotton or cotton blend garments. Look for dark fabric transfer paper if you are using a dark color garment or fabric.
 Print the image and cut it out. Upload the photo to your computer and use Paint or any photo editing program to resize the photo as needed.
 - Round the corners when you cut out the image. That way, the corners won't come off after you've washed the fabric several times. Cut out a drawing as close to the edges as possible and round the corners. Make sure the image you want to transfer has no sharp corners.
- Keep in mind that white areas in the photo will be the color of the fabric or garment.
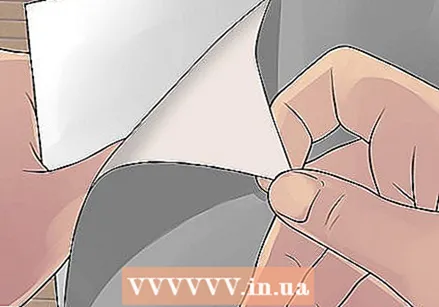 Peel off the backing from the paper. Place the image right side down on the fabric so that the printed side is against the fabric.
 - Be careful not to tear the image when you peel off the backing.
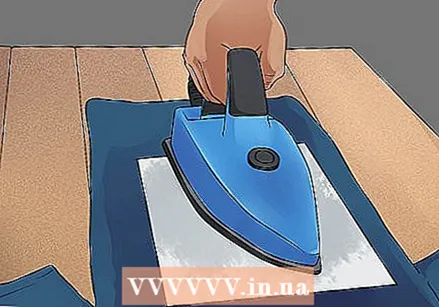 Iron the image onto the fabric. Make sure the iron is very hot and that you are not using the steam function. Steam will ruin the image. Iron on a hard, non-porous surface instead of an ironing board.
 - With most irons you can switch off the steam function, but you can also just make sure that there is no water in the iron.
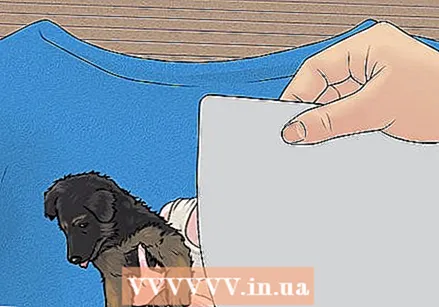 Peel off the paper. You can pull out a corner first to check the image. If the image is smudged, gently push the paper back and brush more over it. Some people like the worn look of images that are only half transferred, so feel free to experiment if this is something you like.
 - Do not wash the garment for 24 hours.
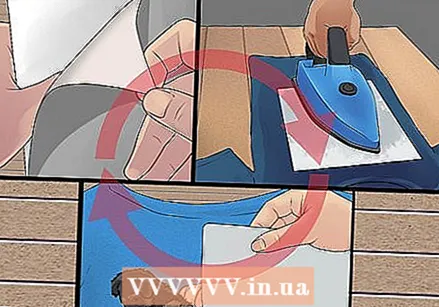 Try again. If transferring the photo with transfer paper didn't go as well as you hoped, try doing it differently next time. You may have printed the photo on the wrong side of the paper. If the image has faded, you may have washed the garment before 24 hours had passed. If the image came off, you may not have rounded the corners enough.
 - Iron the image on a hard surface on the fabric, set the iron to the highest setting and apply a lot of pressure when ironing. An image on transfer paper needs a lot of heat and pressure to stick. So if the iron isn't hot enough and you don't apply enough even pressure, parts of the image may not stick.
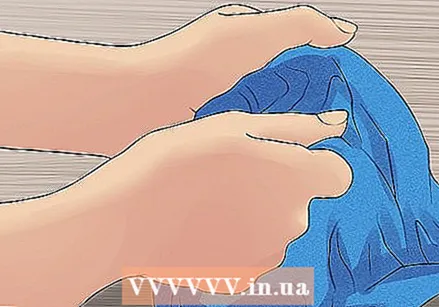 Turn the garment inside out to wash it. It is best to hand wash the garment with the image, but if you do need to use a washing machine, turn the garment inside out so that other garments do not damage the image. The image will also continue to look good if you let the garment air dry.
 - Use a mild detergent. Do not put bleach in the washing machine.
Necessities
Use gel or decoupage glue
- Gel or decoupage glue (for example from Liquitex or Mod Podge)
- A foam brush or regular paint brush
- A picture
Using transfer paper
- Inkjet printer
- Transfer paper
- Fabric or garment made of cotton or a mix of cotton and polyester
- Iron
- Hard, non-porous surface


