Author:
Roger Morrison
Date Of Creation:
7 September 2021
Update Date:
1 July 2024

Content
- To step
- Method 1 of 6: Making the candle
- Method 2 of 6: Make the bamboo framework and add the candle
- Method 3 of 6: Make the paper fire resistant
- Method 4 of 6: Create a template for the balloon
- Method 5 of 6: Finish the balloon
- Method 6 of 6: Finish the wish balloon
- Tips
- Warnings
- Necessities
In many Asian countries you can often see wish balloons floating through the sky. Even though the design of a wish balloon may seem complicated, you can easily learn to make your own. Make a wish, light the wish balloon and let it float into the air.
To step
Method 1 of 6: Making the candle
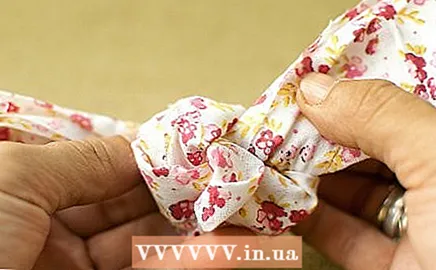 Knot the fabric into a tight knot. Trim the ends of the fabric so that they are about an inch long on each side. These ends become the wicks of the candle that propels your wish balloon, much like a flame propels a hot air balloon.
  Place the middle sections of two pieces of floral wire that are two feet long over the knot. The two pieces of thread should be perpendicular to each other, with the center portions of both pieces overlapping on top of the knot.
 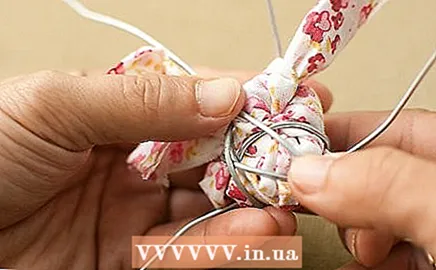 Wrap the threads around the knot and twist them tightly so that they are held securely. The four ends of the wires should each be approximately 23 to 25 inches long so that they reach up to the bamboo frame of the wish balloon. Place the knot wrapped in floral wire to one side.
 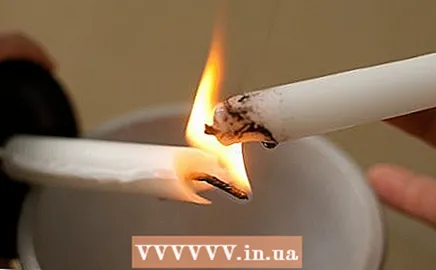 Hold a candle over a lighter or other open flame until the wax melts and becomes liquid. Place a plate or tray under the candle to catch the melted wax.
 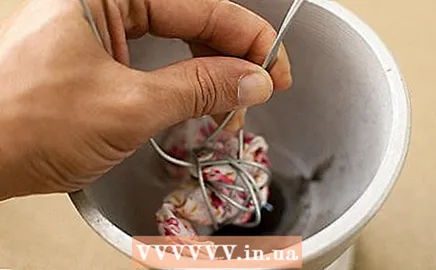 Tie the knot in the hot, melted candle wax. Let the wax knot for 3 to 5 minutes.
  Remove the freshly made wick from the wax. The wax will harden when it cools down.
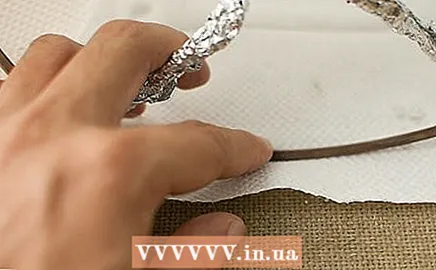
 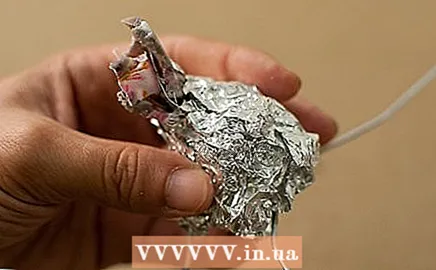 Wrap a strip of aluminum foil around the knot in the center of the wick. Wrap the ends of the aluminum foil strip around the floral wire so that they completely cover the wire.
Method 2 of 6: Make the bamboo framework and add the candle
- Cut three bamboo skewers in half lengthwise with a razor or hobby knife. Pass the split bamboo pieces through the flame of a candle and bend them slightly. This will make bending easier and you should be able to make a full circle of bamboo in less than five minutes.
 Place the split bamboo pieces on a table one after the other to make one long skewer. The bottom end of one skewer should overlap one inch with the top end of the other skewer so that they can be joined together.
  Join the skewers at the overlapping points. Use non-combustible tape for this.
 - Bring the ends of the long skewer together. Overlap the ends 1 inch here too.
- Secure the ends together with tape to make a circle.
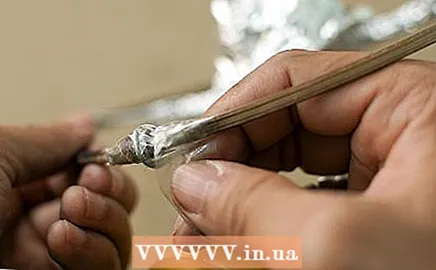
 Tape the ends of the aluminum foil-wrapped pieces of floral wire that protrude from the wick to the opposite sides of the bamboo frame.
- The lengths of wire should intersect the exact center of the circle so that the circle is divided into four equal quarters. The candle should now be in the center of the circle and supported by the wires attached to the bamboo frame.
- Twist the pieces of iron wire around the frame. Then wrap the connections with tape so that they are more secure.
Method 3 of 6: Make the paper fire resistant
 Hang 16 to 20 sheets of kitchen roll (or 8 to 10 sheets of tissue paper) on a clothesline using pegs.
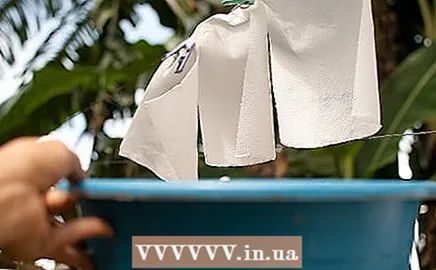 Place a plastic or canvas tarpaulin underneath the paper to catch any dripping liquid.
 Spray both sides of each sheet of paper thoroughly with a fire resistant spray.
- Do not spray the areas where the pegs hold the paper. Otherwise, the paper will tear.
- Let the sheets dry before continuing to work with them.
Method 4 of 6: Create a template for the balloon
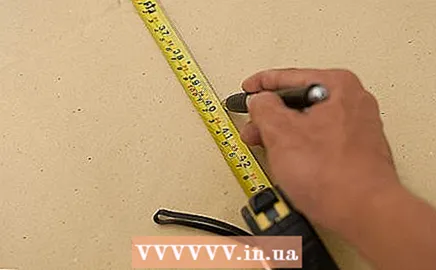 Draw a vertical line about three feet long through the center of a sheet of brown wrapping paper. Use a tape measure or ruler to measure the line precisely.
 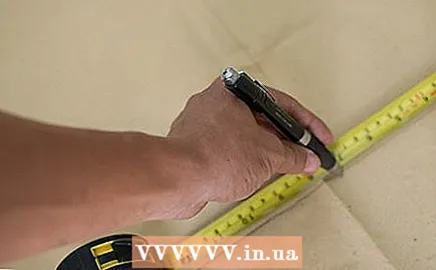 At the bottom of the vertical line, draw a horizontal line 12 inches long. This line must be perpendicular to the vertical line. The end of the vertical line should be right in the center of the horizontal line, so that the horizontal line extends six inches on either side of the vertical line.
 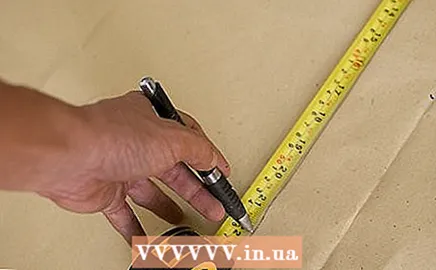 Draw a second horizontal line 56 inches long about two-thirds of the way from the vertical. This second horizontal line must be parallel to the first horizontal line. The vertical line should also intersect the center of the second horizontal line, so that the horizontal line extends 28 centimeters on either side.
 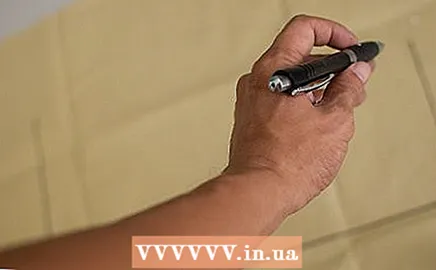 Connect the two horizontal lines by sketching a line that curves inwards and then ends at the vertical line. The line should start at the right end of the horizontal line at the bottom of the paper, then curve inward and extend to the right end of the second horizontal line.
 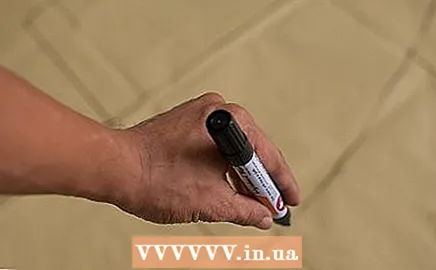 Draw a second line in mirror image of the first line you just drew. Connect the left ends of both horizontal lines with this.
 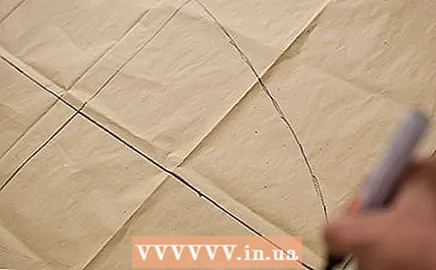 Sketch two similar lines to connect both ends of the top horizontal line to the top end of the vertical line. This will complete the shape of your template, which should now look like the pointed blade of a tropical ceiling fan.
 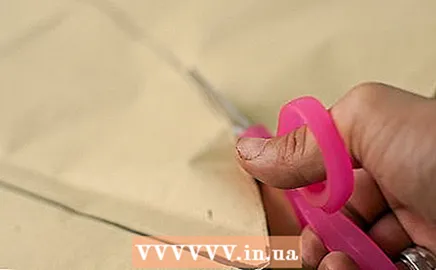 Cut out the shape you drew on the brown wrapping paper with scissors. This shape will serve as a template when making your balloon.
Method 5 of 6: Finish the balloon
 Place the 16 to 20 sheets of paper towel that you made fire resistant on a flat surface.
- Make two rows of the 16 to 20 sheets of kitchen roll (or 8 to 10 sheets of tissue paper).
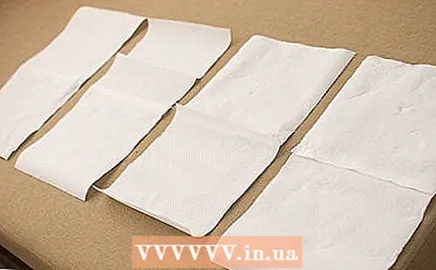
- The top short ends of one row of sheets should touch the lower short ends of the other row of sheets. Always put the short sides of two sheets of paper on top of each other.

- Overlap the ends of the sheets about an inch so you can glue them together.
- Make two rows of the 16 to 20 sheets of kitchen roll (or 8 to 10 sheets of tissue paper).
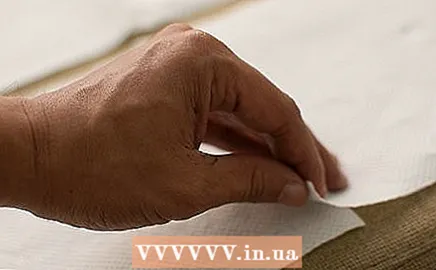
 Use a non-flammable glue to glue the overlapping ends of the sheets together. Let the sheets of paper dry on the flat surface. Apply the glue evenly to the sheets of paper, using caution. Do not apply blobs of glue. This way you can avoid getting glue stains on the paper. By using blobs of glue, the sheets adhere less strongly and the balloon itself becomes less strong.
 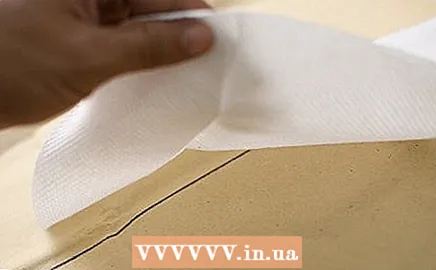 Place two sheets of paper taped together on the brown wrapping paper template. Place the template under the center of the sheets of paper that have been glued together. Then trim the sheets of paper with scissors so that they are exactly the size and shape of the template underneath.
 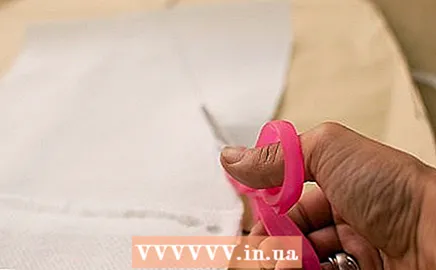 Repeat this step for the other pairs of papers that are glued together.
 Join the pointed ends of the taped sheets of paper together. Glue the pointed ends together firmly, leaving the bottoms open to form a large bag.
Method 6 of 6: Finish the wish balloon
 Fasten the opening in the paper bag to the bamboo frame. Insert the framework about an inch into the opening of the bag.
  Fold the end of the paper bag up to cover the frame.
- Glue the folded end to the inside of the balloon. This way the framework is firmly attached to the balloon.
- Let the glue dry completely before attempting to fly the wish balloon.
 Take the wish balloon outside in the evening or at dusk. Light the fuses. These are the ends protruding from the wax dipped knot. Hold the wish balloon for a few seconds until the fuses burn completely.
 - Make a wish and then release the wish balloon.
Tips
- You can also use a large tuft of cotton wool soaked in alcohol instead of a candle. Wrap extra floral thread around the cotton wool to attach it to the crossed pieces of thread that serve as support. Then light the cotton wool to make the balloon rise.
- It is also possible to use drinking straws instead of bamboo skewers for the framework of your wish balloon. However, the straws may not be strong enough to support the weight of the candle.
- Once you've mastered the basic circular design for your wish balloon, you can start experimenting with other, more intricate shapes. Research the internet and the local library for ideas.
Warnings
- When using fire-resistant spray, wear protective clothing such as gloves, long sleeves and long pants. The spray can cause burns on your skin.
- Wish balloons can be dangerous because they burn and are made of paper. So proceed with caution when lighting the wish balloon.
- Let your wish balloon take off only in the open field or another open area with plenty of space, away from trees and other items that could catch fire. Only do this when it has rained or snowed recently and the soil is saturated with moisture. In such circumstances, the ground under the wish balloon will be wet and less likely to catch fire. Do not let balloon balloons ascend from areas of dry vegetation.
- Before launching your wish balloon, think carefully about where your wish balloon could land and what could happen if it causes a fire. Consider securing your wish balloon with a thin wire.
Necessities
- Dust from an unused rag or towel
- Candle
- Plate or tray
- Aluminium foil
- Two pieces of floral wire of 60 centimeters
- Bamboo skewers
- Razor or hobby knife
- Non-combustible tape
- 16 to 20 sheets of kitchen roll or 8 to 10 sheets of tissue paper
- Plastic or canvas tarpaulin
- Protective clothing
- Fireproof spray for paper (you can buy this at your local hardware store or on the internet)
- 1 large sheet of brown wrapping paper
- Pencil
- Ruler or tape measure
- White school glue
- Lighter or match


