Author:
Roger Morrison
Date Of Creation:
18 September 2021
Update Date:
1 July 2024

Content
- To step
- Method 1 of 3: Make a simple birthday card
- Method 2 of 3: Make a map with a see-through
- Method 3 of 3: Make a map of wallpaper
- Tips
- Necessities
- Method 1: Make a simple birthday card
- Method 2: Make a see-through map
- Method 3: Make a map of wallpaper
It's always fun to celebrate a friend's or loved one's birthday in a meaningful way. Making your own birthday card may take you a little more time than going to the store to buy one, but it will be worth it when your friend or loved one gets a card made just for them.
To step
Method 1 of 3: Make a simple birthday card
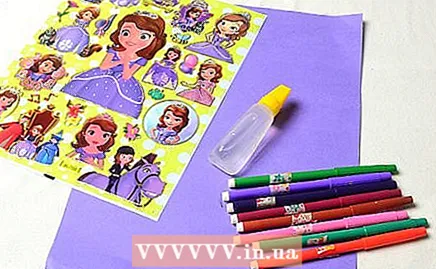 Gather your materials. Clear a table and prepare the necessary materials for the map. For a simple birthday card you will need:
 - Craft paper or cardboard and writing utensils
- Something to color with, such as felt-tip pens, crayons and colored pencils
- Glue
- Stickers
- Rubber stamps or other images, such as photos, pictures from magazines or images of already used birthday cards
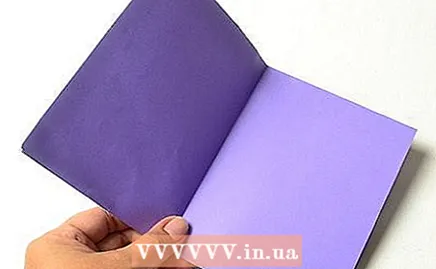 Make the shape of the card. Take a sheet of craft paper and fold it in quarters.
 - Depending on how big or small you want to make the card, you can also use a sturdy sheet of A4-size craft cardboard. Cut the sheet in half and then fold it in half.
- If you have an envelope that you want to put the card in, fold the paper so that the card fits in the envelope. Make sure you leave at least 3 mm on all sides so that you can easily put the card in the envelope and take it out.
 Think about how you want to decorate the card. Adapt the design of the card to the recipient and the materials you have at home. Remember that you need to decorate both the front and the inside of the card, so you may prefer a simple embellishment or picture on the front and a more personalized or detailed embellishment inside the card.
 - Come up with a riddle or a poem. You can write a limerick, look up a line from your favorite poem, or find a funny riddle with it.
- Draw a picture of a person that the recipient of the card likes or admires. You can also cut out a photo of the person and paste it into the card, or use a photo of the recipient themselves. Draw a thought or speech cloud above the photo and write a funny message or statement in it.
- You can also create a short cartoon on your card. Divide the card into several squares and tell a short story.
- Choose a quote or statement based on a personal moment you had with the person, such as the first time you saw him or her or something he or she did on his or her last birthday.
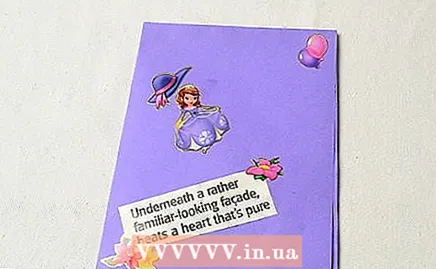 Add decorations such as stickers, stamps or fabric. Match the decorations you use to the recipient.
 - For example, if you are making a birthday card for your dad and he likes to fish, you could stamp a picture of a fisherman on the card. Stick a piece of string on the card that runs from the fishing rod to a drawing of a large fish on the front of the card.
- Bright colors make your card vivid and funny; subdued colors are elegant and more stylish. A birthday card for a child may have bright colors, stamped images of animals and funny texts, while a card for a teen or adult may be more calm and simple.
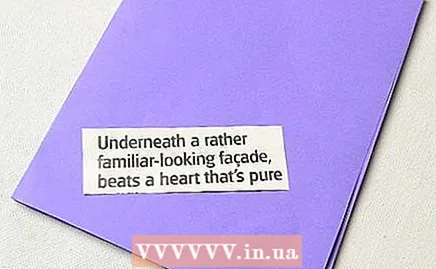
- Write a birthday wish yourself like "Congratulations!" on the card, or type it on the computer and print it on a sheet of paper of a different color. Cut out the text and paste it on your simple card.
- Write the recipient's name on the card to make it more special and personal.
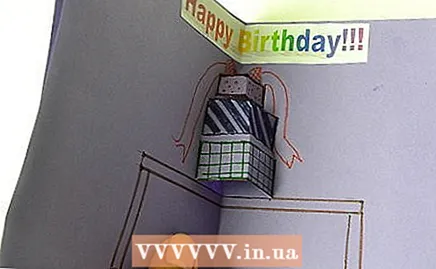 Add a pop-up image to the card to give it something extra. It's actually quite easy to make a simple pop-up card yourself.
 - Choose an easy or a difficult card to make. The choice depends on what you can do and how much time you have.
Method 2 of 3: Make a map with a see-through
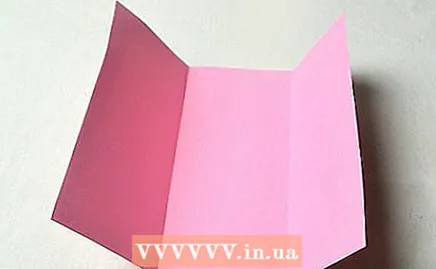 Fold a sheet of craft cardboard in thirds. Start with a sheet of A4-size craft cardboard and cut it a bit smaller if necessary.
 - Make straight, sharp folds in the cardstock so that the card looks professional and neat. You can use a weatherstrip tool if you have one to make even, straight folds.
- If the folds you made aren't straight, start over with a new sheet of cardstock.
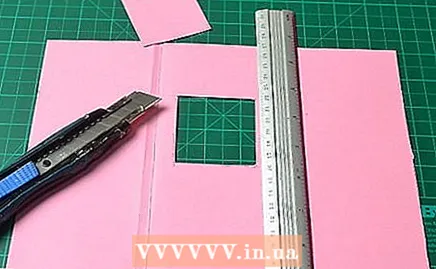 Cut a see-through in the middle part. The middle part will later become the front of the card. The size of the image or object that you want to show in the view through determines the size of the view.
 - In general, the viewing area should be less than half the size of the map.
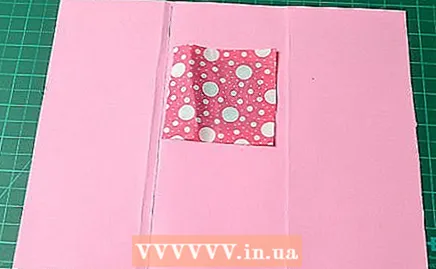 Place the object that you want to show through the window upside down on the card. This can be a nice piece of paper or an embroidery, a napperon or a photo.
 - Choose an object that fits well with the theme of the card and that looks nice through the window.
- To add a ribbon, use a hole punch to make two holes in the center section. Make the holes above or below the see-through. Pull the ribbon through the holes and tie a bow in it. When you put the card down, the bow should face away from you.
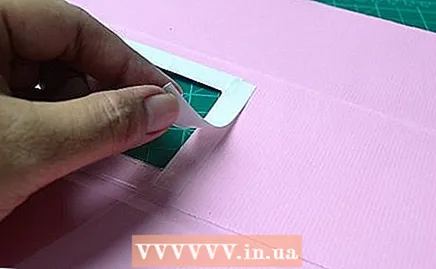 Secure the object to the cardboard with glue or tape. Spread glue or tape around the edges of the object so that you can attach it properly and it can be seen through the see-through.
 - Spread the glue or stick the adhesive tape straight on it and make sure that it cannot be seen from the front through the see-through.
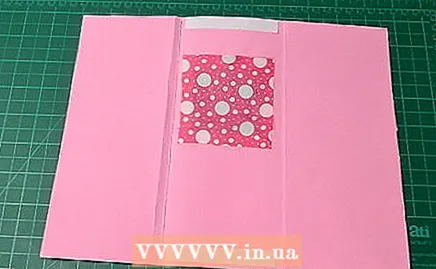 Place a piece of double-sided tape under the object and on the edge of the side section. Fold the side section over and press the tape into place.
 - The object is now between the two parts and the middle part has become the front. Your map now consists of two parts and the left side is now the innermost part on the left side of your map.
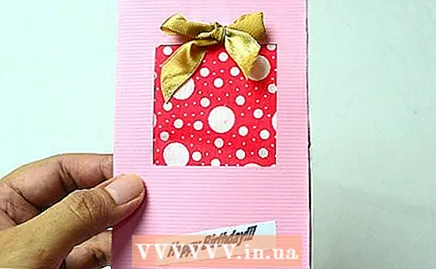 Write something in the card. You can decide for yourself whether you write something on both sides or only on one side.
 - Try to write something that matches the object in the see-through. If it is a cute or funny picture, write a cute or funny text. If it is a simple or stylish picture, write a simple or stylish text. The tone and theme of your card should match.
- To make your card look neater, type a birthday wish on the computer. Print the text, cut it out and stick it in the card.
Method 3 of 3: Make a map of wallpaper
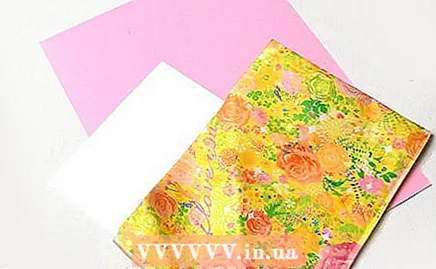 Gather your materials. Find an envelope, a nice piece of wallpaper, and a sheet of craft cardboard. It is nice if the color of your envelope matches the color of the wallpaper.
 - The size of the envelope determines how much wallpaper you need.
- If you fold the piece of wallpaper in half, it should be at least 3mm smaller on all sides than the envelope. To quickly find out if the piece of wallpaper is the right size, trace two envelopes on the back of the wallpaper.
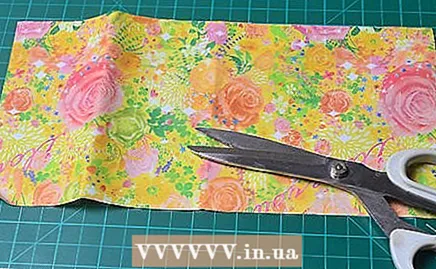 Cut the wallpaper to the correct size. Then fold it in half. If the wallpaper curls up, put it under a book or paperweight overnight so that it flattens.
 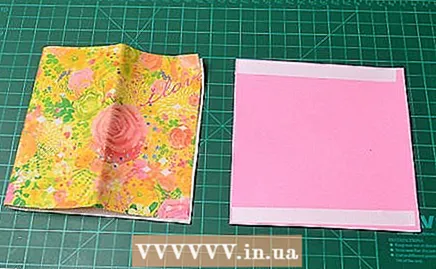 Take a sheet of craft cardboard and cut it slightly smaller than the piece of wallpaper. Stick the cardboard to the back of the wallpaper using glue or double-sided tape.
 - Use your hand to smooth out any bumps or folds from the paper.
- Some types of wallpaper are self-adhesive. If so, just peel off the backing and stick the wallpaper to the cardboard.
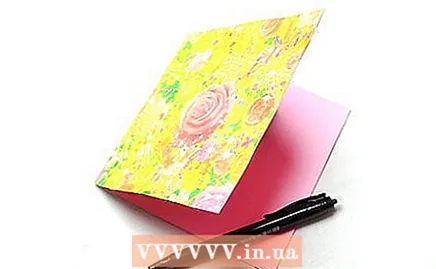 Write a personal message in the card. Choose a statement, text, or joke that the recipient will appreciate on his or her birthday.
 - Use a nice pen or pencil to write down your message or text.
- To make your card look neater, type a birthday wish in a nice font on the computer. Print the text, cut it out and stick it in the card.
Tips
- Homemade cards don't have to be expensive. Be creative and use recycled or found materials for your card.
- You can purchase decorative flowers, stamps, and borders for your card at your local craft store. Be creative and have fun decorating your card.
Necessities
Method 1: Make a simple birthday card
- Craft paper or cardboard and writing utensils
- Something to color with, such as felt-tip pens, crayons and colored pencils
- Envelope
- Stickers
- Rubber stamps, photos, pictures from magazines or images of already used birthday cards
- Glue
Method 2: Make a see-through map
- Craft Cardboard
- Envelope
- Object for the view
- Scissors
- Double sided tape or glue
Method 3: Make a map of wallpaper
- Wallpaper
- Craft Cardboard
- Envelope
- Glue or tape


