Author:
Tamara Smith
Date Of Creation:
27 January 2021
Update Date:
29 June 2024

Content
- To step
- Method 1 of 3: Before you sew
- Method 2 of 3: Making your quilt
- Method 3 of 3: Finish the quilt
- Tips
- Necessities
Patchwork quilts are enchanting to look at, to own and to make. One of the first craft projects many young girls from previous generations learned to make was a patchwork quilt. Getting started with this is very easy and your creativity will grow naturally as you complete more quilting projects.
To step
Method 1 of 3: Before you sew
 Collect scraps of fabric. They can come from other sewing projects, old dresses, or fabrics from family and friends. Save this for your patchwork quilt.
 - Depending on your taste, they can all be the same size or be of different sizes and shapes. Think about how the pieces can form a whole. Try to have at least 6 different patterns.
 Find a pattern. Search the web (Google Books is a good place to start) and craft books for a pattern that matches what you want, or make your own by deciding how you want your quilt to look.
 - Quilting designs use small scraps of fabric to create a collage-like look from part of a pattern's blueprint. The patches are generally no smaller than 5 by 5 cm and can be much larger, depending on your chosen design.
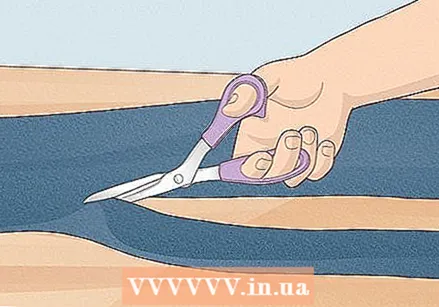
 Decide which pattern to use for your quilt. Then cut pieces of fabric in the colors and motifs you need. A good pair of scissors can be of great service to you.
 - Leave a seam allowance of about 1 cm on all sides. If you want 5 cm squares, make them about 6 cm on all sides.
- Of course you don't have to use squares. Rectangles and triangles also work well.
- Form your design on the ground. It is much easier to arrange your quilt correctly if it is not sewn together. Arrange all the pieces in exactly the order you want. Not only can you see how the colors fit together, you can also see how big your quilt will be and whether you are happy with the size.
- Leave a seam allowance of about 1 cm on all sides. If you want 5 cm squares, make them about 6 cm on all sides.
Method 2 of 3: Making your quilt
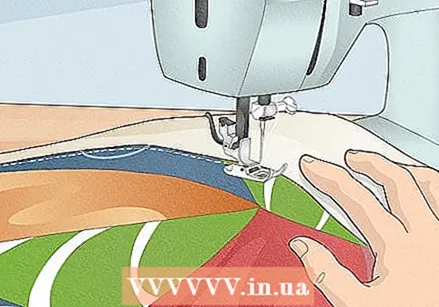
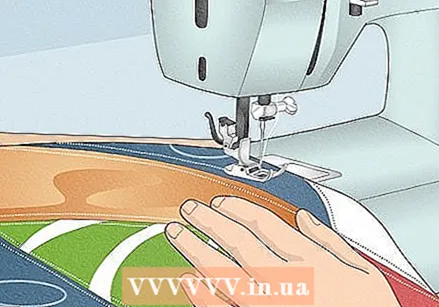 Sew together the cut pieces of your quilt. Do this row by row. You can use a sewing machine for this or do it by hand, if you trust your stitches - and if you have the patience for it.
 - When you have sewn all the rows, sew them together. It is easier to make all the rows first than to randomly sew the patches together.
- Make sure that the patches are all right side in the same direction! The printed sides must all be on the same side. If you are using a sewing machine make sure your foot is adjusted to ½ cm.
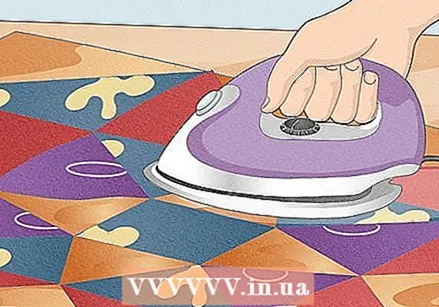 Iron the top of the quilt with an iron. Set it to a temperature that suits the fabric you used. Smooth the seams to make sure the quilt looks smooth when it's done.
 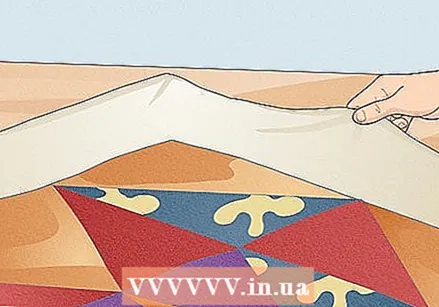 Use one piece of fabric for the back of your quilt. It should be 8 inches wider and longer than the top of the quilt when finished. They can cut it to size for you at a fabric store, or you may have to buy two long pieces and sew them together.
 - Place the fabric for the backing where you can spread out your work. Put it with right side down on the floor. The beautiful side has to be away from you.
- Place the back on the floor or on a large, wide table. Place the fabric right side down. Spread the back evenly.
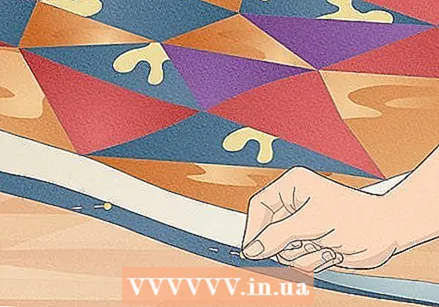
- Tape the top and bottom edges to the floor with masking tape, smoothing the folds before taping the edges. It's important to get the fabric as smooth and wrinkle-free as possible, without pulling the fabric tight enough to pull it out of context.
- When you are satisfied with the result, take a can of glue spray for quilts and generously spray it over the fabric.
 Smooth the batting over the fabric for the backing. In the fill you will continue to see lines where it was folded, but if you smoothed them out with your hands you don't have to worry about the folds showing up (like above). Filling does not need to be ironed.
 - Also spray a layer of glue spray on the filling.
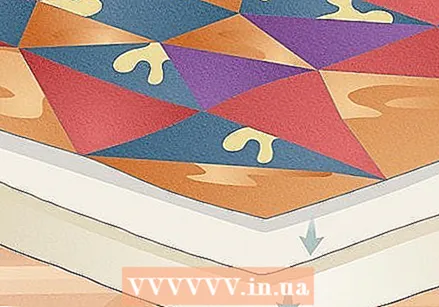 Now put the top of the quilt on top, right side up. Everything should be smooth, without wrinkles. You will notice that the top of the quilt is smaller than the bottom two layers - this is on purpose, otherwise it is very difficult to put everything on top of each other just right. Rub out any wrinkles until the top of your quilt is completely smooth.
 - Pin the pieces together with a distance of 15 cm between the rows of pins. You can use as many or as few pins as you want. Start with pins in the center and work your way outward in concentric circles. This will push any extra fabric to the outside of the quilt, instead of crammed into the center.
- When everything is pinned down, remove the masking tape, which will release the quilt from the floor.
- Pin the pieces together with a distance of 15 cm between the rows of pins. You can use as many or as few pins as you want. Start with pins in the center and work your way outward in concentric circles. This will push any extra fabric to the outside of the quilt, instead of crammed into the center.
 Start sewing everything together. How you quilt the layers together mainly depends on your own preference and advanced quilters often use a free motion stitch that moves in loops and swirls across the quilt. However, the simplest method is to sew in the seam. This simply means sewing over the quilt so that the stitches fall into the seam where two patches are sewn together.
 - Stitch the parts at the pins or around patterns in the fabric with a contrasting color thread that matches the fabric. You should also make a few stitches in the center of each square to keep the backing and batting from shifting.
- When the quilt is completely quilted, you can trim it neatly, trimming the unwanted parts of the backing and batting that are sticking out along the side.
Method 3 of 3: Finish the quilt
 Cut strips for the finish. The size depends on the size of your quilt. A good starting point is about 6 cm wide. This will create a nice finish along the sides of your quilt.
 - Cut enough strips to cover all sides of your quilt. The strips should be longer than the sides of your quilt.
- If you don't have enough fabric for four long strips, sew shorter strips together to the desired length.
 Place the finishing strips on the edge of the quilt, right sides together. Line up the strip with the top edge of the quilt and pin them together.
 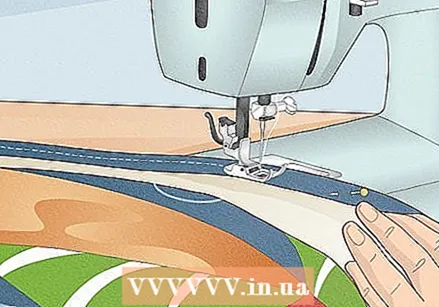 Sew exactly 1 inch from the side along the edge. Sew from one side to the other of the quilt. When you get to the end, carefully trim the excess fabric from the trim so that the bottom of the trim is exactly flush with the bottom of the quilt.
 - Repeat this for the opposite side and then for the other two sides.
Tips
- Discarded clothes made of colorful fabric are great for cutting into patches for a quilting project.
Necessities
- Variety of fabrics
- Quilt pattern
- Sewing machine
- Scissors
- Fabric for the back of the quilt
- Stuffing for the inside of the quilt
- Iron
- Large table to assemble the quilt (optional)
- Straight pins
- Yarn in a contrasting color


