Author:
Eugene Taylor
Date Of Creation:
9 August 2021
Update Date:
1 July 2024
Content
- To step
- Part 1 of 5: Getting started
- Part 2 of 5: Repairing a multi-lever faucet
- Part 3 of 5: Repairing a ball valve
- Part 4 of 5: Repairing a cartridge valve
- Part 5 of 5: Repairing a ceramic disc faucet
- Tips
- Necessities
A dripping tap causes annoyance and high water bills. Fortunately, it is easy to fix the problem yourself if you can identify the faucet type and have the necessary tools. Why pay a plumber when you can fix a leaky faucet yourself? Follow the instructions below to fix leaks on the four most common faucet types.
To step
Part 1 of 5: Getting started
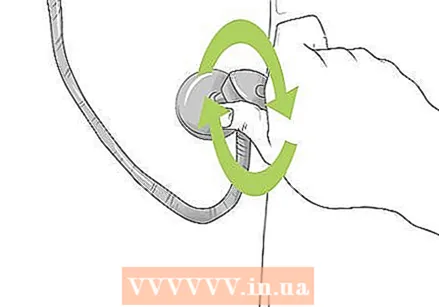 Shut off the main tap. Look under your counter to see what pipes are running up it. Somewhere near those pipes is a lever that you can use to shut off the water to your tap. Turn it clockwise to lock it off.
 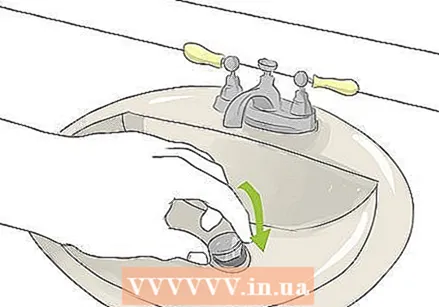 Cover the drain. Use a drain plug if you have one or a cloth. Nothing will ruin your day faster than if a screw or washer falls down the drain.
 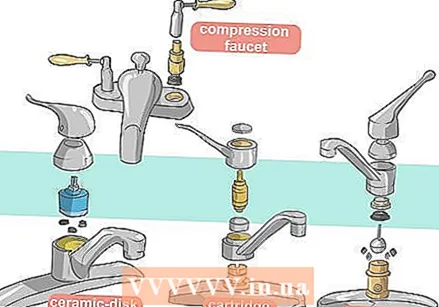 Determine what type of faucet you have. A "multi-lever faucet" has two handles, one for hot and one for cold, and is easiest to spot by sight. The other three tap types all have a central rotating arm that you can turn from hot to cold. It may be necessary to disassemble the faucet as the inserts are all different.
 - A "ball valve" contains a ball bearing.
- A "cartridge valve" has one cartridge. The cartridge material may vary, but the handle often has a decorative cap.
- A "ceramic disc faucet" has a ceramic cylinder.
Part 2 of 5: Repairing a multi-lever faucet
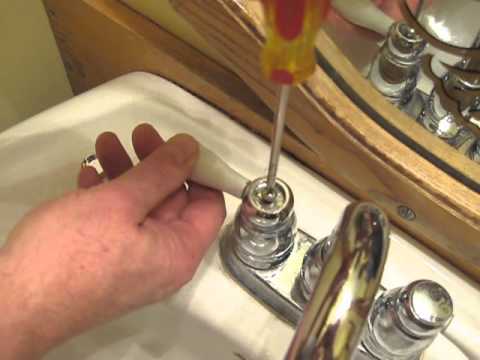
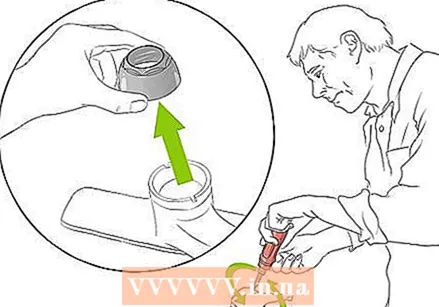
 Remove both handles. If necessary, pry off the decorative faucet knob (often labeled "Hot" or "Cold"), unscrew, and remove the handle.
 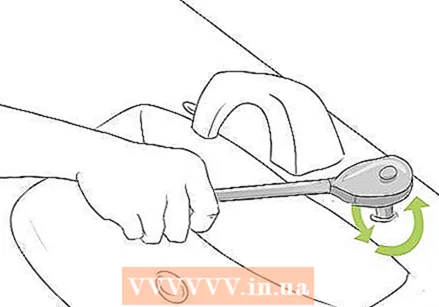 Use a wrench to remove the nut. Below you will find the ornamental sleeve, which sits on top of the O-ring, which is again on top of a faucet leather. The crane leather is usually made of rubber, which wears out. If your faucet is leaking, this is most likely the cause.
 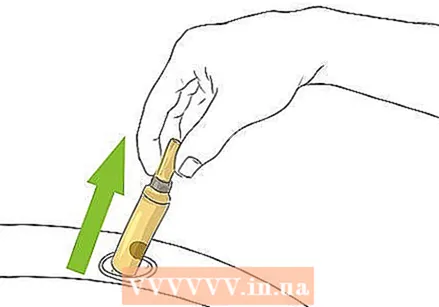 Pull out the trim sleeve. This will expose the thinner O-ring and thicker faucet leather.
 - If the handles are leaking (unlike the faucet), replace the O-ring. Take the old one to the hardware store to find a replacement.
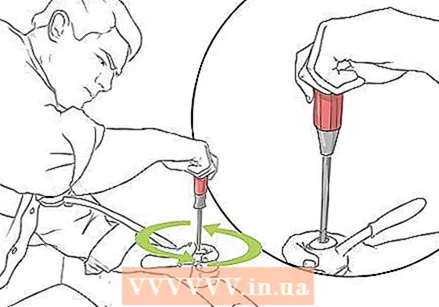
 Remove the faucet leather. This is held in place by a copper screw that sits upside down.
 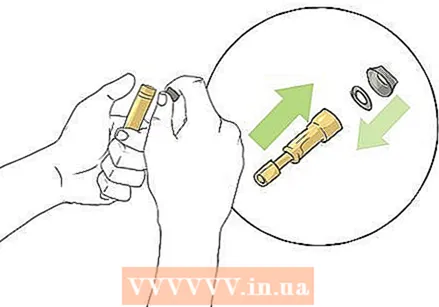 Replace the faucet leather. Since faucet lugs differ in size, you may have to take the old ones to the hardware store to find an exact replacement. Coat the replacement leather with faucet grease before installing.
 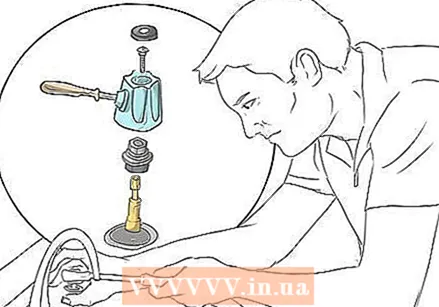 Refit the handles. Any minor leaks should now be fixed.
Part 3 of 5: Repairing a ball valve
 Buy a replacement kit. Ball valves have several parts that need to be replaced, and some require special tools. You don't have to replace the entire faucet, just the threaded coupling. Everything you need, including tools, should be included in the replacement kit that costs around $ 17. You can find this set in the plumbing department of most hardware stores.
 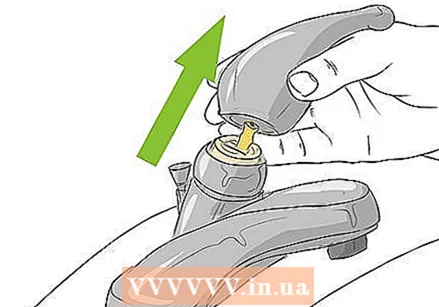 Start by unscrewing and removing the handle. Lift the handle off and set it aside.
 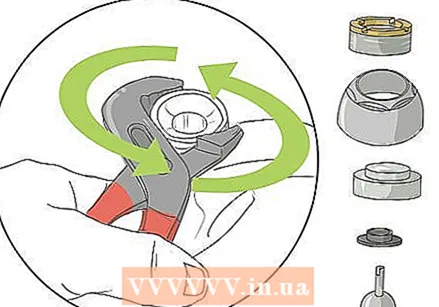 Use pliers to remove the cap and collar. Also loosen the valve cam using the tool provided in the replacement kit for this purpose. Remove the tap cam, tap leather and ball.
 - The ball looks like a ball and socket joint in your body - a movable (usually white) rubber ball that seals the bowl and regulates the water.
 Remove the seals and springs. To do this, you will have to reach into the mechanism itself, probably with the help of pliers.
 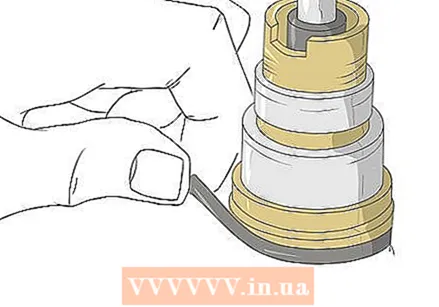 Replace the O-rings. Cut off the old ones and put some faucet grease on the new ones before installing them.
 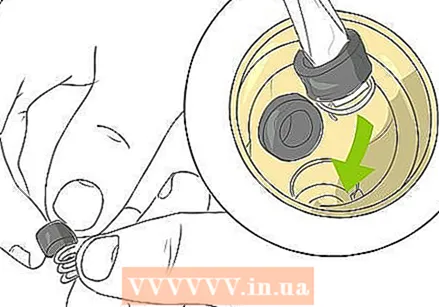 Install new springs, valve seats, and washers. These should all be in your replacement kit, and should, in fact, be the reverse of the completed process.
 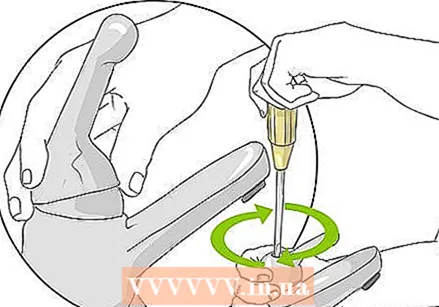 Refit the control knob. The leak should now be resolved.
Part 4 of 5: Repairing a cartridge valve
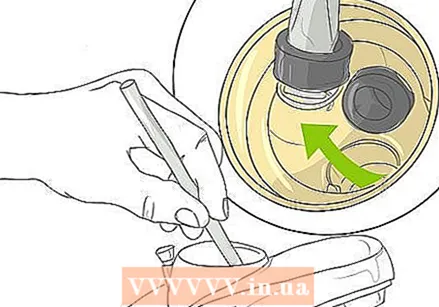
 Remove the handle. If necessary, pry off the trim cap, unscrew the handle by tilting it back and remove it.
 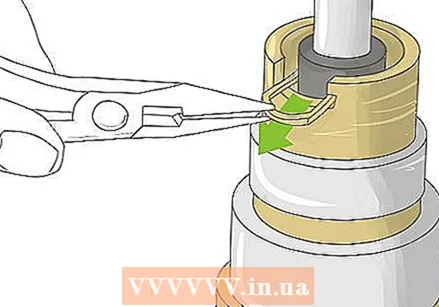 Remove the retaining clip if necessary. This is a round threaded piece (usually plastic) that sometimes holds the cartridge in place and can be pulled out with pliers.
  Pull the cartridge out so that it is upright. This is the position the cartridge is in when the water is at its highest strength.
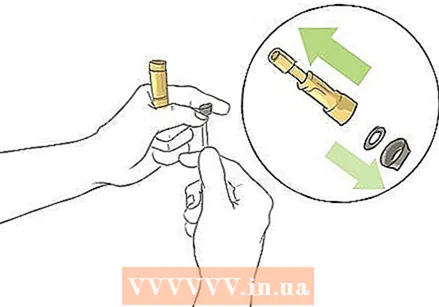
 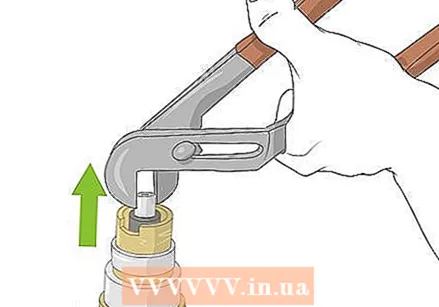 Remove the tap spout. Set aside and find the O-rings.
 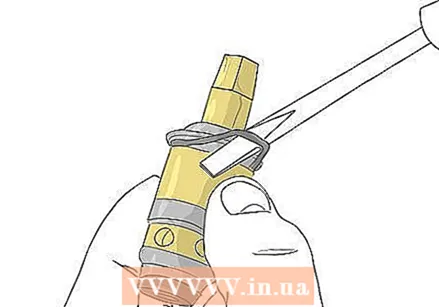 Replace the O-rings. Cut off the old ones with a utility knife and coat the new ones with faucet grease before installing them.
 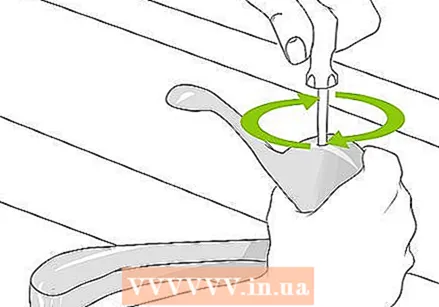 Refit the control knob. The leak should now be resolved.
Part 5 of 5: Repairing a ceramic disc faucet
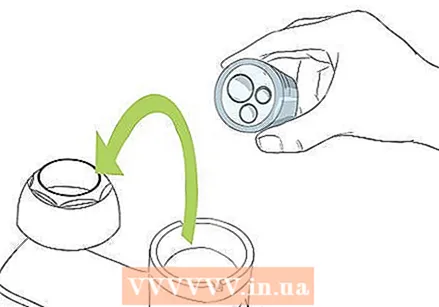 Remove the rosette. After unscrewing and removing the handle, locate the rosette that sits directly under the handle and is usually metal.
 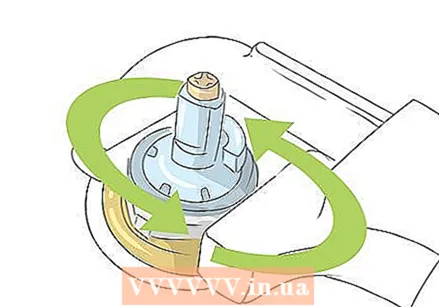 Unscrew and remove the cylinder. This will expose several neoprene seals on the bottom.
 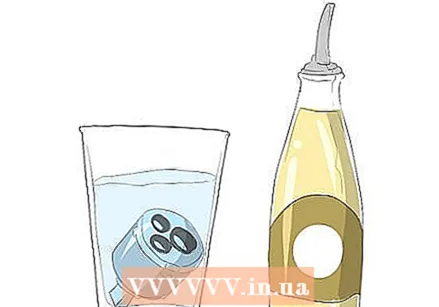 Clean the seals and cylinders. White wine vinegar should work well, especially with hard water. Let them soak for several hours to get them clean and then see if they are still usable.
 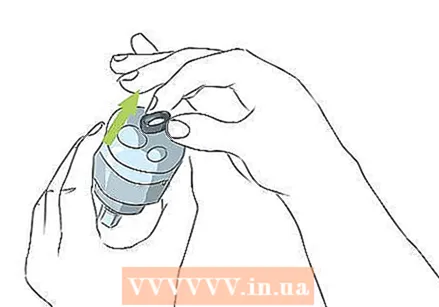 Replace the seals if necessary. If they look frayed, flimsy, or otherwise worn, and if you want to err on the side of caution, take them to the hardware store to find the right replacements.
 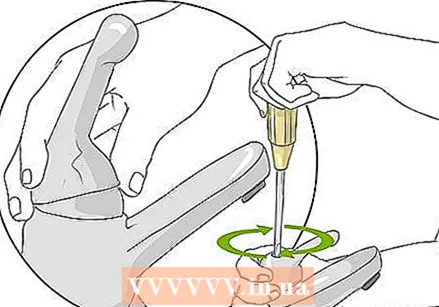 Refit the control knob and turn on the water very slowly. Running the water too fast can break the ceramic disc.
Tips
- Your faucet doesn't necessarily have to look like one of the models pictured above (for example, the handle of a ball valve can be placed on the side for a more elegant effect). However, the inserts should still be the same.
- If you see a lot of limescale on the tap bracket, clean it with a limescale-free product. This build-up can also cause leaky faucets.
Necessities
General
- A Philips Phillips screwdriver (+) and a flat screwdriver (-); even if you use tap Phillips Phillips head screws, a flat screwdriver can be useful for prying
- Faucet grease (heat resistant and non-toxic, so it can be used with hot potable water)
- Pliers
- Wrench
Compression tap
- Replacement tap lugs
- Replacement O-rings (optional)
Ball valve
- Replacement set for ball valve
Cartridge valve
- Replacement O-rings
Ceramic disc faucet
- Replacement seals (optional)
- White wine vinegar


