Author:
Charles Brown
Date Of Creation:
6 February 2021
Update Date:
1 July 2024

Content
- To step
- Part 1 of 3: Getting started
- Part 2 of 3: Preparing the design and layout
- Part 3 of 3: Making your bead chain
- Necessities
Making your own jewelry can be fun for so many reasons: not only do you get the chance to show off your creative side, but you also have the chance to create something very unique that reflects your personal style. And, it is very easy to make a bead necklace. Read this article for helpful tips on how to make a beautiful beaded necklace.
To step
Part 1 of 3: Getting started
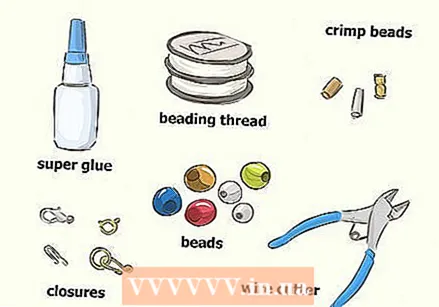 Gather your beading materials. Make sure you have all your materials on hand: beads, beading wire, cutters, crimping beads, superglue and clasps to finish your necklace the right way.
 - The best types of wire are flexible thin iron wire and nylon wire.
- All of these materials are easily available at your local hobby store, as well as online.
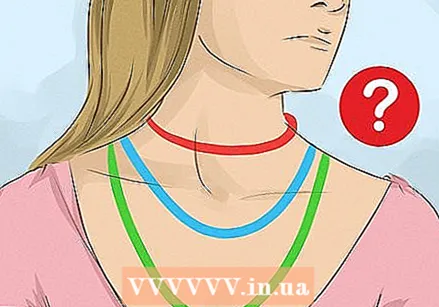 Determine your style for the necklace. When considering what kind of necklace you would like to make, consider factors such as length. If you like shorter necklaces, you may want to consider making a neck ring or a choker. If you like longer necklaces then you may want to make a necklace that reaches to your chest.
 - You can also make up your own style and length. These are only suggestions to give you a rough idea.
- Note that the length of your bead chain when finished includes the beads you are using and the length of the clasp of your choice.
 Choose a length. The neck ring is the shortest chain and is usually roughly 12 inches long in total. The choker is slightly longer, which is usually about 35 to 40 cm long. A long chain is the longest, it is about 115 cm and longer. As indicated above, you can always choose your own length and style.
  Measure your neck circumference and then decide on the length. Grab your tape measure and wrap it around your neck while looking in the mirror. Try short and long loops to see what you prefer. This will give you an idea of what your necklace might look like around your neck.
Part 2 of 3: Preparing the design and layout
 Place your beads in sequence on a flat surface, such as a table or desk. Play with the beads until you find the design you like best. Try different color variations, you can also think of several layers of necklaces. Maybe you want a choker that you wrap around your neck a few times, or maybe just a long loop.
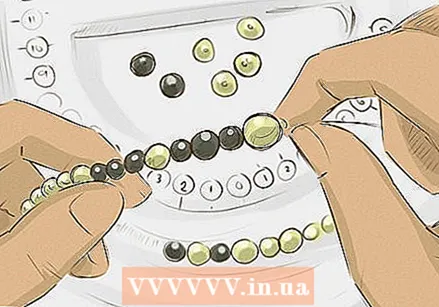
 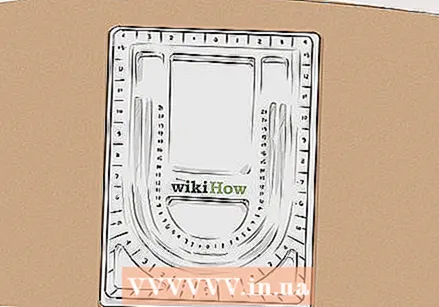 Lay your bead board on your flat surface. A bead board is a great tool in the beading process and can quickly improve your design skills. You can use it to measure the length of your necklace while holding the beads in place. If you plan to make necklaces on a regular basis, or even every now and then, then you should actually have such a plate handy.
 - Place your beads in your chosen design from scratch, and measure the length of your necklace using the numbers and stripes along the sides.
- Use the grooves to lay out beads.
- The boxes in the board are for putting beads and other tools.
 Cut the basting thread length you determined, plus 15 cm. For example, if you want to make a choker, cut 55 cm of thread (40 cm plus 15).
 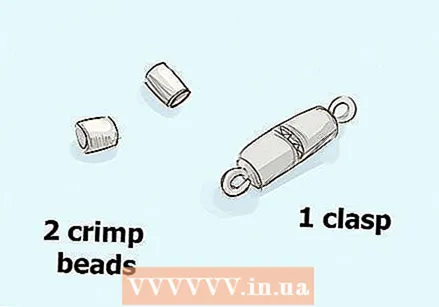 Collect 2 crimp beads, 1 clasp and the beads for the desired necklace. The next section will give you tips on how to properly string beads.
Part 3 of 3: Making your bead chain
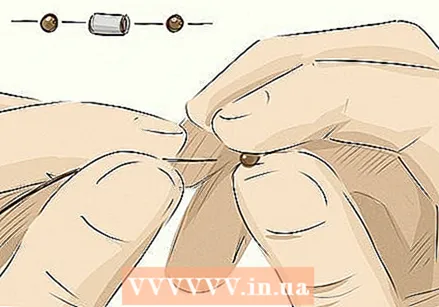 Thread a bead on the thread. Then thread the crimp bead and then add another bead about an inch lower. Keep in mind that you are not transferring your design to the thread just yet. These are necessary preparatory steps that will strengthen your chain.
 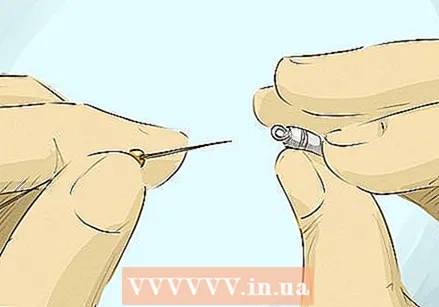 Thread one side of the clasp (the stick) on it after the crimp bead. Then make a loop with the thread.
 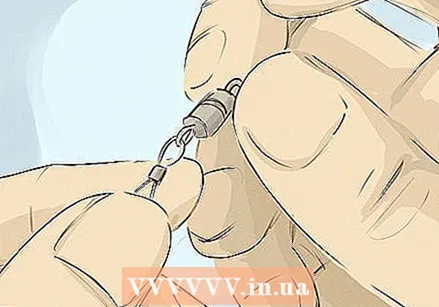 Thread the end of the thread through the eyelet of the clasp. Then add the bead-squeeze-bead-bead combination and use the squeeze-bead pliers to squeeze the bead into place.
 - If you are using thin wire, you should also add a dollop of superglue to the end so that the beads and crimp bead stay on it.
- These steps will protect the beading thread from friction at the ends by the crimp bead, which can cause the chain to break.
 Now thread your design. Once you are satisfied with your design, carefully grab one bead at a time and thread it. Make sure to leave about three to four inches of wire at the end.
 - Thread beads onto the wire until there are no more beads left on your bead board.
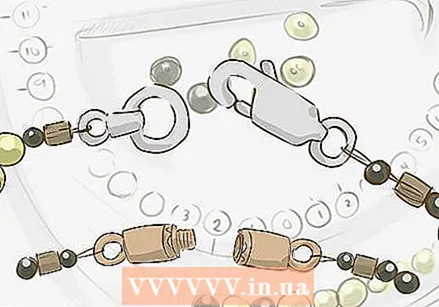 Use the other side of the clasp, the ring, and the bead-crimp-bead combination. Try to push the remaining thread into the holes of the beads under the crimp bead.
 - Be careful not to pull the basting thread too tight. Leave a little space in the chain (2-4 mm). This gives the beads room to move and spin so they don't rub against the wire or each other too much. If the wire is too tight the chain will be stiff and this can make the design look angular rather than slightly round like a chain should be.
 Pinch the other end and cut the remainder of the wire with pliers. It is not recommended to cut the wire too close to the crimp bead.2.5 cm of wire, carefully hidden in the holes of the beads, is good insurance against breakage.
 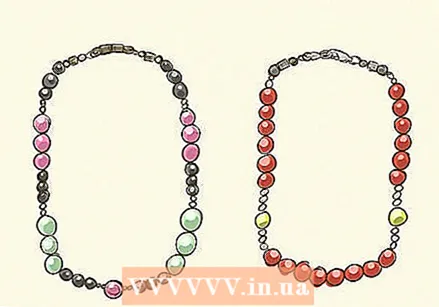 Ready.
Necessities
- Closure (including eyelets)
- 19, 21 or 49 strand flexible iron wire or basting wire.
- Silver or gold-filled crimp beads
- Second glue if you use wire
- Crimp beads
- At least 4 small beads to protect your crimp beads and your wire ends to hide
- Beads of your choice (e.g. glass, stone, ceramic, precious or ordinary metal, etc.)
- Crimp bead pliers or pliers
- Needle nose pliers
- Stiff, strong basting needles if you use thread without a needle.
- A tape measure


