
Content
- To step
- Method 1 of 3: Cleaning the internal reservoir
- Method 2 of 3: Remove resin from the bezel and case
- Method 3 of 3: Washing an improvised wax heater
- Necessities
Cleaning a wax heater can be tricky, as regular cleaning products will not remove the resin. Luckily, you can clean a traditional wax heater by heating it, drawing out the excess wax, and then applying oil or a special cleaner to the inside of the reservoir. Clean the outside of a wax warmer with rubbing alcohol and a popsicle stick before drying. If you used an improvised wax heater, you can clean it with boiling water and a scraper.
To step
Method 1 of 3: Cleaning the internal reservoir
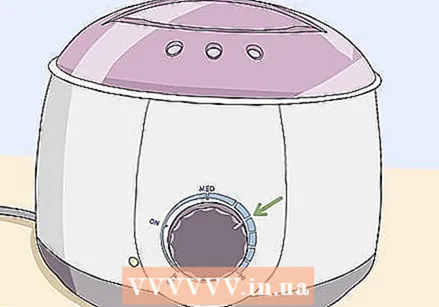 Set the wax heater on a higher setting than you normally use. If you are using resin that melts at a lower setting than the medium setting, turn the heater to the medium setting. If you are using resin with a medium melting point, set it to the highest possible temperature. The wax must be thoroughly melted before you can clean the internal reservoir.
 - Keep the lid open, if possible. This makes it easier to control the resin during heating.
- Use a higher setting than you normally use to ensure that the resin has a thinner consistency than when applying or melting it. This ensures that the deposits of older resin do not stick to the sides.
- In most resin heaters, the only part that needs to be cleaned regularly is the internal reservoir.
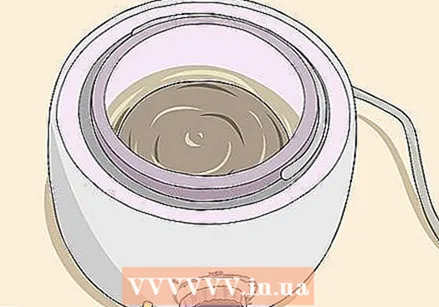 Continue heating until the resin has melted. Keep an eye on the resin as it heats up and look for air bubbles or liquid resin. Use a brush, mixing stick or spoon to stir the resin and check for bits of solid resin. Keep stirring until the resin has completely melted.
 - Be careful when mixing and heating the resin. The resin can burn you if you get it on your skin.
- Turn off the unit after the resin has melted completely.
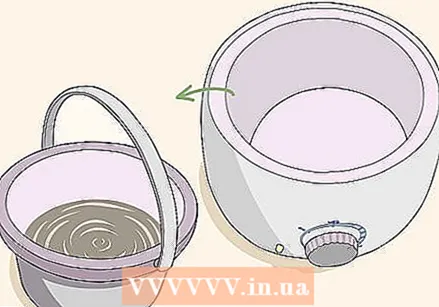 Remove the internal reservoir safely with the handle, oven mitts or tongs. If the reservoir has a cold handle, use it to lift it out. If there is no handle, use oven gloves or tongs to remove the reservoir. Wear a thick oven mitt that fits the entire bottom of the reservoir to avoid burning yourself.
 - This method only works if you have a standard wax heater with a removable reservoir. If you have a one-piece heater, ignore the steps for removing the reservoir and pour out the resin by tilting the unit completely.
 Pour the resin into a disposable container. The resin should not be poured down the drain. That's why you should put the molten resin in a disposable plastic or metal container. Place a thick towel under the container in case something is spilled. Wear oven mitts and tilt the resin over the tray to pour it out.
 - Never pour the resin down a drain. Large amounts of resin dry in the pipes and block them.
- Do not pour the hot resin into a soft plastic or porous material that can leak.
- You can save the excess resin if you want to use it later.
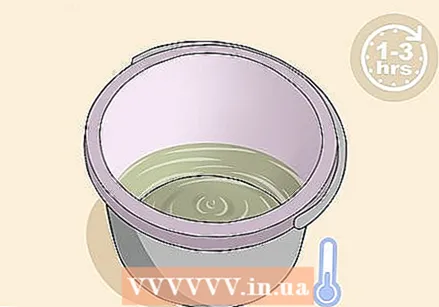 Set the internal reservoir aside and wait for it to cool. Put the reservoir in a safe place and wait one to three hours for it to cool. You can put the reservoir on a plate in the refrigerator if you want to speed up the process, as long as the reservoir doesn't have an electrical component.
 - Granite, glass and thick cloths can handle the heat without much problem.
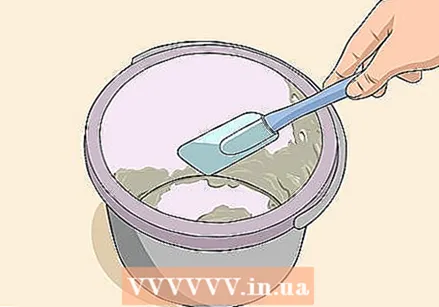 Use a rubber scraper or spatula to remove any resin. If you don't want to get your hands dirty, put on rubber gloves. Use a rubber scraper or spatula to scrape any residual resin from the inside of the reservoir.Let the bits you scrape out collect at the bottom of the reservoir, then throw them in the trash.
 Warning: Never use metal or tools with a serrated edge to remove the resin or you risk scratching and damaging the reservoir.
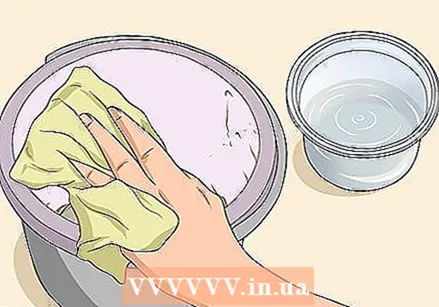 Wipe the reservoir with a resin cleaner or mineral oil. Some resin heaters come with a cleaning agent specifically designed to remove resin residue from the reservoir. If that isn't included with your heater, you can use mineral oil to clean the inside of the reservoir. Pour some oil or cleaner onto a paper towel and rub it thoroughly all over the surface of the reservoir.
 - Do not use an acidic cleaner on an internal container with plastic parts. The cleaner can damage or crack the reservoir.
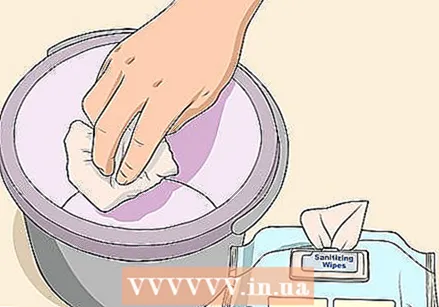 Clean the inside of the reservoir with a disinfectant wipe or sterilizing solution. Sterilize or sanitize the reservoir if you are not going to use it for a while. Wipe the inside of the reservoir with a disinfectant wipe or sterilizing solution. Although not mandatory, it will prevent resin stains from forming in the reservoir.
 - Let the reservoir air dry for three to four hours before using it again.
Method 2 of 3: Remove resin from the bezel and case
 Turn on the device and make sure the resin melts. To remove any resin residue that may have gotten on the rim or surface of the resin heater, turn it on and wait for the resin to melt. Even if the reservoir is empty, you will need to turn the unit on to loosen resin residue from the outside of the heater.
 - Wear rubber gloves if you don't want to get your hands dirty.
- Once the resin has melted, turn off the resin heater and unplug it.
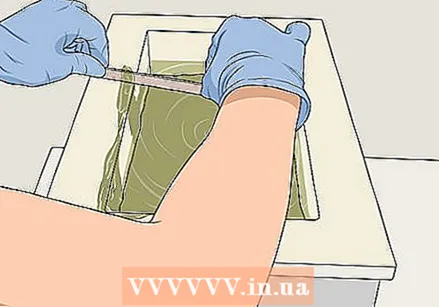 Use a popsicle stick or disposable knife to scrape the edge of the warmer. Take a popsicle stick and hold it with both hands with the long side horizontal to the edge of the warmer. Hold the flat end between your thumb and forefinger on both sides. Use the thin edge of the popsicle stick to scrape the resin off the rim of the resin heater.
 - When the resin has melted completely, it will blend into the rim. You can wipe it with rubbing alcohol and kitchen paper.
- You can use a small wooden ruler instead of a popsicle stick. Keep in mind to throw it away after the resin has dried.
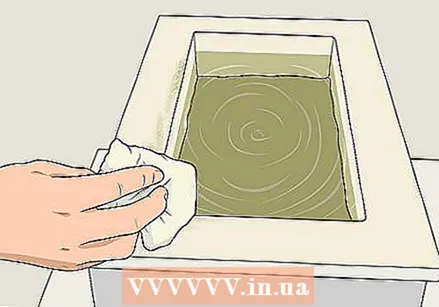 Clean the outside and rim of the wax heater with rubbing alcohol and a paper towel. When you've removed the thicker pieces of resin, put a little rubbing alcohol in a paper towel. Wipe the rim and the outside by rubbing in one direction with every movement to get the wax off. Clean any knobs or dials by twisting them slightly with the paper towel in your hand.
 - Turn off the heater before doing this. You should not wet any electrical components that are still on.
Tip: Some resins leave a little color behind. However, this does not mean that the surface is not clean, and the color will likely fade as the heater cools.
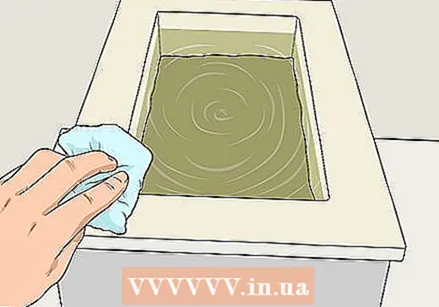 Wipe the entire container with dry kitchen paper. You should not leave the outside of the heater wet, especially if it has an electric heating mechanism. Take a few pieces of dry kitchen paper and wipe all sides of the wax warmer to absorb any remaining alcohol or wax.
 - Let the heater air dry for three to four hours before using it again.
Method 3 of 3: Washing an improvised wax heater
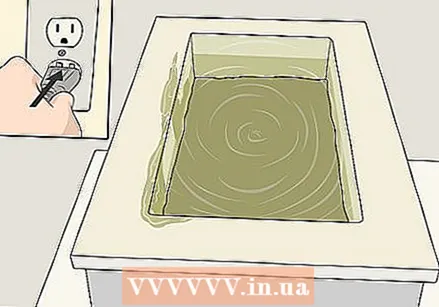
 Heat the makeshift heater as you normally would to melt the resin. If you have an improvised heater, start the cleaning process by heating it as you normally would. Whether it's a mason jar or metal container on an electric skillet or a standard metal pan on a burner, heat it as you normally would to melt the resin.
 - If you put glass on an electric frying pan, it can break. If you normally melt the resin like this, consider switching to a heat-resistant metal pot.
- You can use a hair dryer if you don't have your normal heating method or if the heating element is damaged.
 Pour the liquid resin into a disposable container and throw it away. Once the resin has melted in the jar, transfer it to a disposable metal or plastic container. Do not pour the resin down the drain or you risk permanently damaging the pipes.
 - Never put the melted resin in a container that melts at high temperatures.
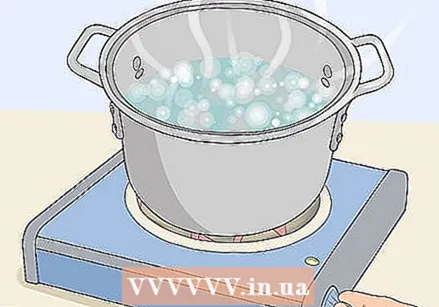 Boil enough water to fill the heater. Put enough water in a pan to fill the heater. Put it on the stove and heat the water over high heat for 10 to 15 minutes until it comes to a boil. Once the water is boiling, put the makeshift resin heater in the sink.
  Pour boiling water into the heater and wait for 15 to 20 minutes. Wear oven mitts and lift the pan over the sink. Slowly pour the water into the heater until there is an inch of space left at the top of the heater. If you accidentally fill the heater until the water overflows, take some of the water out.
 - Only throw away the water if there are no pieces of resin in it.
 Wait for the water to cool, then pour the water into a colander. The boiling water will melt the resin particles on the surface, causing them to float on the surface. When the water cools down, the resin hardens and you can throw the water through a colander. Do this outside or over another pan if you can to prevent any of it from entering the drain.
 - Discard the resin that you don't want to reuse.
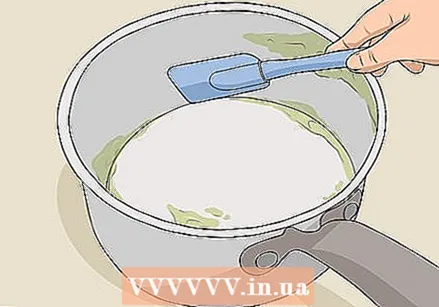 Scrape out any remaining resin with a spatula or spoon. Use a wooden spatula or spoon to scrape out any residual resin. If the heater is made of glass, you can use a metal spatula or spoon, but don't scrape too hard or you risk breaking or cracking the resin.
 Tip: If the makeshift heater has sharper angles, a cotton swab can get you into hard-to-reach areas.
 Wash the heater with mild dish soap and water. Pour a few shoots of mild dish soap into the wax heater, then fill it with lukewarm water. Scrub the inside of the heater with a sponge or a clean cloth to remove any resin residue. Remove the water and dry the inside of the wax heater with a clean paper towel.
 - Let the heater air dry for three to four hours before using it again.
- You can repeat this entire process if there is still resin on the inside of the heater.
Necessities
- Paper towel
- Rubber spatula, scraper or spoon
- Oven mitt or tongs
- Colander (optional)
- Rubbing alcohol


