Author:
Charles Brown
Date Of Creation:
2 February 2021
Update Date:
1 July 2024
Content
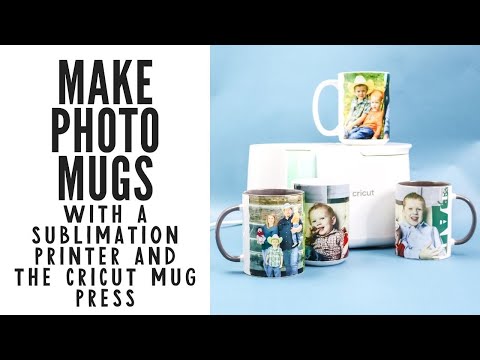
Do you have an old mug at home that could use a facelift? It's a lot of fun and easy to put a photo on an old mug to give it a fresh look. Whether it's a picture of your family or a funny saying, you can use any image you want. If you don't like to tinker, you're in luck. You can also try one of the many online services that will print your image on a mug for you.
To step
Method 1 of 2: Make your own photo mug at home
 Find a mug. The first step in making a photo mug is to find a mug that you want to personalize. You can use any mug you want.However, it is a good idea to consider the color, texture and shape of the mug. In general, a smooth mug with a regular shape is best. A plain mug in a color that matches the colors of the photo is also more suitable.
 - It can be difficult to paste an image onto a mug with a bumpy or rough surface.
- Your image may warp if you stick it on a mug of unusual shape.
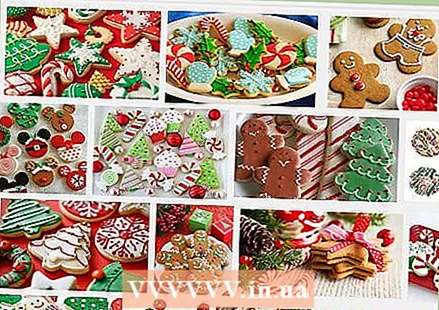 Find a photo to use. When you have selected a mug to personalize, you can choose one of your favorite photos to use. You can print any photo you want and stick it on your mug. Have fun picking a photo that you think will go well with the mug.
 - You will probably have to choose a digital photo so that you can easily print it.
- You will have to print your photo.
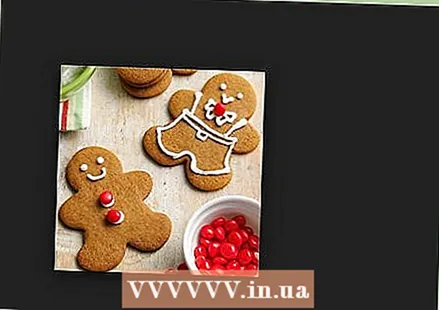 Check the size of the photo. Before you print your photo and stick it on the mug, it is a good idea to check the print size of the photo. The photo will of course have to fit the part of the mug you have chosen. With a photo that is too large or too small, your mug may look different than you had in mind.
 - It can be useful to measure the part of the mug where you want to stick the photo before printing the photo.
- Most computer programs show you a print preview before you print anything. You will probably see the dimensions of the image you want to print.
- If the image is too big or too small, you will have to make it smaller or larger.
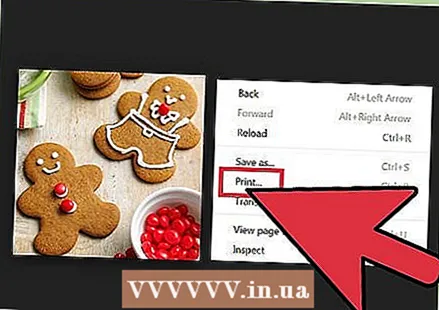 Print the photo on transfer paper. Now that you have an image to print, it's time to put transfer paper in the printer. Transfer paper is special printing paper with which you can permanently stick the photo on the mug. Before you start printing, check if there is transfer paper in the printer and not regular printing paper.
 - You can easily buy transfer paper on the internet.
- Large retail chains usually also sell transfer paper. Check out the craft and office supplies sections.
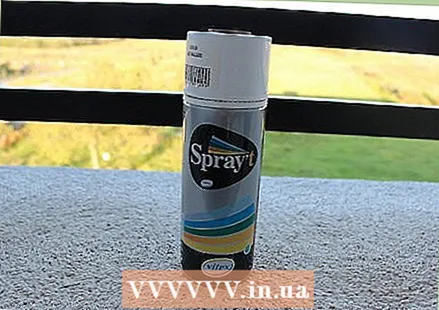 Spray transparent acrylic lacquer on the paper. Some types of transfer paper already have a protective layer. If the transfer paper you bought does not have this layer, you will have to apply clear acrylic lacquer to the paper after you have printed the photo. The photo will last longer and you will be able to wash the mug in the dishwasher.
 - You can buy clear acrylic lacquer at most hardware stores and hobby stores.
- Large retail chains are likely to sell acrylic lacquer.
- Make sure you completely cover the photo you are using with lacquer.
- Let the paint dry long enough before continuing. How long you have to let the acrylic lacquer dry depends on the type of lacquer you have used. Some types of lacquer dry after a few minutes, while other types need to dry for several hours.
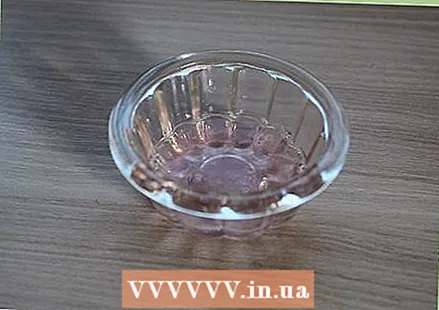
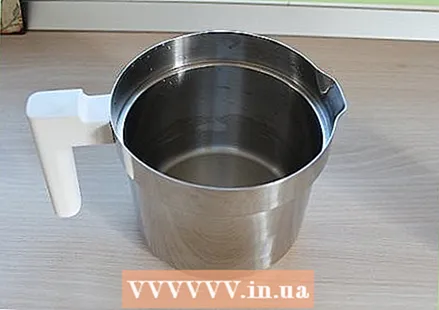 Cut out the picture and soak it in water. After the lacquer layer has dried, cut out the photo and remove the rest of the sheet of paper around the photo. When the photo is the size and shape you want, soak it in water for a few minutes. This way you prepare the photo to stick on the mug.
 - Fill a small bowl with water.
- Place the cut out photo you want to use in the water.
- Make sure the photo is completely submerged.
- The photo will need to soak for about a minute before you can stick it on the mug.
 Stick the photo on the mug and let it dry. When you have soaked the photo in water, you can stick it on the mug. Remove the photo from the water, peel off the back of the paper and stick the photo on the mug. You can shift the photo slightly when it's wet, so don't worry if the photo isn't perfect right away.
 - When the photo is in the right place, let it dry long enough.
- Some photos dry faster. This depends on the type of transfer paper you used.
- Read the directions on the transfer paper packaging so you know exactly how long the mug needs to dry.
 Wash the mug. After you've glued the photo to the mug and let it dry, it's a good idea to wash the mug before using it. This way you remove all residues that ended up on the mug when sticking. When the mug is clean you can use it and enjoy your new decorated mug.
Method 2 of 2: Order a photo mug
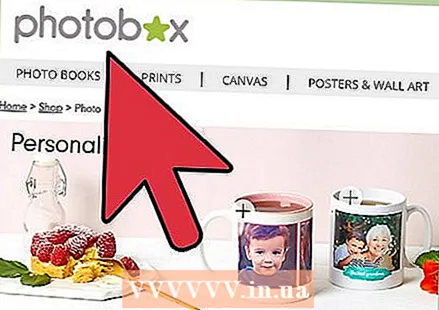 Compare prices. There are many services that print pictures on mugs to decorate them. However, they are all not equally expensive. You will likely find that some services are cheaper. Take the time to compare the quality and prices of the different printing services before choosing one.
 - Many printing services can be found online.
- Make sure there are no hidden costs. For example, a service can show the price of the mug and add the printing costs later.
- You may be able to find discount codes and coupons.
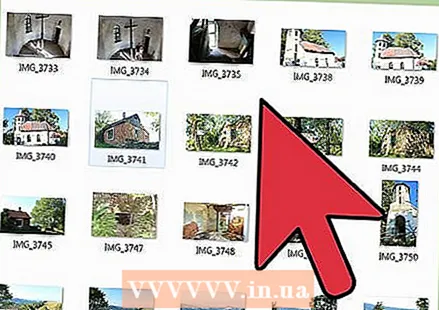 Have a digital photo ready. With almost every printing service you need a digital version of the photo you want to use. You will first have to upload the photo to the print service so that they can then print a mug for you. Keep in mind that additional requirements may be imposed on the file. Take the time to read through all the information so you know what the printing service needs before they can make your photo mug for you.
 - You will have to upload a digital photo.
- Some services have requirements for the size of the photo. The photo will have to meet the requirements set by the printing service for its size.
- Some print services only use certain file types. Make sure your image has a suitable file type before uploading it.
 Create an account and choose a product. When you have selected a photo and found a printing service that you like, create an account and choose the mug you want. Most printing services require some basic information when creating an account. After you have created an account, find a mug on which you want your photo printed and start the ordering process.
 - You will likely need to provide your email address, shipping address, and payment information when creating an account with a printing service.
- Many websites have a wide selection of mugs and cups to print photos on. Take your time and find the mug that you like best.
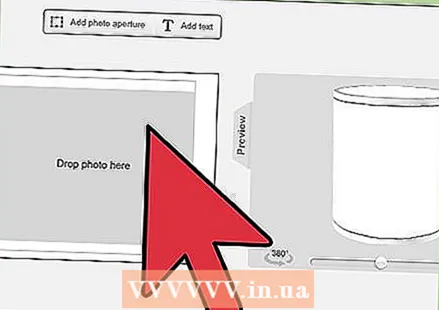
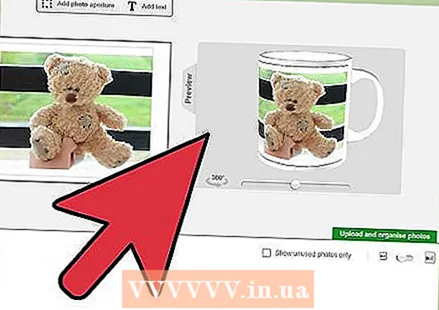 Upload your photo. When you have found a nice mug, upload the photo you want to have printed. Most printing services have a clearly marked button or option to upload the photo you want to use. Usually you will see an example of what your photo will look like on the mug.
 - Resize or edit the image if it does not fit properly on the mug.
- Always check the preview before ordering a mug to make sure you get a mug that looks exactly the way you want it.
- If you have any problems, most printing services have a customer service that you can contact to ask questions.
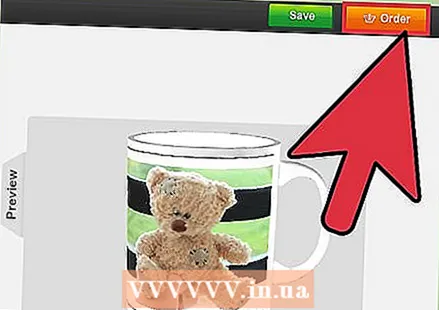 Order the mug. When you have uploaded the photo and are satisfied with how the mug will look, all you have to do is complete your order. After the order is completed, the printing service will prepare the photo mug for you and then send it to your address. When you complete your order, keep the following things in mind:
 - See if you get your money back if the mug is broken or doesn't arrive.
- Most packages come with a tracking number so you can track your mug during the shipping process.
- Please double check the order details before confirming the order. Make sure the shipping address is correct and that you have entered the correct number of photo mugs.
Necessities
- A mug
- A digital photo
- A printer
- Transfer paper
- Come with water
- Scissors
- Transparent acrylic lacquer


