Author:
Morris Wright
Date Of Creation:
21 April 2021
Update Date:
1 July 2024
Content
- To step
- Method 1 of 3: Creating a resume with a template (Word 2003, 2007 and 2010)
- Method 2 of 3: Creating a resume with the wizard (Word 2003 only)
- Method 3 of 3: Creating a resume without a template
- Tips
- Warnings
A resume is a list of your work experience, education and skills. They are important resources for those of us looking for a new job in their current field or looking for something completely different, where they can use their skills in a completely new way. In Microsoft Word you can create a resume using a template (or with a wizard in Word 2003 and earlier versions), but you can also write your resume from scratch using the formatting options of the program. The following steps cover all 3 methods of creating a resume in Word, along with a few tips on what should be included and what not.
To step
Method 1 of 3: Creating a resume with a template (Word 2003, 2007 and 2010)
 Open a new file.
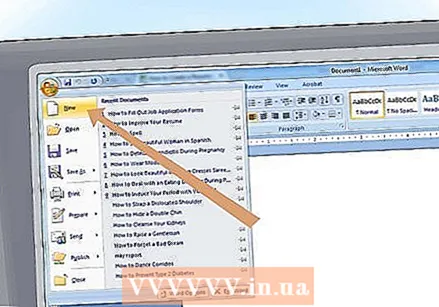
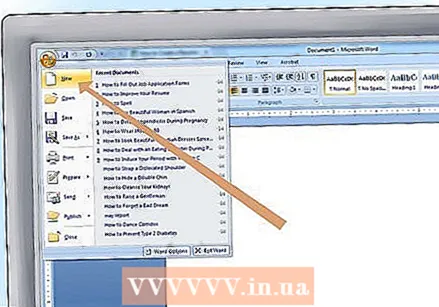
- In Word 2003, select "New" from the file menu.
- In Word 2007, click the "Microsoft Office" button, and select "New" from the file menu.
- In Word 2010, click the File tab, and select "New" from the file menu on the left side of the file page.
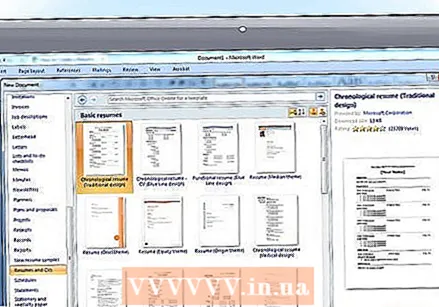 Select a template. From the New Document task pane, you can either use an existing template to create a resume, or download a template from the Microsoft Office site.
 - Select a resume template from "Available templates" and select a template of your choice.
- Select a resume template from the Microsoft Office Online website, by choosing "Resumes" from one of the options found in Microsoft Office Online, then search for a suitable template. (You do need an internet connection for this).
- You can also download a resume template outside of Word by going directly to http://office.microsoft.com/en-us/templates/CT010144894.aspx or another source on the Internet. You can use a Word 2003 resume template in Word 2007 or 2010, but the other way around is not possible. (This site also has resume templates for Microsoft Publisher, which can only be used in Publisher).
Method 2 of 3: Creating a resume with the wizard (Word 2003 only)
 Select "New" from the file menu. This displays the New Document task pane.
 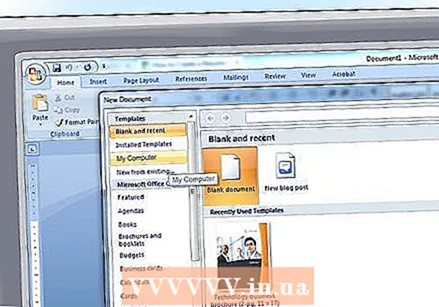 Select "My Computer" from the Templates section on the left side of the task pane.
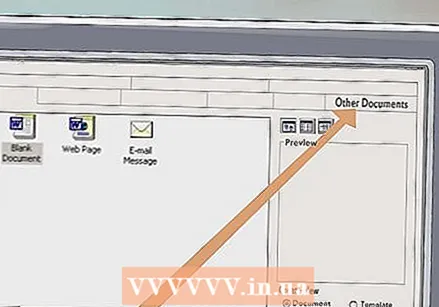 Click on the "Other documents" tab.
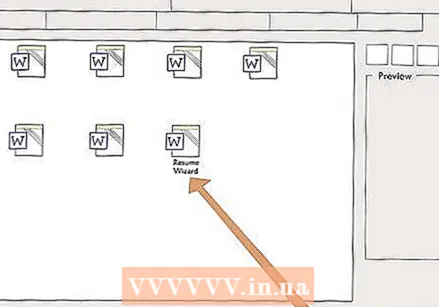 Double click on "Resume Wizard."This will start the wizard. If you don't see this option, then it was not installed during Word installation and you will have to run the installer again to install it.
 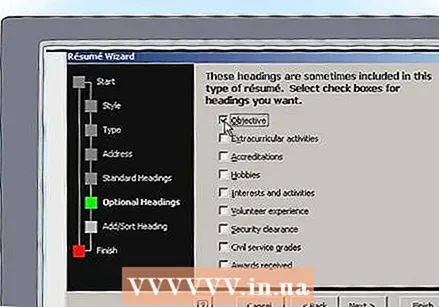 Follow the wizard's instructions. The wizard will guide you step by step through the process of creating a resume.
Method 3 of 3: Creating a resume without a template
 Decide what kind of resume you want to create. A CV can be divided into 3 types: the chronological CV, the CV by position and the standard curriculum vitae (CV).
 - The chronological resume includes the work experience from your most recent job to your very first job, listing the responsibilities for each position, with title and date. Most chronological resumes cover the last 5 to 10 years of your working life, but you can include previous positions if they are relevant to the vacancy. This is the format that American companies like to see it.
- The resume by position first lists your most important skills, followed by a list of positions you have held in the past. It can be useful to highlight certain skills / competencies, while hiding certain gaps in your working life, which is also the reason that many employers do not like this format. It is a useful format for people who want to translate their current skills to another field.
- The standard curriculum vitae is an extensive list of your work experience, training and skills in chronological order. Unlike the previous two variants, the regular resume is longer, because it also mentions your work experience. The resume becomes common when applying for jobs within Europe and also when applying for a vacancy in high schools and universities worldwide.
 Keep in mind whether your resume needs to be shown to someone or whether it will be scanned. Due to the number of vacancies within large companies and the number of responses to them, many companies have their CVs scanned by high-speed scanners, searching for keywords related to the open vacancy. These resumes also require a minimum of formatting, because certain items, such as bullets, are not recognized by many of these scanners.
  Open a new file in Word.
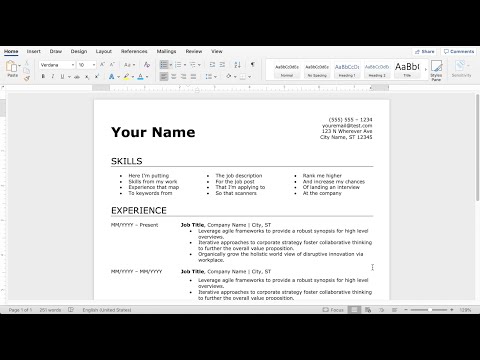
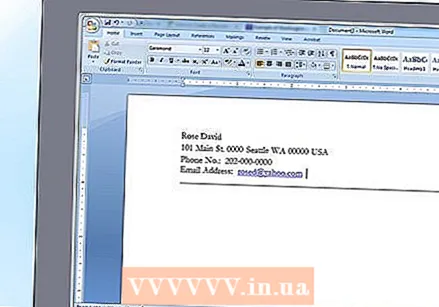 Write down the address details. This information will appear at the top of the first page of your resume and in a slightly modified form as a header on any subsequent pages. This should include your name, address, telephone number and e-mail address.
 - You can put the contact information of the first page in the header, or on the page itself, if you have set the headers to use a different header than the front one for subsequent pages. The header of the front page is usually in the center, while the header for subsequent pages is aligned to the left, with the page numbering to the right.
- You can optionally separate the header from the rest of the resume with the help of a line. Use the same line style on all pages for this.
- Your email address should ideally be the one provided by your ISP, as those domain names come across as more professional than those provided by Web-based services such as Hotmail or Yahoo. Use your own name, a field ("tech-writer"), or something positive about yourself ("hard worker") in the email address, instead of a nickname like "sly-dude," "foxymama" or " smokin_hot. "
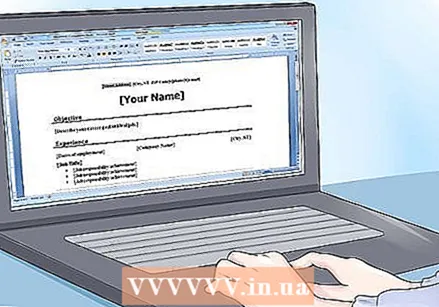
 Make a decision about the resume format. Within the 3 resume types, the information on your resume can be placed under one of the following headings, Depending on the resume type you have chosen. Type the headlines first to set up the resume format, then fill in the rest of the information.
 - Purpose: You place this at the beginning of both the chronological resume and the resume by function, summarizing in one line what the purpose of your resume is. Today this is less appreciated, as most employers find the stated goals in CVs usually meaningless.
- An overview of your competencies / qualifications: A list of important training courses, qualities or outstanding achievements that qualify you for the position you are applying for. This part could be a bit longer in a resume by position, compared to a chronological resume. Your accomplishments should be clear ("Saved the company $ 2 million by developing new procedures") with an emphasis on what you accomplished (use action words).
- Skills: This should be a separate part of a resume by function, especially for someone who is ill for an IT job, and can be combined in a summary of qualifications from a chronological resume if it is short. This part can be before or after the part with your employment history, whichever is more impressive.
- Work Experience: List the different jobs you've had in reverse chronological order, along with start and finish dates (month and year). In a chronological resume, dates should be listed first, while in a resume by job title, they should be listed after the name of the position you held. (If you have held multiple positions within the same company, you can create a subheading for that company and list the positions there in reverse chronological order). In a chronological resume, you also state your job responsibilities and outstanding performance. Start with action words as much as possible and make the scope clear. You can also include volunteer work on the resume, as long as they are relevant to the position you are applying for, or if you have had little paid work.
- Education: Make an overview of the education you have taken, together with the schools / universities where you followed that education, in reverse chronological order. This part usually comes after your work experience, except if you have just graduated, in which case it may be listed first.
- References: Only include this part in the resume when specifically requested, or when they are particularly impressive; omit them in all other cases. (You can also prepare an additional resume with references, which you can show if someone asks for it). The comment "References are available upon request" is no longer required on a resume as everyone understands it.
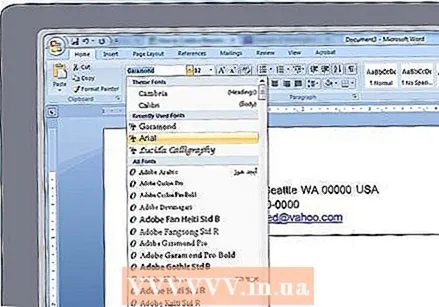 Prepare your resume. Once you have collected all the information and placed it in the right place in the resume, you can start formatting the document. Here are some suggestions on how to best format your resume.
 - Choose one easy-to-read font, either a serif (Times New Roman, Book Antiqua) or a sans serif (Arial, Calibri, Century Gothic). All text must be 10 to 12 points, except your name in the header of the first page, which can be 14 to 18 points.If your resume is being sent to someone for review, make your name bold along with the headlines and job titles.
- Make sure there is enough margin on the page around the text. Word's default settings are usually fine.
- Align the headings to the left. Leave one line empty after a heading and use two empty lines for a heading.
- If you are submitting a resume for review, list your qualifications in the summary of qualifications, and your duties under each position with a bullet point for each mention. Use a simple bullet point that doesn't distract from the actual information. If you're creating a resume that is automatically processed, leave out the bullets, but indent the text.
- If your resume barely takes up 2 pages, try making it 1 page. You can do this by adjusting the line spacing in the Page Layout> Paragraph tab. You can also make paragraph marks visible so that you can remove any excess marks.
Tips
- Don't wait to update your resume until you need to start looking for work. Every time you get a promotion or accomplished something special, add it to your resume. That way, if you suddenly have to look for a new job, you will have a lot less work, and you can spend your time better.
- State the name and vacancy in the file name of the Word document. That way, should they be asked to email the resume, the recipient can instantly distinguish your resume from any other resume received.
- In addition to an additional resume with references, you can also create a resume with published work, in case you are applying for a position as a writer, or a resume with projects you are working on or have worked on.
- Tailor your resume for the type of job you are looking for. You may need to add, rearrange, or omit certain things you've accomplished or other elements, depending on the requirements of the job posting. This means that you have different versions of your resume in Word, naming each version depending on the position you aspire to, or the company where the vacancy was released, or both.
Warnings
- Make sure everything you claim in your resume is factual and grammatically correct. Also pay attention to the spelling. The appearance and layout of your CV is a reflection of your competence; make it a calling card.


