Author:
Roger Morrison
Date Of Creation:
21 September 2021
Update Date:
1 July 2024
Content
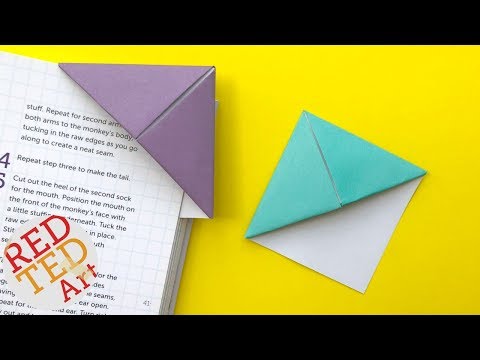
This article will help you make a bookmark. Making a bookmark is fun and easy, and they make great personal gifts for fellow bookworms. You can make it from old cards, a favorite photo, a piece of newspaper, gift wrap or other recycled materials.
To step
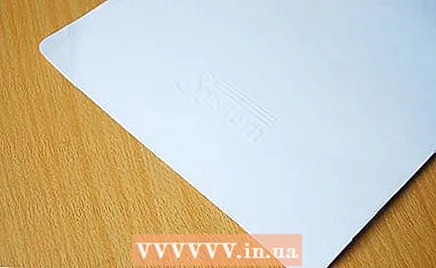 Select your materials. If you're using something thin like wrapping paper or magazine clippings, you'll need a solid background. A good choice is a 200 gsm piece of cardboard. If you're using something else, like an old concert ticket or something else that's considered sturdy in itself, just cut it to the size you want and skip to Step 5.
 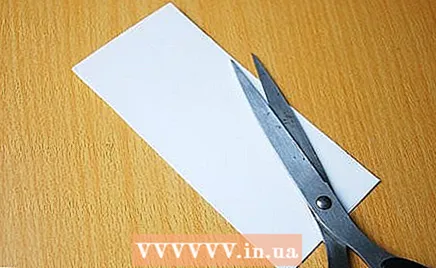 Cut a piece of the cardboard. You can make the bookmark as big as you want; 4 x 13 cm works well for most projects.
 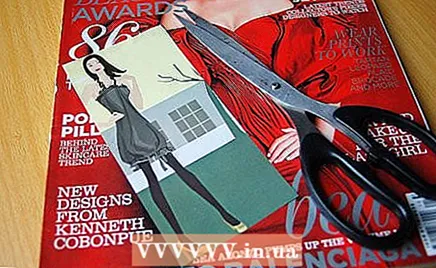 Cut the subject. Make what you are going to stick on the cardboard to the correct size.
 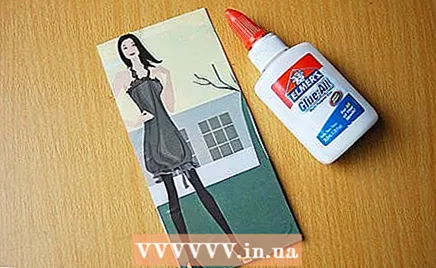 Place the pieces on top of each other. Glue the subject to the cardboard and let it dry. You can cover the cardboard on one or both sides. Trim messy edges neatly.
 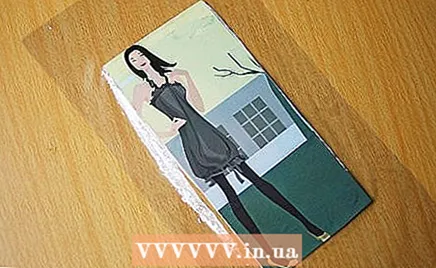 Laminate your bookmark. Preheat the laminator and put the bookmark in a laminating pouch. If you do not have a laminator, proceed to Step 7.
 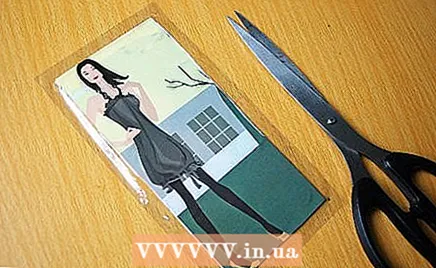 Trim the laminating pouch. If you laminated the bookmark, trim the edges about 4mm wider than your bookmark.
 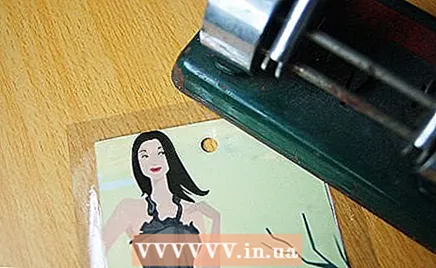 Make a hole for the reading guide. Do this in the middle of the top of the bookmark to be able to put the bookmark through.
 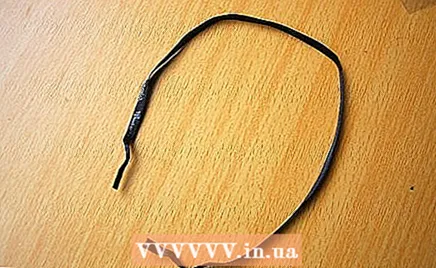 Make a book mark. To make a book mark, take some thin ribbon in a matching color. You need about 30 to 35 cm.
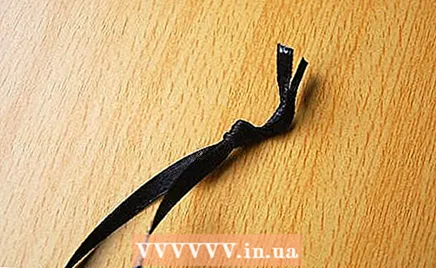
 - Fold the ribbon in half and make a thick knot about 3 cm from the ends.
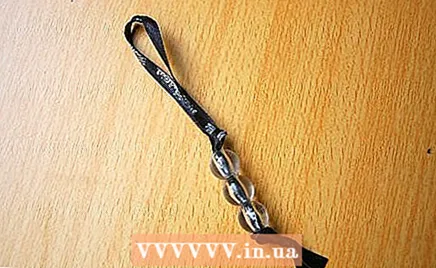
- Thread 1 to 3 beads onto the ribbon. Make another knot above the beads to secure them.
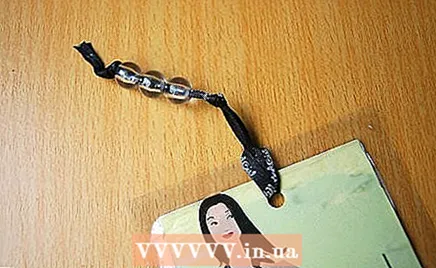
- Loop the bookmark through the hole. Don't do it too tightly, the hole will tear.
- Fold the ribbon in half and make a thick knot about 3 cm from the ends.
Tips
- You can also decorate your bookmark with paint, markers, glitter and drawings.
- If you are making more than one bookmark at a time, save money and time by putting all bookmarks in one large laminating sleeve. Space them about 1.5 cm apart. Add a drop of glue to hold them in place and laminate them all at once.
- You can use just about anything made of paper to make a bookmark. Even a piece of newspaper can look great with a red tassel.
- If you don't like a chunky beaded tassel, you can also buy a ready-made string from a craft store. Or tie a small feather to the end of the ribbon, use ribbon only, or no tassel at all.
- You can also make a bookmark of a drawing of your children, nice for their reading book.
- If your beads have a large hole, you may have to tie the ribbon several times to secure them.
Warnings
- If you're working with small children, help them cut and laminate a piece of cardboard.
- When you cut the plastic to size, make sure all leftovers end up in the trash. They are difficult to see and can be swallowed by children and pets.
- If you are making a feather book guide, buy it at a hobby store, don't use any feathers you have found. They can be dirty.
- Laminators can get very hot. Be careful with your fingers.
- Be careful with scissors. Do not leave them lying around where small hands or paws can reach them.
Necessities
- Paper - cardboard, decorative paper, concert tickets, photos, etc.
- Scissors
- Glue
- Thin ribbon
- Beads
- Hole puncher
- Laminator


