Author:
Tamara Smith
Date Of Creation:
20 January 2021
Update Date:
29 June 2024

Content
- To step
- Part 1 of 3: Create your account
- Part 2 of 3: Personalizing your LinkedIn feed
- Part 3 of 3: Editing your profile
- Tips
This article teaches you how to create a profile on LinkedIn.
To step
Part 1 of 3: Create your account
 Open LinkedIn. You will now see a page with several text fields in the middle.
  Fill in your personal details. You do this in the fields on the home page. LinkedIn needs the following information from you:
 - First Name
- Last name
- E-mail address - The email address that LinkedIn can use to contact you.
- password - The password for your LinkedIn account.
 Click Join Now. This is the blue button below the text fields.
  Click on the field below "Country". You now open a drop-down menu with countries.
  Click on the country where you live.
 Enter your zip code. You do this in the field "Postcode" under the field "Country".
  Click on Next. This button is below the zip code field.
  Enter whether you are a student. Click "Yes" or "No" at the top of the page.
 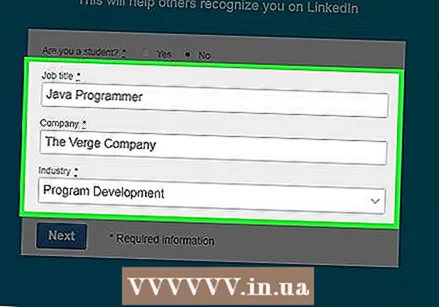 Enter your position and company. You do this in the fields "Job title" and "Company" on this page.
 - You may also need to make a selection in the "Industry" field on this page.
- If you are a student, you can enter your school, your starting year and your planned graduation year here.
 Click on Next. You will now set which content and connections you see on the main page of LinkedIn.
Part 2 of 3: Personalizing your LinkedIn feed
 Choose an account personalization option. Once you do this, LinkedIn will ask you to verify your email address. These personalization options control the information you see on the main page:
 - Finding a job
- Building my business network
- Stay informed in my industry
- Keep in touch with my connections
- I do not know yet. I am open to everything!
 Open your email. Open the email account you used to register with LinkedIn.
 - Make sure you don't accidentally close the LinkedIn page.
 Open the email from "LinkedIn Messages". The subject is "[Name], please confirm your email address."
 - If you don't see this mail in your inbox, check the Spam folder (and the folder "Updates" for Gmail).
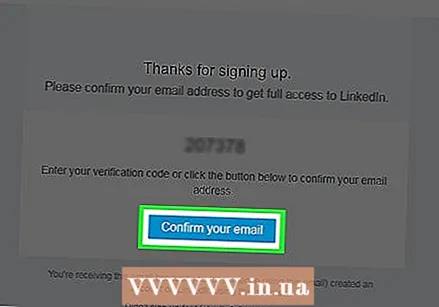 Click Confirm your email. This is the blue button below the code in the email.
 - You can also copy and paste the code into the code field on your LinkedIn page.
 Decide whether to import your contacts. If you want to import your contacts from your email address, click "Continue". If you don't want this, click "Skip".
 - If you choose to import contacts, LinkedIn will ask for access to your email account, and then you can choose who to add as a contact on LinkedIn.
- If you choose "Skip", you may still need to click "Yes" in a popup to confirm your choice.
 Add a photo of yourself. Click the "Upload photo" button and select a photo from your computer.
 - If you prefer not to do this now, click "Skip".
 Click on Next. Your profile picture will now be saved.
  Choose channels to follow. The channels you follow determine what information you will see on the main LinkedIn page.
  Click on Track [number] of channels. You are now following all the channels you have selected.
 - You can also click "Skip" at the bottom of the page to skip this step.
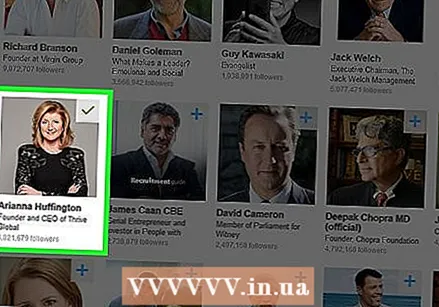 Choose important profiles to follow. The information shared by those profiles will then appear on your main page.
 - Following profiles does not mean that these profiles are now your contacts or connections on LinkedIn.
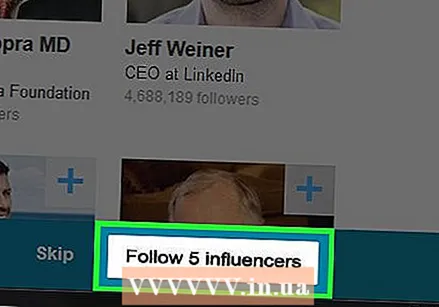 Click Follow [number] influencers. You are now following all the accounts you have selected.
 - You can also click "Skip" at the bottom of the page to skip this step.
 Click on Next. This is the button in the bottom right corner of the screen. Now that you have set up your LinkedIn profile, you can start adding information about your skills.
Part 3 of 3: Editing your profile
 Click the Me tab. It's in the top right corner of your profile, to the right of the notification icon.
 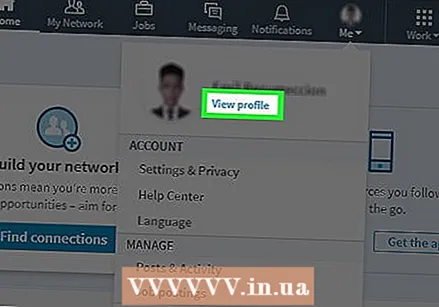 Click View Profile. This option is at the top of the drop-down menu.
 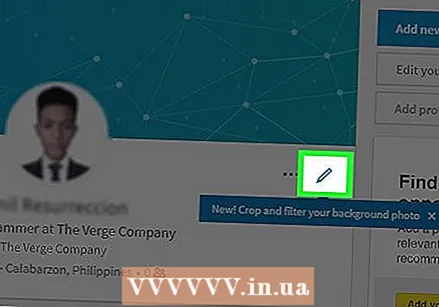 Click on the pencil icon. This is to the right of your profile picture at the top of your profile page. Here you can edit your introduction, including the following information:
 - First and last name
- Headline - A slogan or short description of yourself.
- Current position - Your position with your current employer (for example, "Writer at Forbes").
- Location data - Including the country where you live, your zip code and place of residence.
- Resume - A description of your objectives, performance and / or job description.
- Education - Here you can add a school or university to your profile.
 Click on Save. This will save your new introduction.
 - This is all information that all LinkedIn users can see.
 Add work experience with the + button. This button is to the right of the "Experience" section, which is below your profile picture.
 - To add work experience, fill in information about the employer, how long you worked there, what your job description was and a brief summary of your responsibilities.
 Click on Save. You now add your new work experience to your profile.
 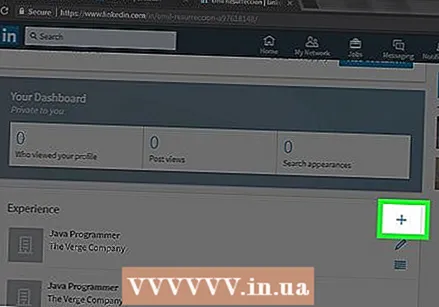 Edit your work experience with the pencil icon. This icon is located to the right of a work experience on your profile. You can edit all information, from the name of the company to the length of your employment.
  Click Save when you are done editing. This is at the bottom of the window. Your LinkedIn profile is now complete.
Tips
- Look for groups related to your interests. You can further expand your network by connecting with people in those groups.
- Keep your updates general, positive, and business-like. Do not give people an unsolicited insight into your private life or anything else unprofessional.


