Author:
Tamara Smith
Date Of Creation:
22 January 2021
Update Date:
1 July 2024
Content
This article teaches you how to remove an echo from an audio file using Audacity, a free sound editing program for Windows and Mac. If you record audio, you sometimes get echo or background noise because of the room. Most audio editing programs, such as Adobe Audition, have similar options to cut out echo and background noise. These methods are most effective when used on a recording with only one voice or instrument. Complex recordings with multiple voices or instruments make it more difficult to isolate and remove the background noise.
To step
 Open Audacity. This is the program with the icon that looks like a sound wave in blue headphones.
 - To download Audacity, go to https://www.audacityteam.org/download and click the download link for your operating system. After downloading, double-click the installation file and follow the instructions.
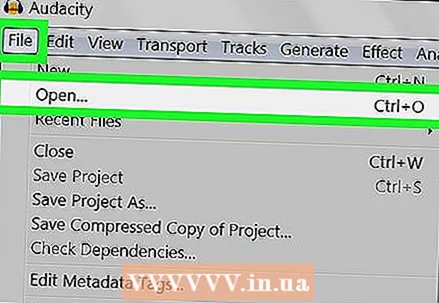 Open the audio file. Audacity supports most types of audio files, such as mp3, wav, aiff, flac, ogg and ffmpeg. To open an audio file, do the following:
 - click on File.
- click on To open.
- Select an audio file.
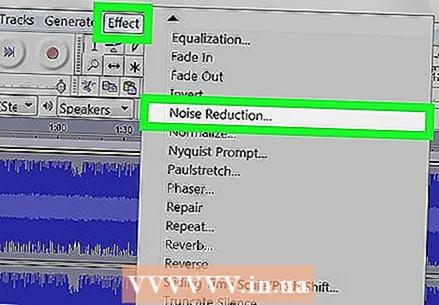 Reduce the noise. Apply noise reduction. First select the entire recording with Ctrl+a on Windows, or ⌘ Command+a on Mac. Then click on "Effects" in the menu bar at the top, and select "Noise Reduction". Increase the noise reduction (dB) by dragging the slider to the left. This way you reduce echo and other background noise. Click on "Preview" in the lower left corner to hear how it sounds. When you are satisfied with the result, click "OK" to apply the effect.
 - Noise reduction lowers the volume and changes the pitch of the recording.
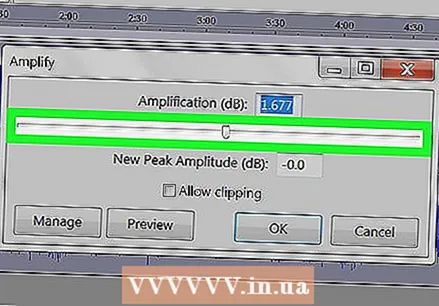 Use the amplifier. The amplifier increases the volume of the audio. It's at the top of the effects list, in the Effects menu at the top of Audacity. Drag the slider to the left to increase the volume as needed. Do not make the audio too loud as this can cause sound distortion. Click on "Preview" to hear how it sounds. When you are satisfied, click "OK" to apply the effect. During the rest of the process, apply the amplifier where it is needed.
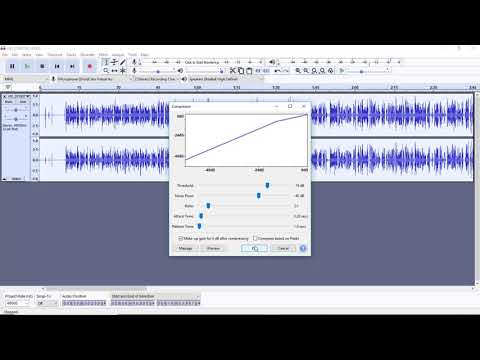
 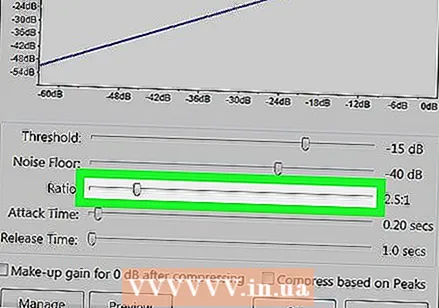 Apply compression. The compressor reduces the distance between the loud and soft points of the sound wave. To apply compression, click "Effects", then click "Compressor". Drag the slider next to "Ratio" so that the line in the graph at the top goes down slightly. You can also adjust the threshold and noise floor here. Click on "Preview" to hear how it sounds. When you are satisfied, click "OK" to apply the effect. The volume will now be lowered. Use the compressor where it is needed during the rest of the process.
 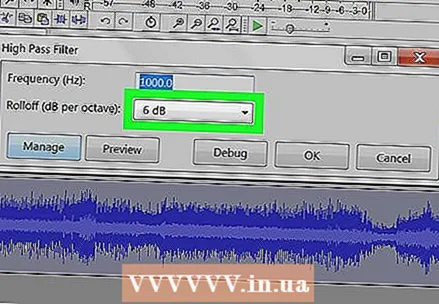 Apply a high pass filter or low pass filter. Depending on how your recording sounds, you may need to use a lowpass or highpass filter. If your recording sounds high with a lot of hiss, use a lowpass filter. If it sounds low and muffled, use a high pass filter. Both effects can be found in the Effects menu. Use the drop-down menu to choose the strength of the decrease (in dB per octave). Your options are between 6 and 48 dB per octave. Click "Preview" to hear how it sounds, and click "OK" to apply the effect.
 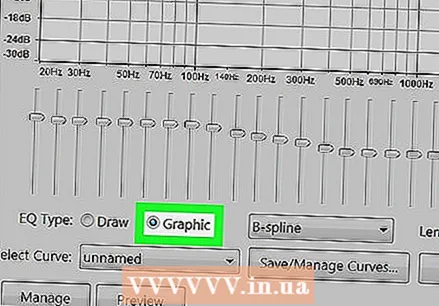 Apply graphic EQ. To use graphic EQ, select "Equalizer" from the Effects menu. Click the "Graphics" button next to "EQ Type", below the graph on the left. Use the sliders at the bottom to adjust the EQ. The knobs on the left affect the bass, those on the right affect the treble, and those in the middle affect the middle tones. Click "Preview" to hear how it sounds, and click "OK" to apply the effect.
  Export the audio file. When you're happy with how your recording sounds, you can export it so that it can be played in a media player. To export the audio file, do the following:
 - click on File in the menu bar at the top.
- Select Export.
- click on Export as MP3.
- click on Save.
 Save the project. If you want to further edit the audio file later, you must also save the project itself. To save the project, do the following:
 - click on File in the menu bar at the top.
- click on Save project.
- click on OK in the pop-up menu.


