Author:
Eugene Taylor
Date Of Creation:
12 August 2021
Update Date:
1 July 2024

Content
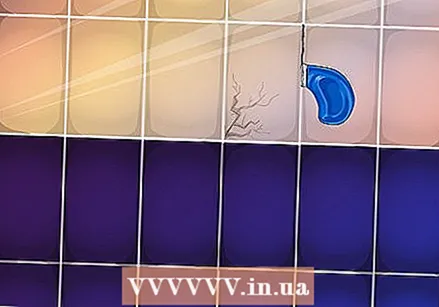
Ceramic shower tiles can damage or break over years. This can include damage to the joints, or even individual tiles can crack, allowing water to leak into the walls or the floor, where it can damage subfloors or lower areas. This guide will help you solve these problems.
To step
 Remove damaged tiles together with tile adhesive (cement under the tiles). You may have to break the tile into small pieces and remove it. The main problem with this is that you can easily break some of the adjacent tiles.
 - Using a grout saw or other tool, remove the grout from the tile joints around the damaged tile (s). Be careful not to cut through any membrane seal under or behind the tiles.
- Using a masonry drill bit, drill a hole through the center of the tiles you want to remove. For large tiles, you may need to drill several holes so they can be broken up to remove them. Again, be careful not to drill too deep, otherwise the substrate and / or any membrane seal may be damaged.

- Use a chisel to break the tile (s) into small pieces.

- Remove the mortar or tile adhesive behind the tile you removed. You need a smooth and clean surface to lay the replacement tile (s) on.

- Using a grout saw or other tool, remove the grout from the tile joints around the damaged tile (s). Be careful not to cut through any membrane seal under or behind the tiles.
 Make sure the membrane seal is undamaged before proceeding. You may need to repair rubber or vinyl membranes to make sure there are no leaks under the tiles you are replacing, and the methods for doing this vary depending on the membrane used.
  Get some ceramic tile adhesive or thin tile mortar and apply it to the substrate with a notched trowel. For minor repairs, you may need to use a putty knife to apply this material.
  Replace the tile by pushing it firmly into the adhesive or cement so that it is embedded in the material. Make sure that the joints around the tile are even, and that the surface of the newly installed tile (s) is flush with the surrounding tiles.
  Wait for the tile adhesive to dry and then fill the joints around the new tiles you installed with grout. Use a sponge and plenty of water to remove excess grout from the surface of the tile. Once dried and cured, this material is difficult to remove.
  Use a good waterproof sealant or bathroom sealant to repair joints that do not lend themselves to jointing, such as metal trim or fixtures for fixtures.
Tips
- Avoid damaging adjacent tiles by breaking the tiles you want to replace into small pieces with a hammer and chisel or a steel punch.
- Read and follow the manufacturer's directions for the materials you purchase to make these repairs.
- Find additional replacement tiles before starting this project. It can be difficult to match the colors and sizes of the tiles.
Warnings
- If you break a broken tile, you can damage the tiles around it. Make sure to protect the other tiles in the shower and watch your tools carefully. A heavy hammer in the shower can easily break even more tiles. Even very experienced workers can easily damage some of the adjacent tiles, so take the time to remove the broken tiles.
- Wear safety glasses when breaking out damaged ceramic tiles.
- If there is membrane under old tiles, do not break it (do not make holes in it).
- Wear leather work gloves when handling broken ceramic tiles.
- If there is no membrane under the old tiles, it is a good idea to paint the surface with a liquid applied membrane.
Necessities
- Tiles to replace
- Grout
- Tile adhesive
- Hand tool


