Author:
Roger Morrison
Date Of Creation:
6 September 2021
Update Date:
1 July 2024
Content
- To step
- Method 1 of 3: Prepare the artwork
- Method 2 of 3: Outline and colorize
- Method 3 of 3: Finishing your art
- Tips
- Warnings
- Necessities
Digital art is gaining in popularity among artists. With many possibilities unique to this medium, that popularity is not difficult to explain. To make digital art you need a computer, a drawing program and a drawing tablet. In addition to learning the basics of digital art and practicing a lot, you are well on your way to making your own digital art.
To step
Method 1 of 3: Prepare the artwork
 Sketch your idea on paper. Unless you don't have a scanner, this is the best way to start. Try to get as close to your subject's anatomy and physiology as possible, but don't worry as this can all be adjusted later. Don't add too much detail, such as fur or texture to the clothes. Make sure to use pencil to fix mistakes.
 - When sketching, getting the details right is not as important as the overall idea and feel of the image. The drawing is likely to change dramatically between this step and the final result.
- Scan your drawing. Place your drawing face down on the scanner. Close the scanner and start the scan. Once the file has finished scanning, name and save it as PNG or JPEG for the highest quality.
 Open the file in a drawing program of your choice. GIMP is good for beginners and advanced users as it is free to download. It's probably not a good idea to use Microsoft Paint because of its limited features and the canvas that is difficult to use. A lot of people use Adobe Photoshop to create digital art.
 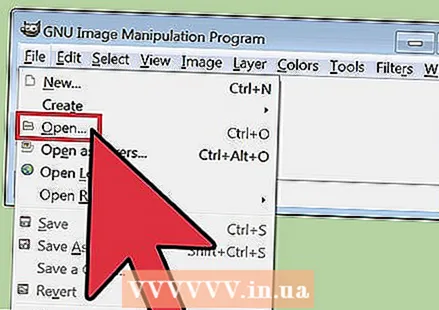 You can also sketch directly in the drawing program you are using. If you don't have a scanner, you can create your sketch directly in the program you will be using. Connect the tablet to the computer using the cable that came with the tablet and follow the instructions shown to install the tablet software.
 - Open the program in which you want to draw and choose your tablet as the input medium. Then you create a new file and start sketching.
Method 2 of 3: Outline and colorize
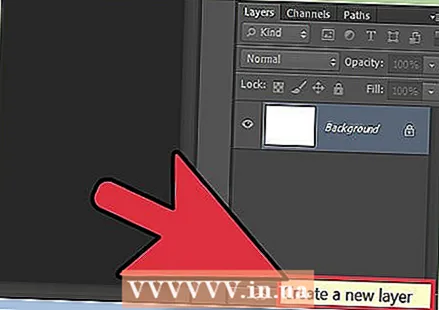 Create layers. At this point, your sketch is in the only layer of the file. First create a background layer by pressing the "New Layer" button, and use the bucket to fill the transparent layer with white. Drag that layer to the bottom so that it is the first layer of the drawing. For each major area of the drawing, such as the face, hair, clothing, and background, create a new layer above the layer of your sketch and give it an appropriate name.
 - By using several you can indicate more details and you are more flexible, without the risk of ruining the entire workpiece.
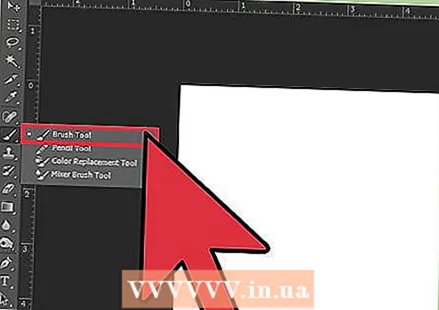 Trace the drawing. Use the Brush tool to trace the sketch on each layer you created. Set the brush to a small size, such as 2-4 pixels. The line work will make the drawing easier to color later. In this step you can also correct any anatomical errors you have made.
 - After sketching the entire drawing, delete or hide the sketch layer so that you can color the line drawing without being distracted by the sketchy lines of your original sketch.
 Apply the base colors. After the line work of your drawing is completed, all you have to do is outline the colors of your drawing. Use brushes of different sizes, depending on the area you are going to fill, and color in the different parts of your drawing. Use a single color for each area, such as the face, hair, and each item of clothing.
Method 3 of 3: Finishing your art
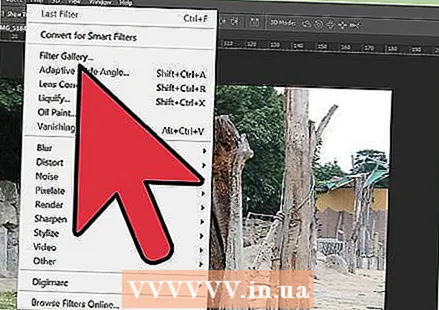 Add detail. Depending on your skills, style and ease with the drawing program, you can now do many different things.You can add more layers and add even more detail, or go straight to applying shades. Remember, more layers are useful if you want to restore one aspect of an image, not the whole thing. This is the case when you add something like more detailed eyes, pockets and creases in the clothes, and the texture in the background.
 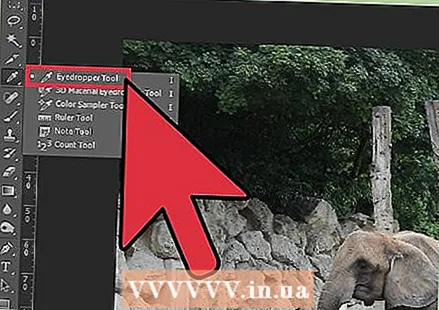 Shade your drawing. To start, choose the Eyedropper tool and use it on the area you want to color. Then choose the color picker and drag the color to a darker shade. Use that color and the Brush tool to apply light and dark to the area you are working on. Continue to add shading throughout the drawing.
 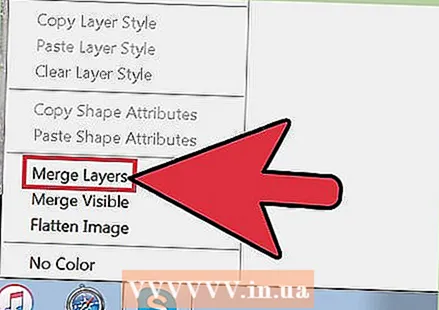 Make sure to merge all layers when you are done. Make a copy of the working file first so you can return to it and continue working on it if you wish. Since PNG and JPEG files cannot handle it, you will have to merge all layers into one layer to save to those formats.
 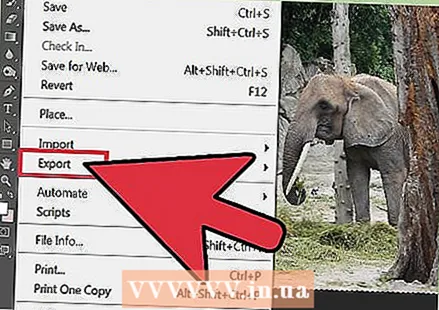 Export the file. Go to File and Save As. Save the file as a PNG or JPEG file. If you ever want to go back and change something about the drawing, you can open the PSD file (or whatever file type your drawing program uses).
Tips
- Practice, practice, practice!
- See how other digital artists work and create their art. You always learn something new.
- Sites like deviantArt.com have a lot of digital art drawing tutorials - everything from eyes to clothing and everything in between.
- Don't forget that there are literally hundreds of ways to draw digitally. Experiment and discover which brushes and effects suit your style and abilities.
Warnings
- Always save your work in case your computer crashes or freezes. It is very frustrating to have to redo hours of work.
Necessities
- Computer or laptop
- Scanner (optional)
- Drawing program such as Krita, GIMP or Photoshop
- Drawing tablet


